


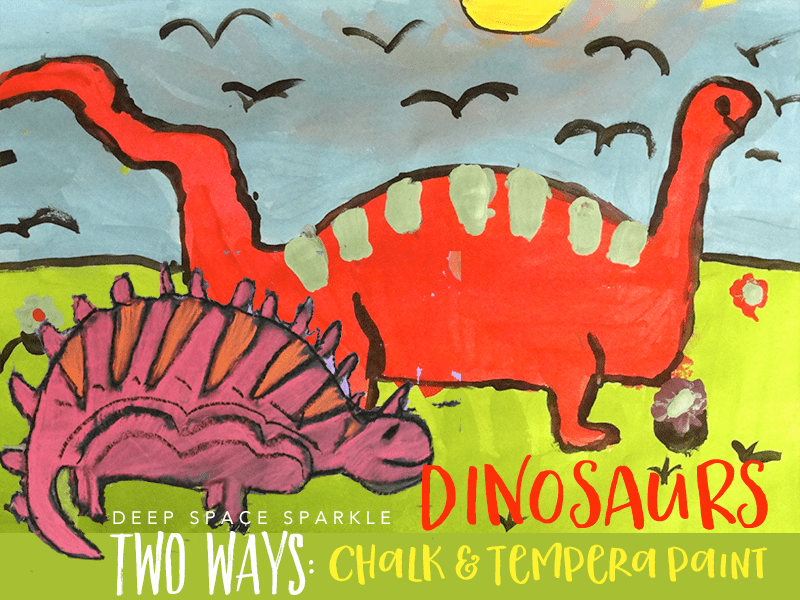
DINOSAUR ART PROJECT
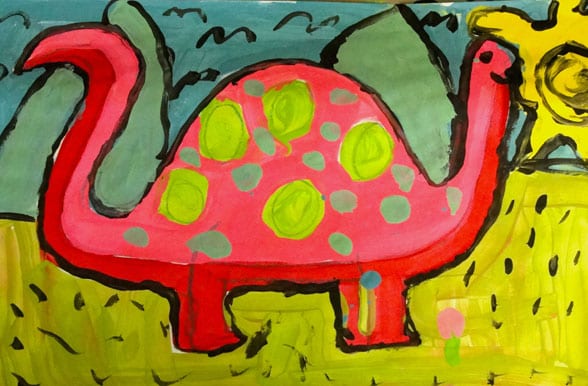
Drawing a dinosaur takes center stage in this dinosaur art project. Students sit up and listen as all are eager to learn how to draw their favorite subject. After the drawing, students use brightly colored tempera paints to complete their artwork.
Art Lesson Set Up
You won’t need any fancy supplies here, just some paper, oil pastels and tempera paint. Lately, I’ve been favoring a “tub” approach to setting out paints. I have a supply of pre-mixed tempera paints that I keep in pint-sized plastic containers with lids. It makes setting up and cleaning up easy. All I need to do is place an assortment of colors on the table, and when the class is over, I put lids on the paint and set them away.
How to Draw a Dinosaur:
To draw the dinosaur, start with a backwards letter “C” on either the top (long neck) or bottom (Stegosaurus) of the paper. This is the head. Next, draw a long neck for the Long Neck dinosaur. Be careful not to go too far down the page.
For the Long Neck, add a curved line for the body and the tail. Add the belly and the legs in the same way as the Stegosaurus.

For the Stegosaurus, draw the back next. This guy has a big back that turns into his tail. Draw a big hump for the back and a straight line for the tail. Draw a straight line back towards the head. Now all you have to do is add two rectangles for legs. To make drawing even better, extend a curved line up from the legs to inside the body. This line makes it look like the legs are strong and powerful.
Add spikes, armored plates, horns and any patterns that you wish.

Finally, draw a horizon line. This is where the sky meets the earth.
To paint the picture, set out either plastic containers with pre-mixed tempera paint (I prefer Crayola or Faber-Castell) or squeeze paint into a muffin-style palette. This type of palette keeps the paint separate.
Paint the dinosaurs first and then work on the background.

Dinosaur Art Project, created by Second Graders

OPTION TWO: CHALK
You can also try this lesson with chalk pastels. My first grade students absolutely love drawing dinosaurs and while I generally don’t use soft chalk pastels until at least second grade, I wanted to give them a try.
For an art teacher, pulling out chalk pastel is always a bit dicey. If you are new to chalk pastels, you can read my post about how to use chalk pastels in the art room. Th thing is, you just never know if your particular group of kids will get more chalk on their hands than on the art work.
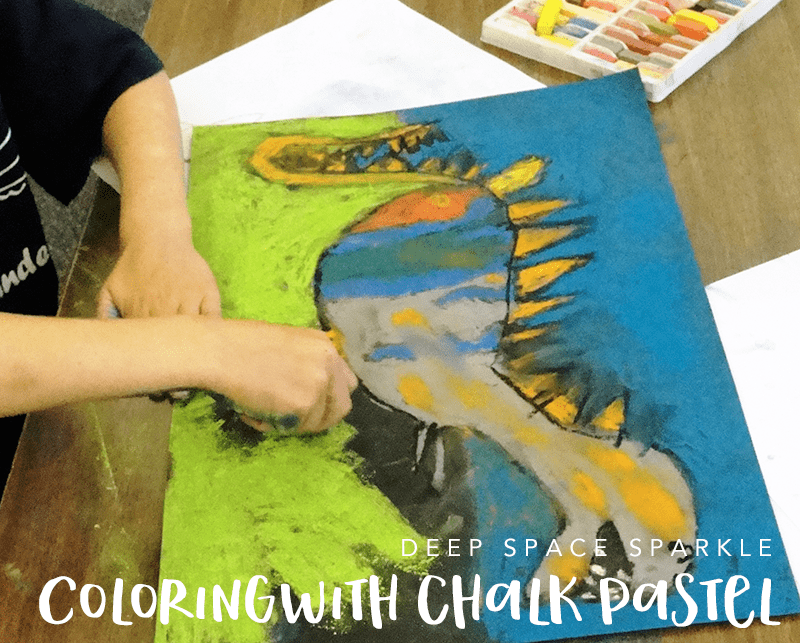
I always throw caution to the wind and let ’em at it. To me, there is nothing more adorable than watching chubby little fingers wade through a cloud of chalk dust.
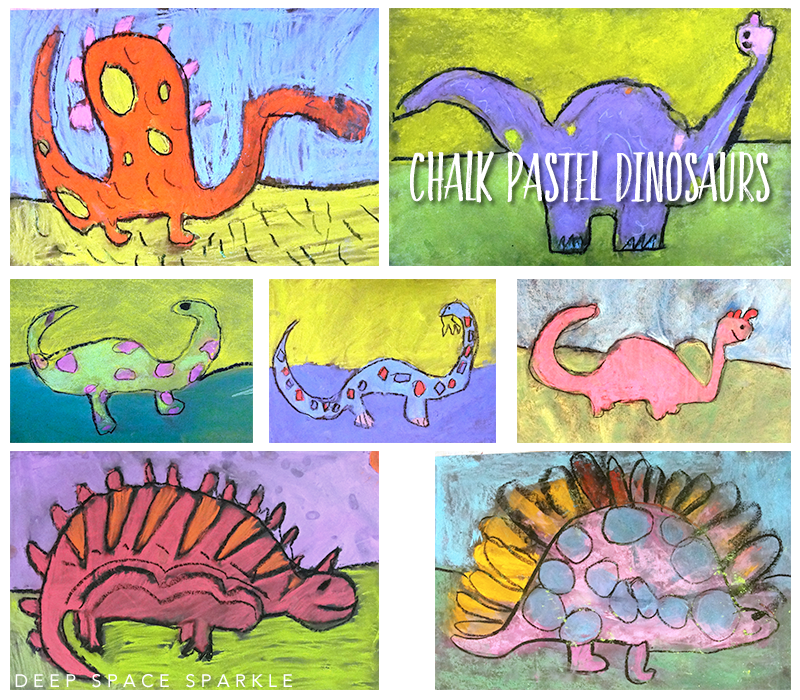
I demonstrate two very simple dinosaurs. Basically, most dinosaurs are drawn the same way, just with the head in different places. Encourage the kids to add spikes, bony plates, horns, etc. Of course, you’ll always get a dino expert in the class who will insist upon proper anatomy details. I usually bring this kid up to the front of the class to explain-away.
Here are a few helpful teaching tips:
- Draw the dino with a black oil pastel
- Limit sky to one color
- Limit ground to one color
- After filling in with chalk, outline again with a black oil pastel. This really makes the colors pop and transforms the artwork from messy to sharp.
- Tap excess chalk on the edge of table and onto the floor instead of blowing it onto another child’s artwork
- Spray artwork with hairspray to set. I use the most inexpensive aerosol hairspray.
Dinosaur Art Project, using chalk pastels


You’re right kids love dinosaurs. They look great!
I know you like to include literature in your art lessons and there are two books by Bernard Most I like to read when we do dinosaur lessons. They are “Whatever Happened to the Dinosaurs” and “If Dinosaurs Came Back?” They are fun, fictional books.
Love, Love, Love, Love, Love!!!!!!
For sure doing this lesson with my 1st graders tomorrow morning.
I think I may turn it in to a 2-part, 2 hour lesson to let parts dry for painting over and to outline further with back pastel. Don’t for get to have them write their names on the back.
What a cute lesson!
Any chance we can see the step by step photos for this? My visual brain can’t figure it out;) LOL!
Hi Kira, unfortunately, we don’t offer step by step photos for this post.
Love these! My students used tempera sticks for a great-looking, quick lesson!