


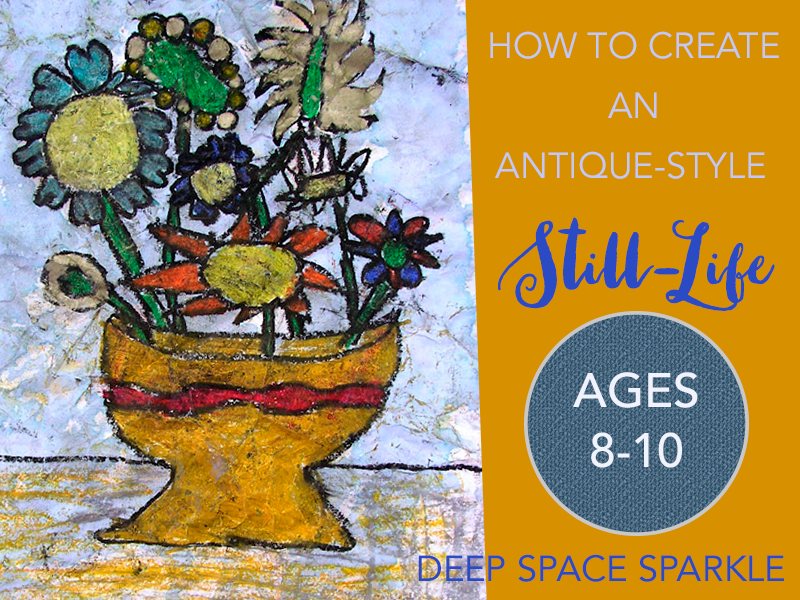
Recognize this beauty? This was the one of the first lessons I posted on my writing blog back in 2007 before Deep Space Sparkle existed. Such classics should be given due credit, don’t you think?
Create this sophisticated bouquet with your little ones to celebrate Valentine’s Day.
Here is a great way to teach watercolor resist. It’s simple and involves a surprise at the end.
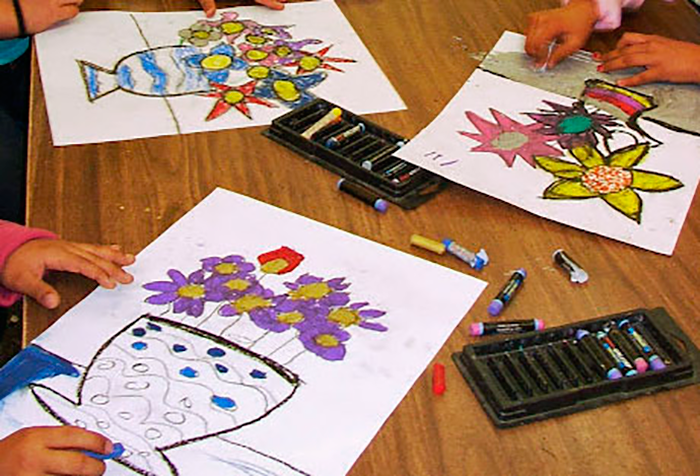
On the white board, demonstrate how to draw a vase, a table line, then circles for the center of the flowers. Give the students different options for drawing the petals. Ask the kids to choose a favorite color from the pastel palette with the rule that it should be a dark color. This helps the drawings stand out after the watercolor is applied. The kids then draw their vase, table line, flower centers, petals, leaves and stems. Using any color they wish, color in the shapes.
When the kids are about halfway through their coloring (slow part), demonstrate the next step. This provides great motivation to complete the coloring portion.
SCRUNCH THE PAPER
Demonstrate how to take their beautifully colored picture and scrunch it. Because the paper is stiff, the kids literally have to sit on their crushed balled of paper or push really hard with their hands in order to get the required wrinkles. After smoothing out the paper, the kids apply a watercolor wash to the entire surface.
TEACHING TIPS
A tempera wash doesn’t work. Liquid watercolor is best. I put out two containers of wash; one brown and one blue. The kids can chose which one they like. When the wash settles in the wrinkles, it gives the picture an “antiqued” look.
Do you have left-over coffee or tea? Try brushing the cold beverage over the paper to see what happens. The paper will become quite soggy, so leave on testable to prevent tearing when lifted. After the paper dries a bit, you can transfer tho a drying rack.

For a more colorful version of a bouquet, try this Watercolor Bouquet project. Perfect for kids ages 7-10.
And if you enjoyed this children’s flower lesson? Click the download button below to receive our free How to Draw a Daffodil PDF!


What type of paper do you use for this project?
Hi Amy,
Believe it or not, regular white construction paper. More specifically, Tru-Ray Sulphite Construction Paper. We supply it as our basic art paper in school. It’s available though every art catalog.
How do you avoid smudgnign the oil pastel too much when scrunching?
You don't! That's the beauty of it.
Beautiful! I think this is a great lesson for a wide age. Love the coffee/tea idea.
what age group?
I’m having a hard time finding non-water soluble oil pastels. Can any student oil pastels work?
You can easily test the pastel by coloring with it then testing with water. If the pastel blends when brushed with water, it is water soluble. Most oil pastels for kids are non-soluble. Cray Pas, Blick, Pentel all are non-soluble.