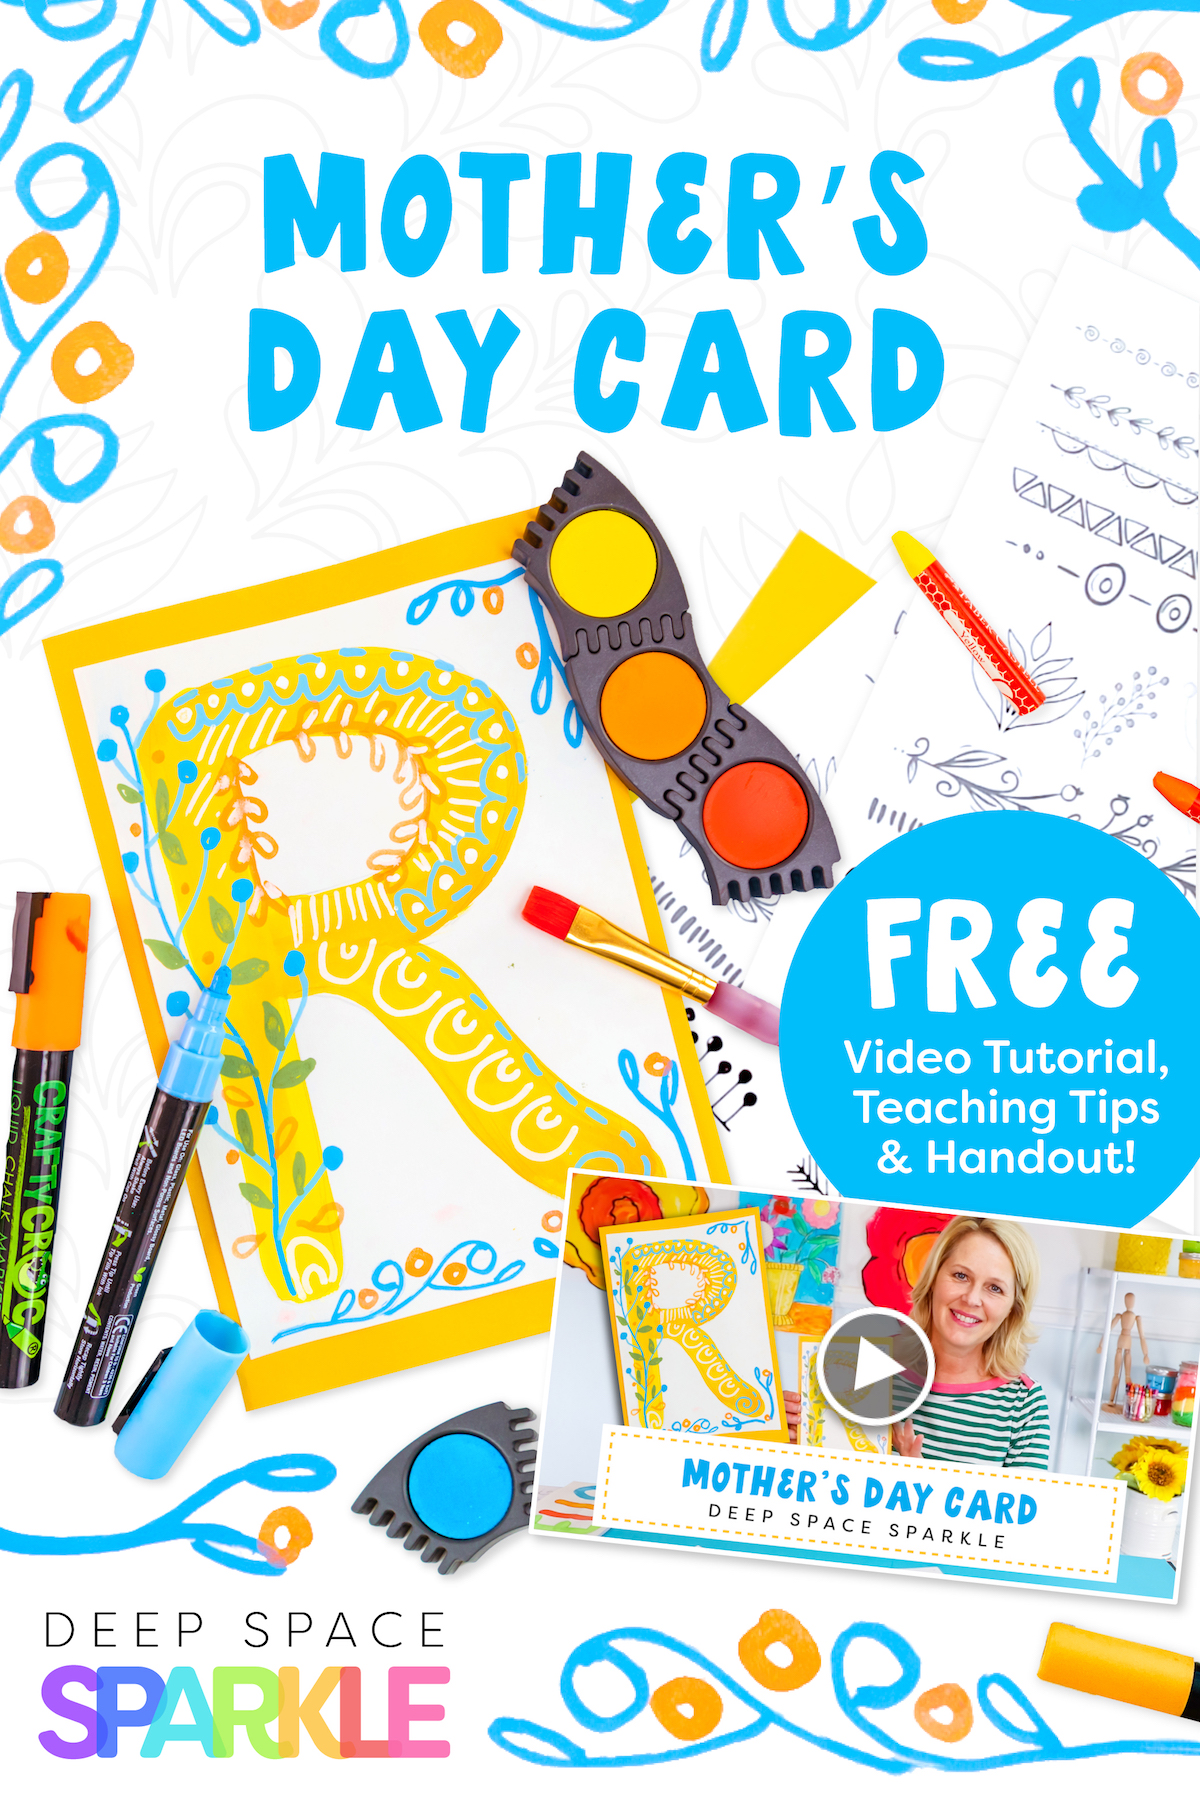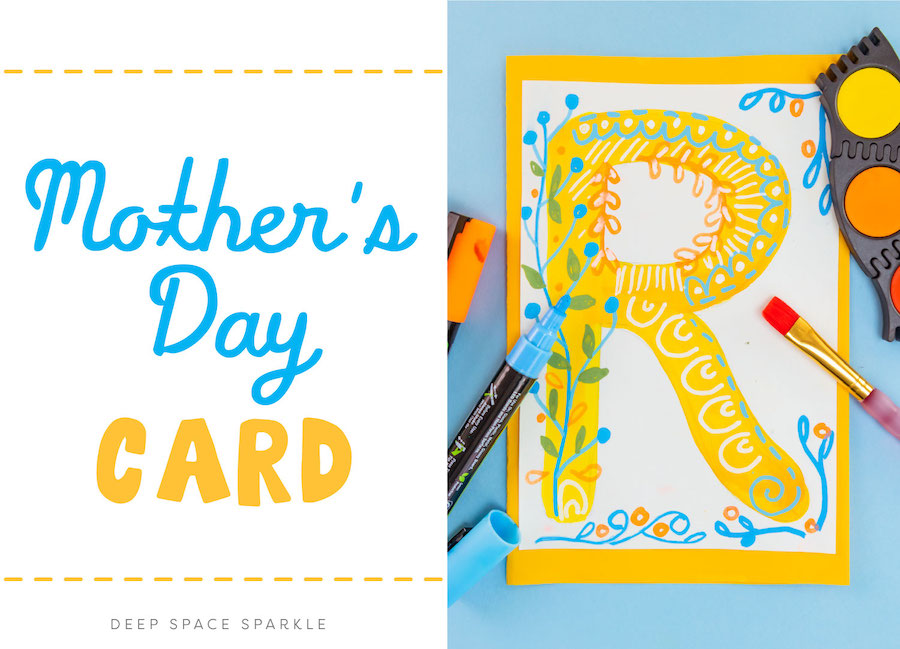


There’s no better way to celebrate mothers and grandmothers for Mother’s Day than to create a beautiful, personalized card. This hand made card features sweet floral designs that any mother will love, plus it teaches a fun bubble lettering technique that kids will love!
Watch a quick video tutorial here to follow along…
Click the yellow button below to DOWNLOAD the free drawing handout for the Typography Art drawing guide, as well as the other April Freebie Pack drawing guides. Just add your name and email and we’ll send it straight to you! (We recommend using Chrome or Safari for this download!)
WHAT YOU’LL NEED:
– 9” x 12” colored paper
– 5″ x 8″ white paper (2)
– 4″ x 6″ piece of cardboard
– Pencil & eraser
– Glue stick
– Pan watercolor paint
– Medium flat paintbrush
– Chalk markers
– Bubble Letter & Floral Design Handouts
PRACTICING BUBBLE LETTERING
Before you begin on your final card, take a few minutes to practice bubble lettering. Fold a piece of paper in half. Use a 4″ x 14″ cardboard template to draw guide lines on the top and bottom of your paper.
Choose a simple word to practice. Use a pencil to draw the inside of each letter. You can use the Bubble Letters handout. Don’t worry about making your letters “bubbly” yet.
Use the handout to draw the bubble around each letter. Think about leaving a bubble of space around the center of each letter. The ends of each letter should be rounded instead of squared off.
Erase your original letter lines in the center of each bubble letter.
Use watercolor, markers or the medium of your choice to color in the bubble letters.
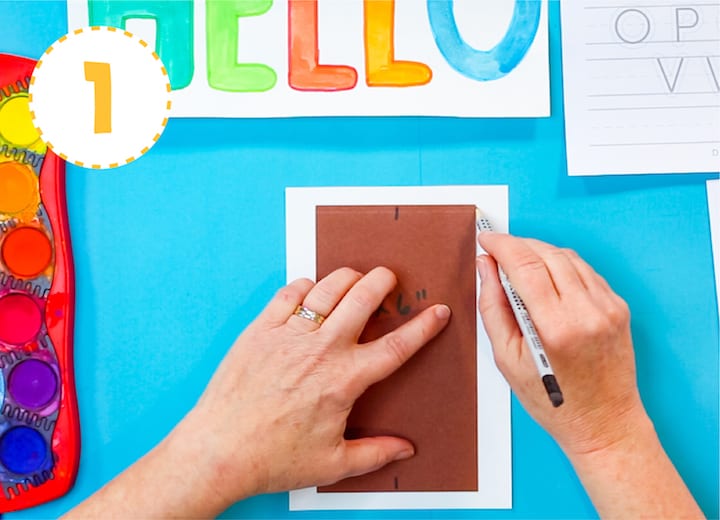
STEP 1:
Fold your colored paper in half to create the card. Set aside.
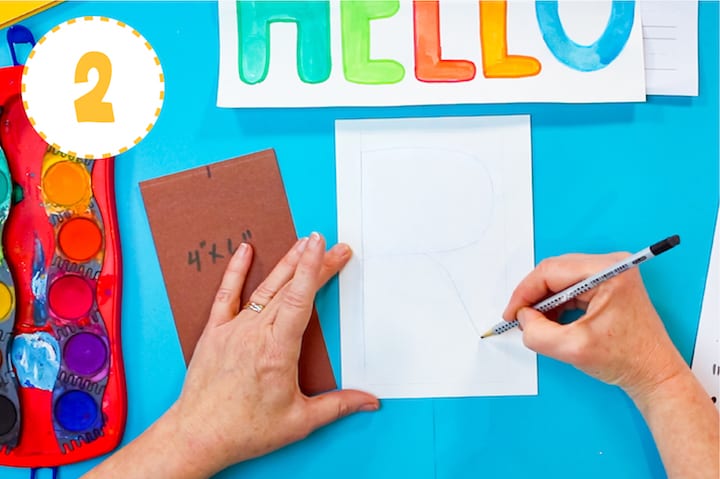
Center the cardboard piece on top of the 5″ x 8″ white paper and trace lightly around the edge. This will help to create a visual area for your letter to fit inside.
STEP 2:
Use a pencil to draw the letter of your choice on the white paper. Use the rectangle that you traced as a guide line. Your letter should fill the space, but be slightly smaller than your guide lines to have room to make the “bubble.”
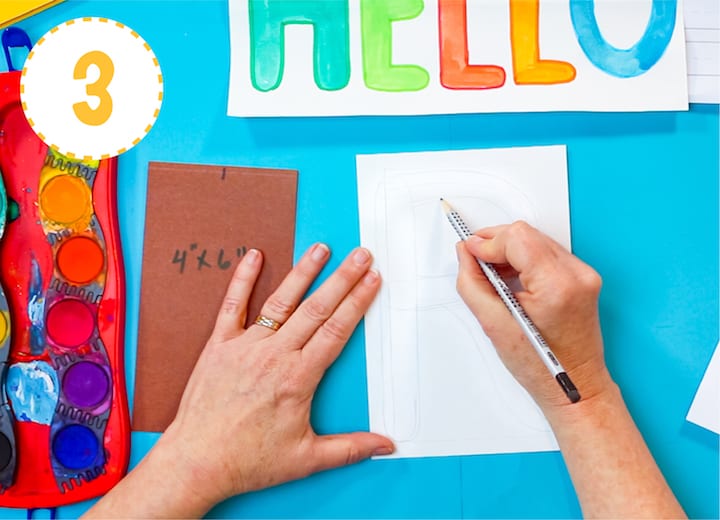
STEP 3:
Just like you did in the practice, begin creating a bubble around your letter, rounding off any ends of the letter. Make the bubble around your letter nice and thick. You can go back around with your pencil and round off edges if something doesn’t look right after erasing.
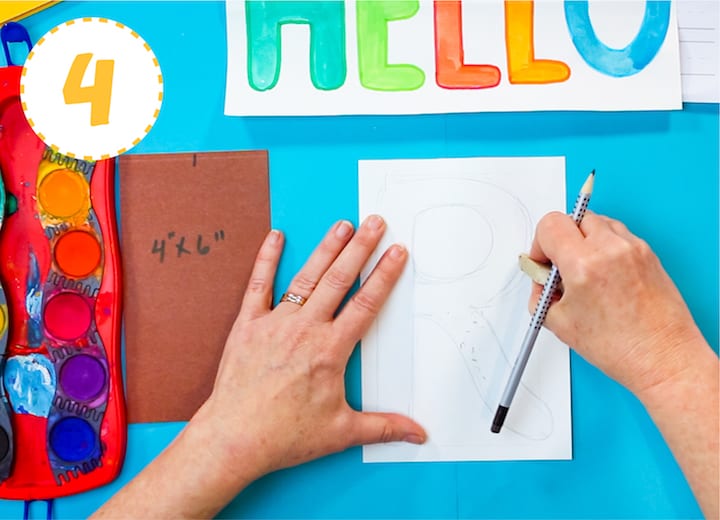
STEP 4:
Use an eraser to erase the original letter lines and any lines that you don’t like. If you need to go back in and fix some areas after erasing, go ahead and do that.
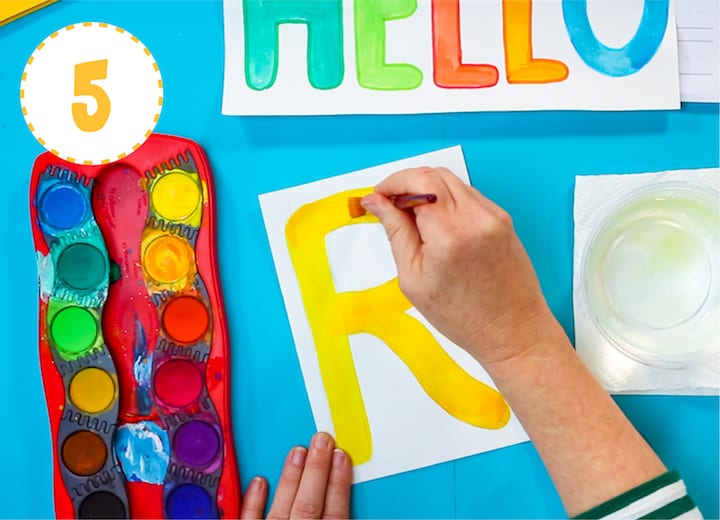
STEP 5:
Choose a color of watercolor paint to begin with. Start by tracing the outside of the letter with your paintbrush, then fill in the center. If you want to use a second color and blend it into the first, feel free!
Set aside your letter to dry.
Erase all of your extra pencil lines. If there’s a little pencil showing under the watercolor, that’s okay! That way your Mom will know that it is really handmade.
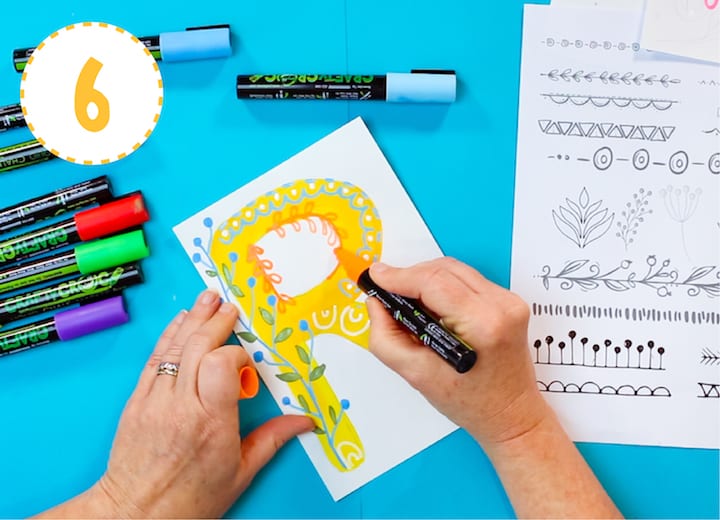
STEP 6:
Water-based chalk markers are really wonderful for adding designs on top of a painted surface. The trick with chalk markers is not pressing too hard, just let the ink flow out naturally. If you find that you need to shake the marker a bit, put the cap on before shaking, then press tip of the marker down on a piece of scrap paper to get the ink flowing again.
Use your handout to help you create designs on top your initial. If some of your designs extend out past the edge of the letter, that’s okay. Choose colors that will stand out brightly against your paint.
You can add some extra designs in the background.
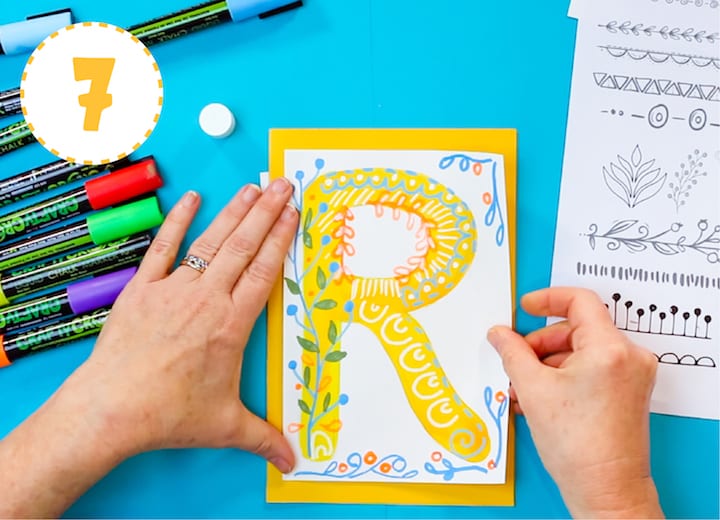
STEP 7:
Once the chalk markers dry, flip over the paper and use a glue stick on the back.
Flip the initial back over and center it on the front of your folded card. Turn the card over again and use one hand to rub the back.
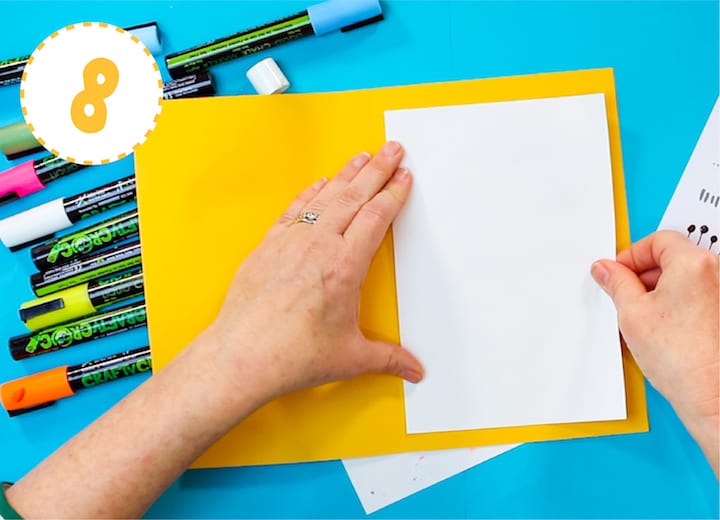
STEP 8:
Gluing on another white sheet of paper to the inside of the card provides you with an area to write a special message to your mom!
For more information on joining The Sparklers’ Club, sign up to our waitlist HERE.
Click the button below to DOWNLOAD the April Freebie Pack for more fun art lesson you can use this month! (We recommend using Chrome or Safari for this download!)
PIN ME!