


Becoming familiar with paint is one thing. Becoming familiar with what paint can do is another thing altogether. Who knew that adding white paint to colored paint would give these kids such a thrill? Some kids don’t like the idea of messing up perfectly good primary colors. No problem, because there is another big art principle at work here; positive and negative space!
Since I wanted kids to be in full control of their palette, I gave each student a styrofoam tray for mixing. This is a lot of prep, so if you have small class sizes then you are in luck. If you have large classes, I’d consider another method of dispensing the paint.
Either way, here’s what you’ll need:
- 12″ x 15″ white paper (cut down from a 12″ x 18″ sheet)
- Tempera Paints (Primary and Secondary colors)
- Brush, small tray and water
- Oil Pastels
- Pencil and plastic lids or cups

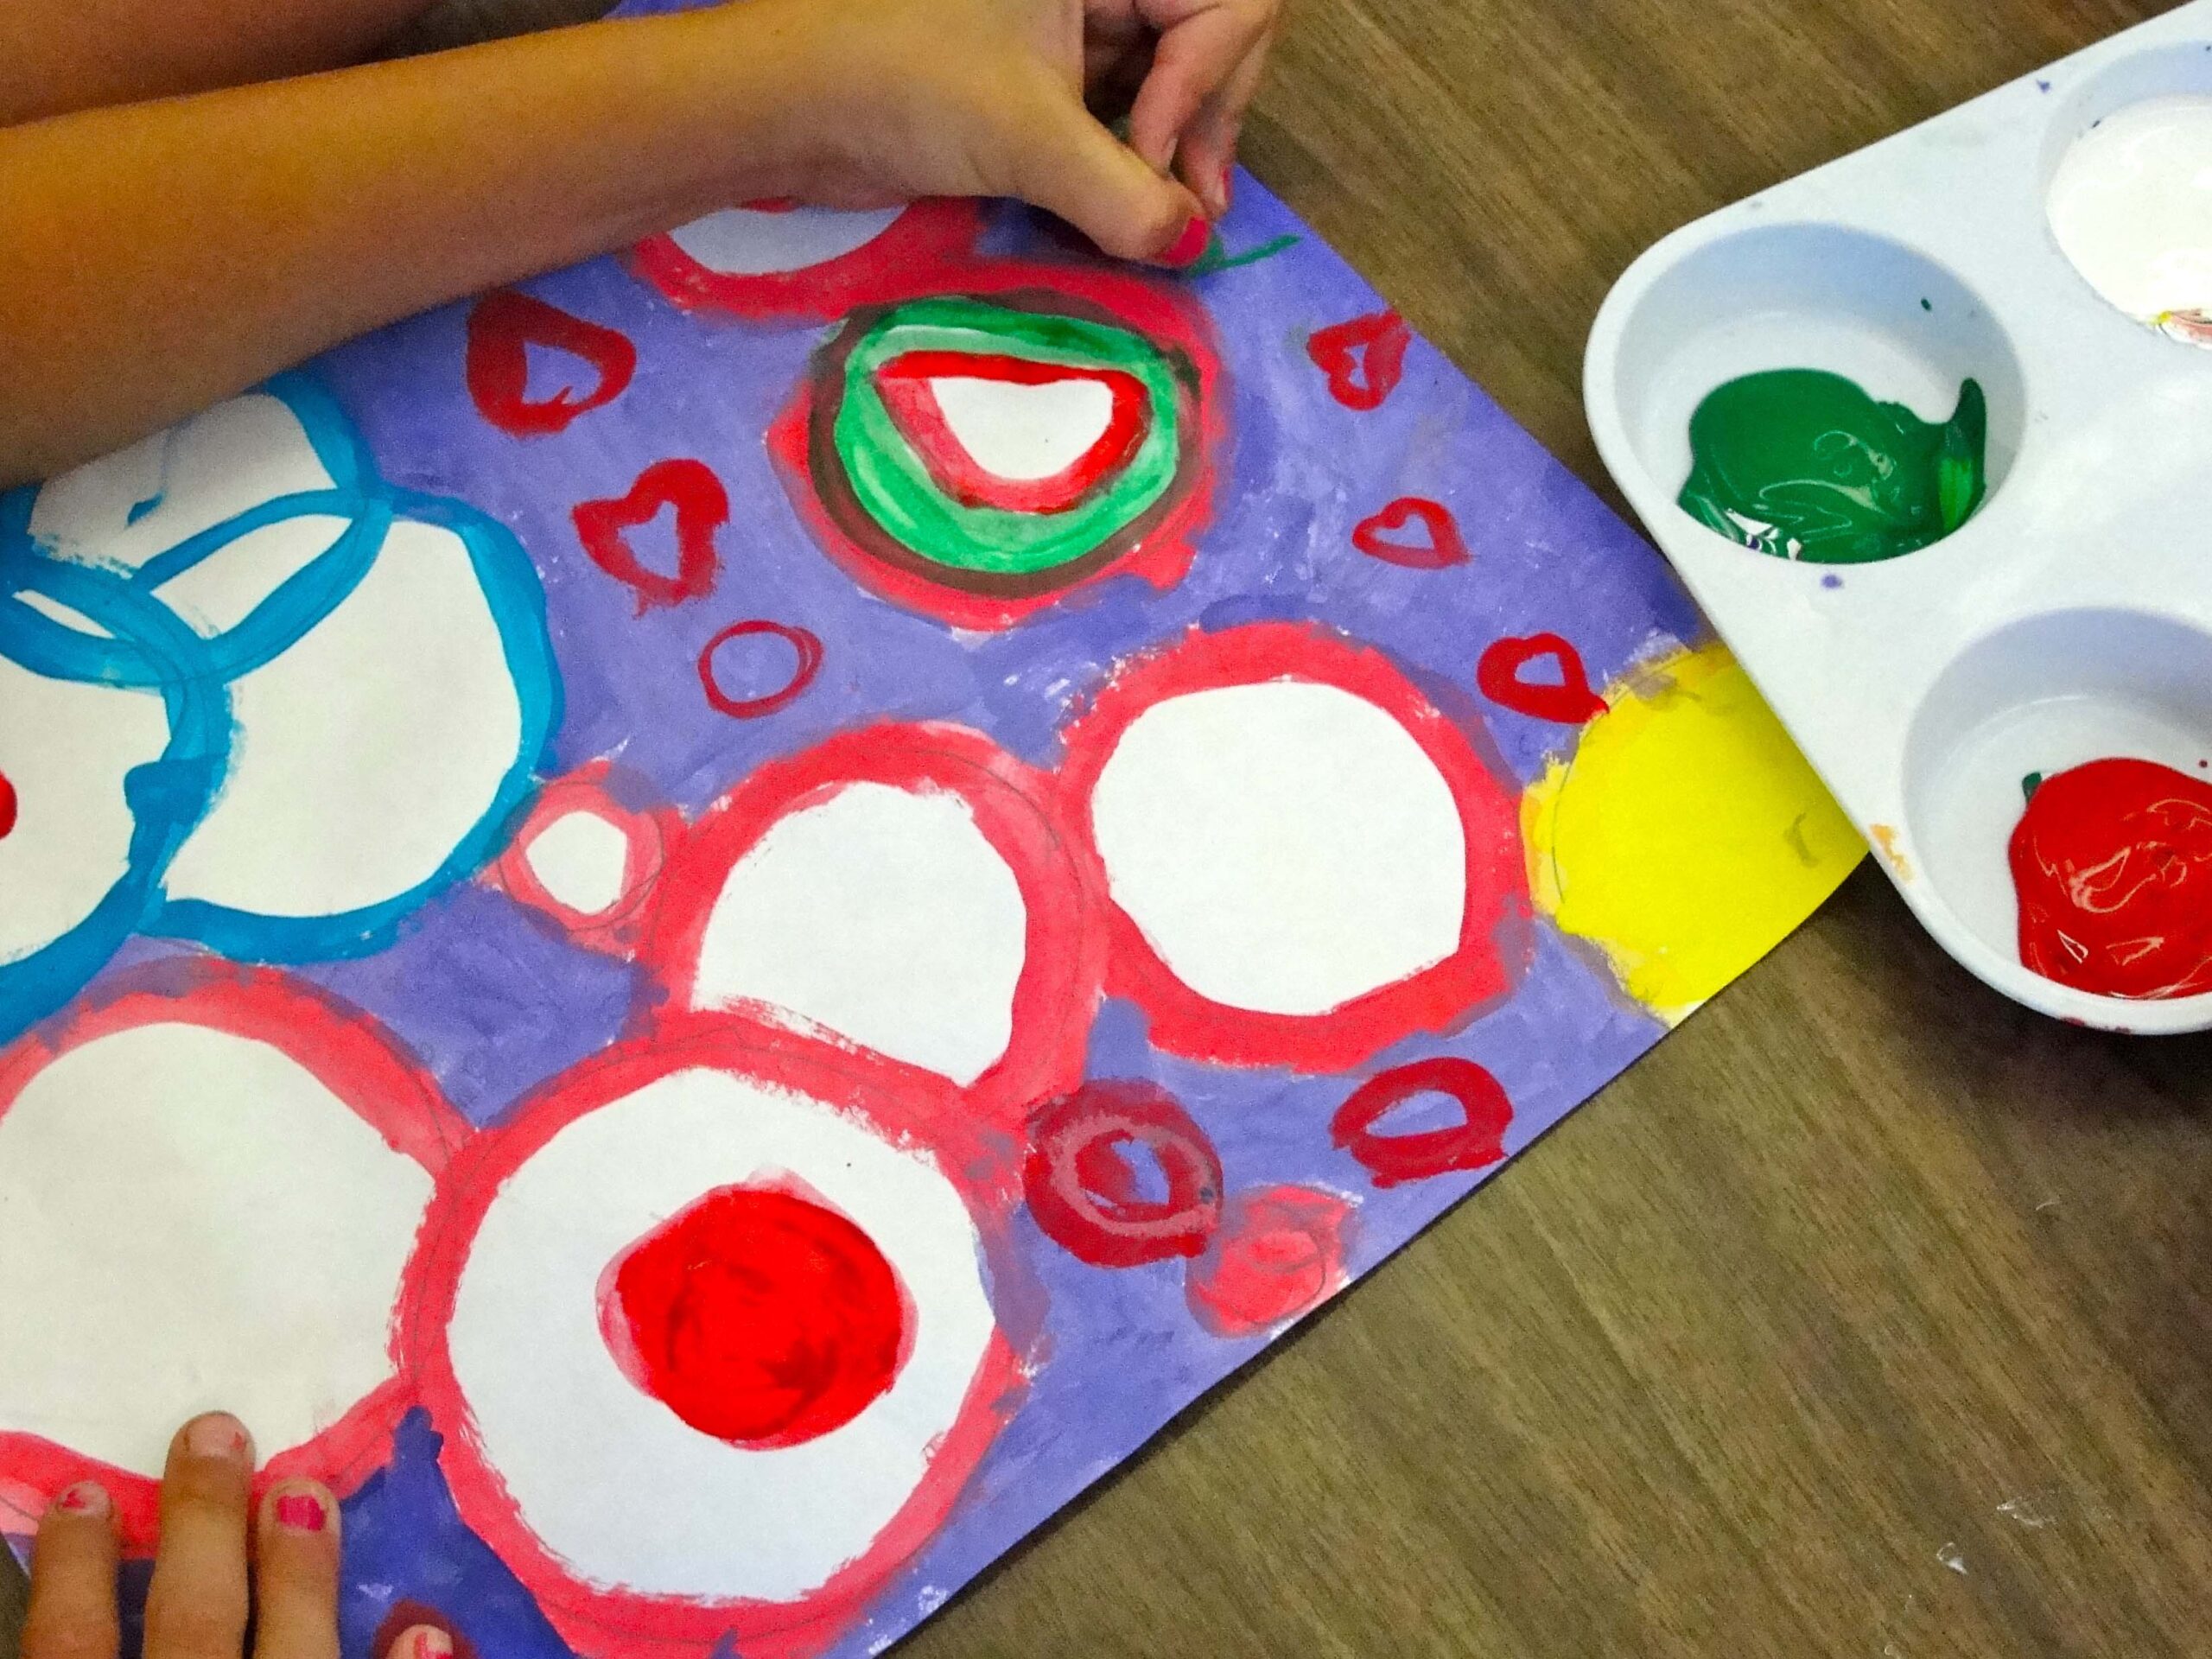
Trace circles onto sheet of paper
Using a plastic lid of various sizes, trace circles around paper. Encourage overlapping and going “off” the edge of the paper. Of course, you don’t have to use this method of drawing circles, but it’s an efficient way to get to the good stuff.

Paint Background or Negative Space
Mix one color and white together on the tray. This color will be the background color or negative space. Sticking to one color is pretty hard for this age group but reassure them that the opportunity to mix more colors with the white will be coming up. Paint all areas of background.

Paint the Circles
Now it’s time to mix more colors with the white paint. Try blue and white and paint this color inside one circle. This is the positive space. If desired, paint in rings or paint the entire shape. Leave it up to the kids. Go ahead and mix more colors, one at a time, and paint until all the circles are filled. This can take some time, so be patient!

Embellishment with Oil Pastel
When the positive space (circles) are painted and after the paint dries (usually the next class), set out the oil pastels. I go over some pattern examples on the white board and distinguish the difference between scribbles and patterns. Then, I let the kids embellish as they wish.
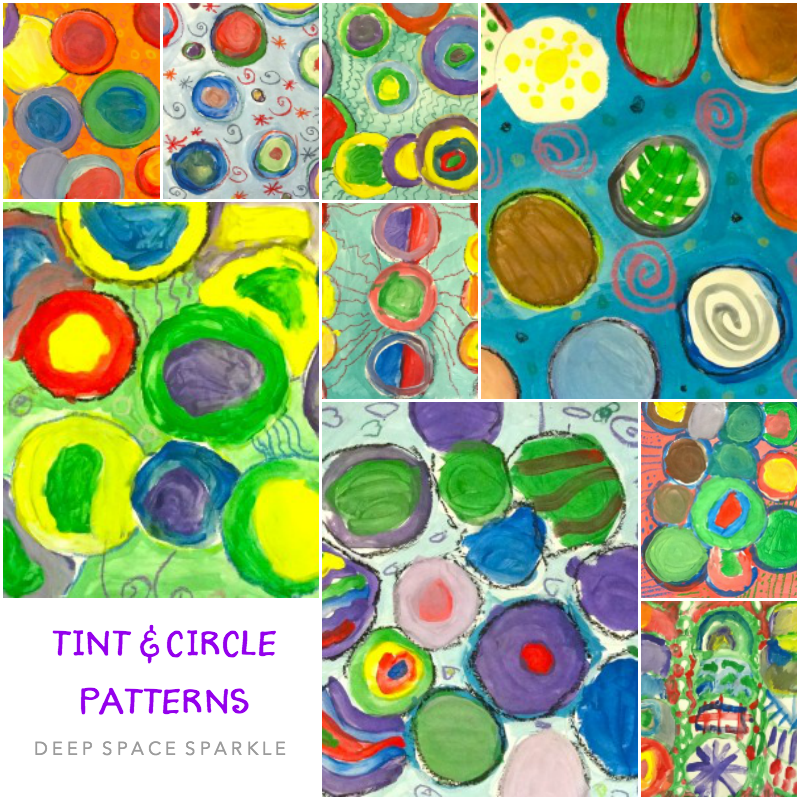
I love this bright project! So did my third graders. Check out their work!
THIRD GRADE PATTERNS
ARE YOU A SPARKLER? Over 300 art lessons are available inside the Members Club. Access to videos, resources & trainings for one low monthly fee.
CLICK THE IMAGE TO SIGN UP FOR NOTIFICATION OF OUR NEXT ENROLLMENT


I LOVE this, and I know Ansley would too. We will have to try this one soon! Thanks for all your wonderful ideas. I love your blog
I LOVE this! Love it, love it. Just wondering…was a one or to class period project?
Two classes…one for drawing the circles and paint the tint. The other to finish painting the circles. Actually takes more time than it looks because kids find circles are hard to paint. Hope you try it!
Thank you for sharing your lessons! I have been following your blog for over a year and I’m so excited about the new site!
this project looks manageable and fun for my group of 20 fourth graders! thank you so much for sharing your ideas!!!!
I tried this lesson with 3rd grade- we did the traced circles with the tint in the background. Then we got a bit sidetracked with other projects- Christmas, etc. When we got back to it the week of Christmas, we drew stripes (following the curve) on the white circles with related colors using water-based markers, a la ornaments. Then we painted the ornaments to turn the marker into paint. We drew hooks on the tops of the circles and added fir branches in marker on the painted tint background. They were beautiful. I will do this again next year.
Great adaptation!
I love this for kinders. I would read the book ‘The Dot’ by mr. Reynolds too. It is perfect!
This will go perfectly with a lesson we’re doing on the parts of blood. I was looking for an art lesson that could be converted and this is just right. Who knew platelets and plasma and white blood cells could be so beautiful! (:D)
Now that’s a unique lesson!
I was inspired by this to do a similar project with a mixed age group (ages 3-12), and it was a great project! We had an hour, and most kids used the entire time. I started them with pencils and circular things to trace (some free-handed their circles). I then gave out oil pastels to trace over the circles (or add new circles), and then handed out watercolors. Not quite a color mixing lesson, but a great project that encouraged a lot of creativity. Some kids turned their circles into other things, and some just stayed abstract.
This looks like fun. What grades did these paintings? Love them!
I did this lesson with third grade but it’s difficult enough for much older kids.