


Art shows are a sure sign that school is nearing the end of the year and the visual representation of your students hard work is about to be realized.
Whether you are a one-person organizer or have a team of volunteers, here are a few systems that helped me make my art shows manageable.
Asking for help…
I’ve been so very fortunate to have a slew of involved parents at many of the schools I have worked at. This is especially helpful during the art show season. There is not school that has a surplus of anything, especially available parents, but most schools can drum up volunteers if given the chance.
I come from a PTA background. I’m proud to say that I was a PTA President and a board members for years at my children’s school. Did I have surplus time on my hands? Yes. But there were many other dedicated parents who had very busy professional and home lives that found time to volunteer. Did we always have enough volunteers for back-to-school bar-b-que’s, school auctions and jog-a-thons?
Not really, but we always squeaked by,
The point is, is that even with one helper, you can do it!
Watch my video below on everything you need to prep for a school art show!
Download the Art Show Checklist below and get prepared for art show season!
The secret to asking for help is building up the reputation of the program that needs support.
If the art show at your school has always been organized and managed by the art teacher, then finding volunteers to help that first year is going to be challenging (but not impossible).
Try asking a parent with whom you have a strong rapport. Ask for a small amount of help and be super organized with their time. Their experience might be a positive one, and they will then ask someone else for help. Soon, you’ll have a reputation that you can build on.
On the same note, if you are fortunate to have one person donate their time for a few hours, stick to their agenda. In other words, don’t abuse the volunteer.
Give very specific volunteer instructions
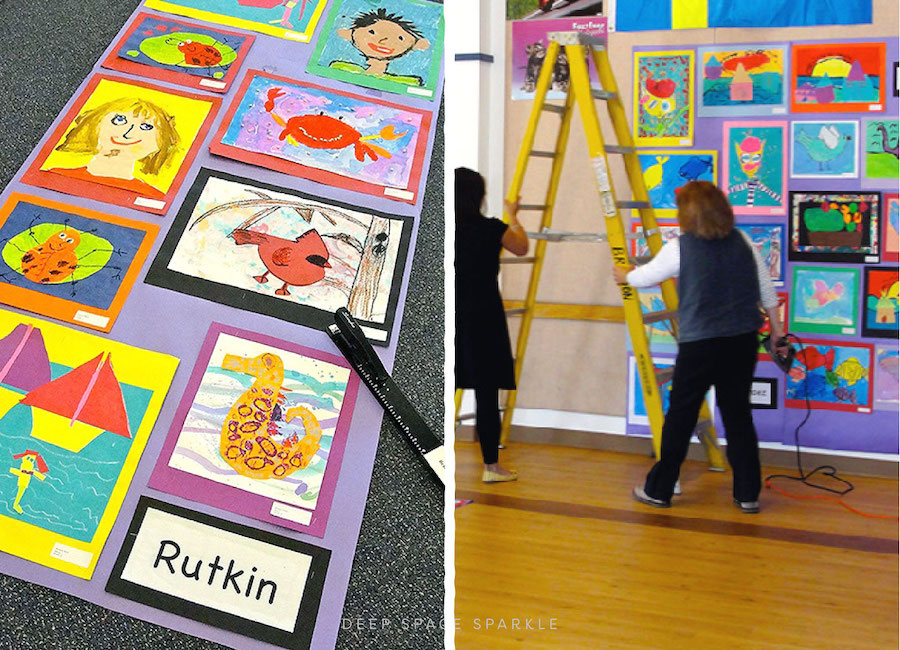
I have a handout that I give to the classroom teachers on the suggested way to mount artwork. I like to stage a day when volunteers can come and go as they need to.
I reserve the multi-purpose room for the day. This is not always easy, so check with the office manager for help in reserving time to mount artwork. Sometimes you need to be flexible. If everything is set out and easy to understand, volunteers can pop in for an hour to contribute.
Organizing supplies and basic set-up directions
I measure the length of my papers and prepare an easy way to cut lengths of the paper in bulk.
TIME SAVING TIP: Place a piece of masking tape on the floor, measure the length of the paper and place another piece of masking tape at that measurement. Now all the volunteers have to do is roll the paper from one tape to the other and cut. No need to get out the measuring tape every time.
No Volunteers? Try Community Service
Does your school have community service hours for sixth graders? If so, utilize it! Sixth graders are extremely capable and can staple artwork and cut paper. Perhaps they can do it on their lunch break.
Tearing down and removing artwork is the ideal job for sixth graders. They can pull the panels off the walls, then remove stapled artwork from the paper with a stapler remover and deliver to the classrooms. If anything, have students help with dismantling.
As for the display panels? The multipurpose room added to the campus had no ceiling wires in which to hand student art. Now, we just have three walls and we’ve created cool looking displays on wheels.
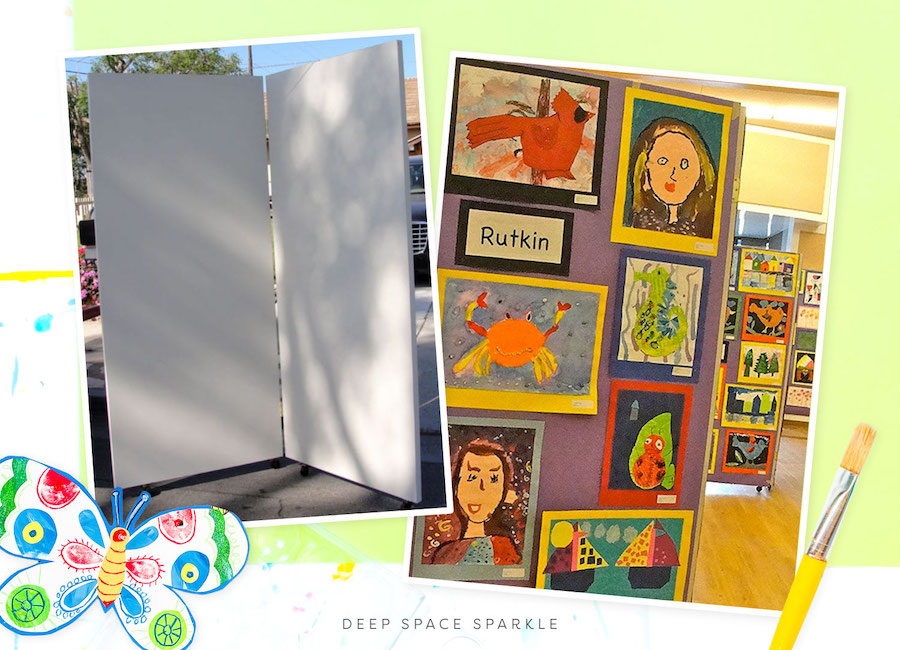
These were pretty easy to make.
Each panel requires two 36″ x 80″ hollow, no-hole, pocket doors. Buy the primed ones so you don’t have to paint them. You can find them at your local Home Depot (around $40).
We used two metal hinges to allow for folding and four casters on the bottom of the panels so we could roll the panels around. The hinges allow for the panels to be folded and stored against a wall. Then we added a small chain at an angle (you decide) so that the panels would open up and fall.
We made 3 panels the first year and it cost me less than $200. Parents in subsequent years have made 3 more.
The panels are great for small display areas as they hold a lot of art and are great for set design in stage performances.
For the art display, I staple/tape art to a long sheet of paper (36″ wide) and attach the paper panels with two masking tape strips on the top. Surprising enough, this is all it takes!
Organizing an art show takes an extraordinary amount of work but with a little organization, a plan and a few helpers, you’ll be well on your way to creating an experience your students won’t soon forget.
I’d love to hear what went well and what didn’t in the comments below…
And of course, make sure to tag @deepspacesparkle with your art show pics on Instagram!


Hi there,
I am just starting out(this is my first year) and from what i can tell this is the first art gallery show our school will have had. I want the projects to be varied and but honestly i haven’t been all that great in keeping pieces and/or helping students to as well. So i have about 2 months to create some awesome art with the kiddos. I usually study the same artist with all grades and we produce art that is in their style. How do you suggest that i get a variety of art from students when learning the same things across the board.
Love this question! For me, pick one technique then select a different subject that is suitable for you grade levels.
Take a look at my art techniques here: https://www.deepspacesparkle.com/art-techniques/
You can teach the same basic technique, use the same basic supplies but offer so much variety by switching up the subjects. Go a bit outside your comfort zone and see what works.
hi patty,
i bought the very useful guidebook above. there are still a few questions:
1. do you trim down all your 12×18 artwork to mount on 12×18? or do you trim 18×24 to mount 12×18 artwork?
2. what brand construciton paper do you get to mount your artwork?
thanks so much. if you are in LA in june, you are welcome to attend!
Hi Sharon,
Great questions!
If there is space on a 12 x 18 piece of art to trim down, I usually do. That way, the art can be mounted on a 12 x 18 colored paper. Less cutting. But if the 12 x 18 art isn’t able to be cropped, I use 18 x 24.
I love Tru-Ray paper by Pacon.
Good luck with your show!
Just wondering if is this quite secure – can it be pushed over easily?
Love, Love this idea. I have some questions about these great movable walls. Are the casters simply screwed into the bottom of the doors, is there a frame in the back to help them stand? Do they have to be at that “V” to stand?
Thanks
Where can I purchase the Art show Guide from Deep Sparkle?
Thank you
Hi Christine! Did you try clicking on the box to buy it? Click on the yellow box in the blog post above and it should add it to your cart! Enjoy
I also wanted to purchase and it comes up as an error Page Not Found. Where can this resource be found? Thanks so much!
Hi Maria! If you click on the yellow box that says “buy full lesson plan Deep Space Sparkle Shop” it will take you to the website so that you can add it to your cart.
I’m also getting a page error when clicking the yellow box above. I’m looking to purchase the guidebook but the links aren’t working.
Hi Bill! Sorry for the troubles getting your guidebook. Here’s a direct link for you: https://www.deepspacesparkle.com/shop/art-show-guidebook/ Hope that helps!
-Avery
Even visiting this link directly, it’s taking me to a “Page Not Found” page.
After a few years of scraping the barrel for help which included enlisting my own family, I hit upon the idea of making it the responsibility of the 2 class Moms from each class to either do it or find another parent. It worked beautifully. Early the morning of the show I arrived super early and laid out by each classroom everything needed to hang the kids art from that class. It became a wonderful interplay of Mothers trying to make their individual display unique and the annual Art Festival was always a fantastic success.
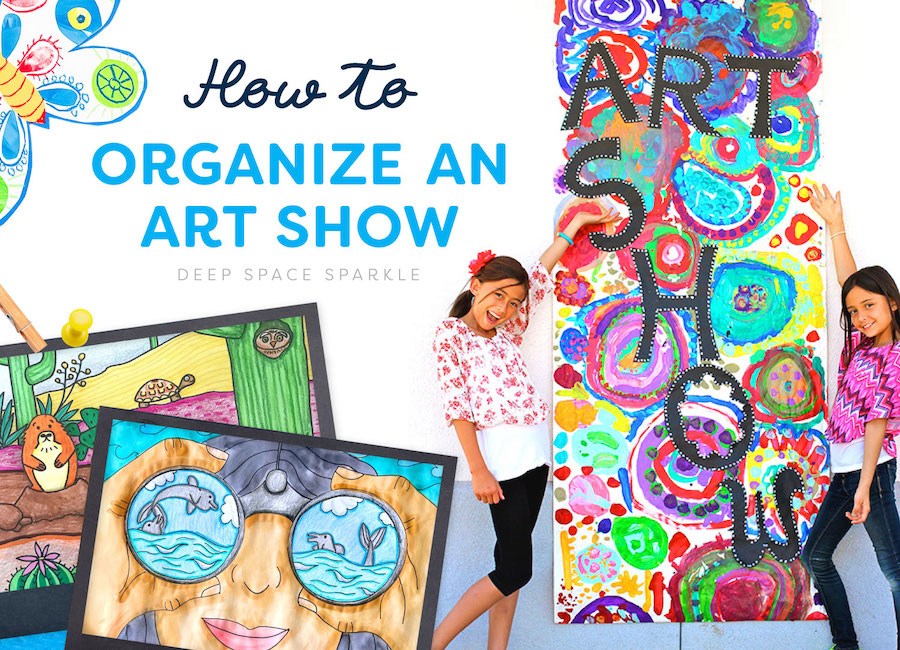
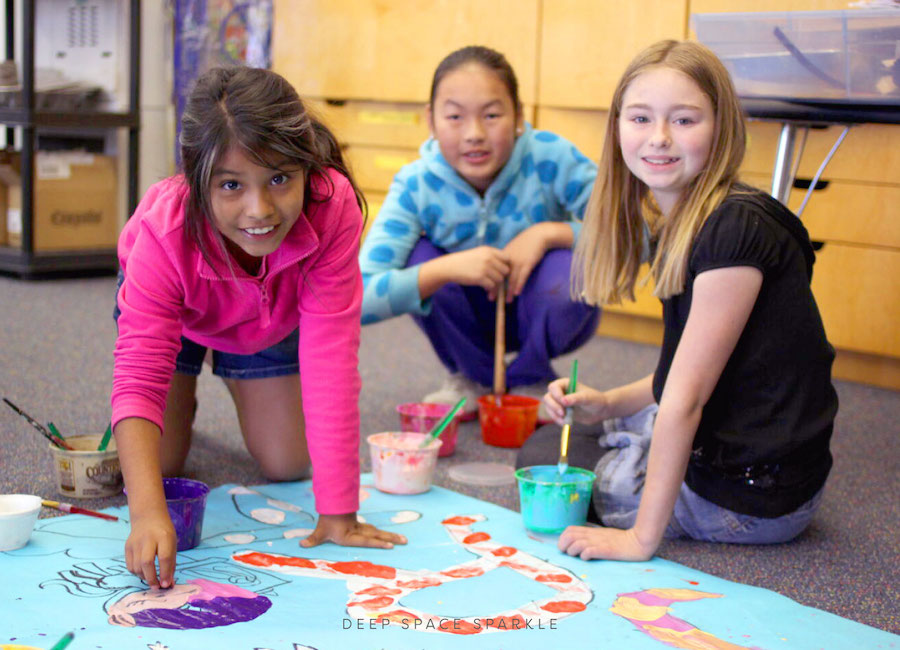
Where can I find the 2 projects (what bundle are they located in) that are featured in the header of this article? One looks like desert animals and the other is the person looking through binoculars. Thank you !!
Hi Lena! Great question. The binocular lesson is called the Animal Observation lesson and it can be found in the Exploration and Discovery bundle. The other lesson behind it is the Desert Landscape lesson from the GAP – Canada & USA bundle. Enjoy
Love this . Thank you!
16 classes .. 1-8 grade , how many panels?
I didn’t understand how you made them .
Hi I am having a hard time finding the Art Show Guidebook. Can you point me in the right direction? Thank you
Hi BrynAnne! If you are a member you can find the Art Show Guidebook under the TEACHER AIDS tab. You can use this link https://www.sparklersclub.com/tsc/resources/ or log in and click on Teacher Aids and scroll down. The Art Show Guidebook can be downloaded directly to your computer.
Hi Patti,
I’ve matted all of my work to the long strips of bulletin board paper. Problem is, they won’t stick to the walls. Any tips or advice for this issue?
Hi, a little bit random of a question, but what is that binocular project on the “How to Organize an Art Show” picture? It looks like it would fit perfectly into my school’s curriculum section for imaging a different world.
Where might I find the instructions for the binocular art?
Hi Sylvia! This lesson is only available inside The Sparklers’ Club Membership. The Sparklers’ Club is an affordable and flexible pay as you go monthly membership—perfect for anyone who teaches art to students aged K-7. To join the Sparklers’ Club waitlist and learn more about The Sparklers’ Club click here: https://deepspacesparkle.lpages.co/the-sparklers-club-waitlist/
I love your comments. We have cement walls in our hallways where the art hangs. For the art show I have older students type their names very large on a typing paper. They put it on a colored background and then hang a piece of yarn or string from the name. We then secure this on the wall and use tiny clothes pins to hang their favorite pieces. The string may have to be reinforced behind the pieces with some type of tape so the weight of the pieces won’t pull it down.
I love the binocular drawing at the top of this post. Do you have a tutorial on making it?
Here’s a trick that I’ve learned that may help for art shows. You can put masking tape on brick or some walls, then take a hot glue gun and glue the bulletin board paper to it. I’d do this at least the top, middle, and bottom areas. Whatever it takes to make the paper amount hold. When the Art Show is done..Take the bulletin board paper & masking tape down and everything should be back to the way it was before.