


Are you looking for some colorful inspiration for your art room? The bold colors and comic book imagery of famous artist Roy Lichtenstein are sure to grab your students’ attention.
With Lichtenstein’s birthday coming up on October 27th, now is a great time to celebrate this influential pop artist by teaching his iconic Ben-Day dots in your classroom!
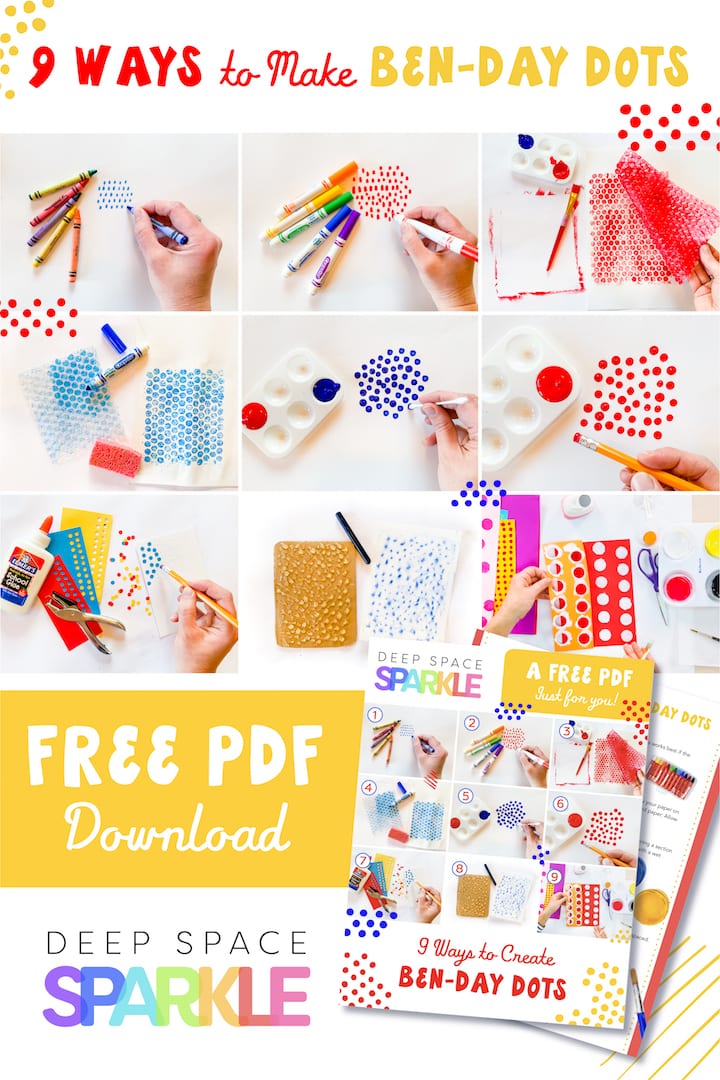
Learn 9 ways to create Ben-Day dots in your art room with the download below.

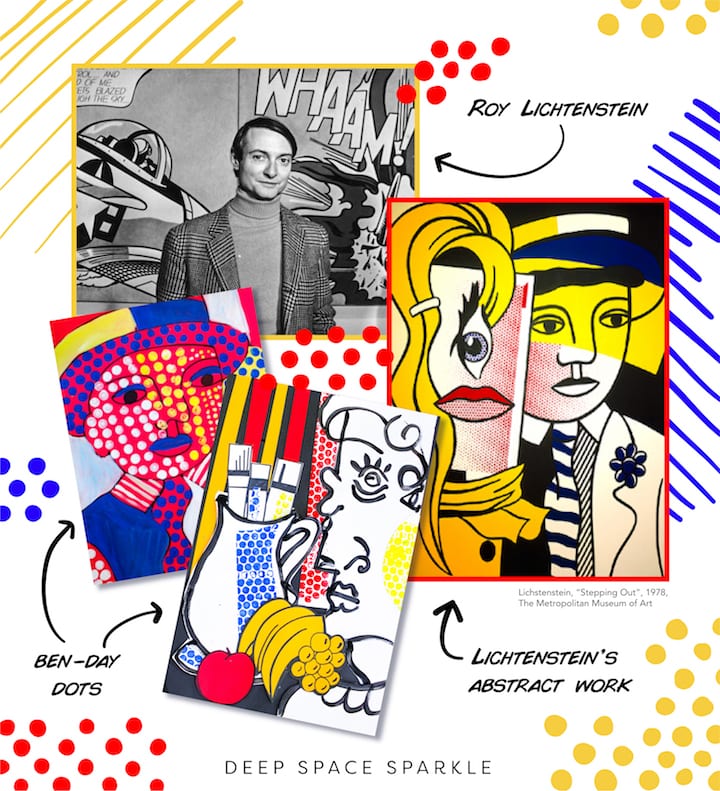
About Roy Lichtenstein
Roy Lichtenstein (1923-1997) was an American artist and leader in the pop art movement. He was inspired by newspaper advertisements and comic strips, and he often reproduced these every day images in his artwork.
Instead of using paint to add color to his work, he used stencils to fill in areas on canvas with small dots, known as Ben-Day dots. Lichtenstein liked the mechanical, commercial feel that the Ben-Day dots gave his artwork.
About Ben-Day Dots
Ben-Day dots are named after illustrator and printer Benjamin Henry Day Jr. who invented the method in 1879.
In printing Ben-Day dots, four main colors are used: cyan, magenta, yellow and black. To create the appearance of more colors and shades, the colors are printed in small dots that are closer together, far apart or overlapping.
For example, when cyan and yellow are overlapped, they create green. Lichtenstein used this idea to create pink shades and flesh tones, using magenta and white.
This was an inexpensive way to create shadows and secondary colors.
Lichtenstein painted very large canvases with tiny dots, placing them close to one another and varying the size so they would create value.
Creating Ben-Day dots is a fun way for your students to incorporate a bit of Lichtenstein’s style into their artwork. There are various ways you can imitate his iconic pop art style using different materials and media with your students.
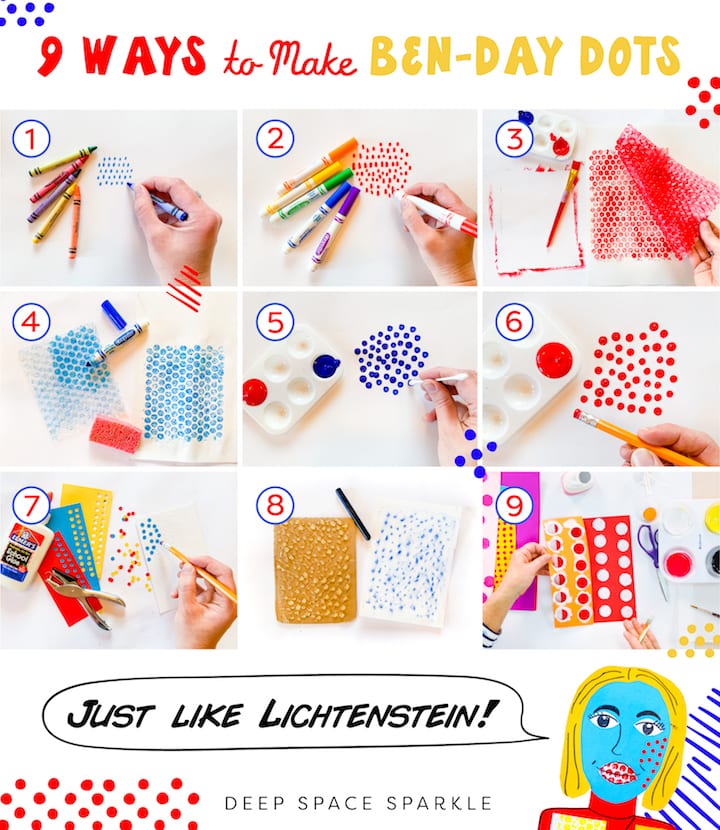
9 Ways to Create Ben-Day Dots in Your Art Room
1. Crayons: Simple but effective. Draw small dots that are evenly spaced. This works best if the artwork is small, that way students don’t get fatigued creating dots.
2. Marker: Create repeating, bold dots with the gentle press of a marker.
3. Bubble wrap and liquid tempera paint: Brush liquid tempera paint on a paper-sized piece of bubble wrap. Lay your paper on top and gently smooth the back of the paper, then lift to reveal the dot-printed paper. Allow this to dry and use it for a Lichtenstein-inspired collage.
4. Bubble wrap and marker: No paint? No problem! You can still print with bubble wrap by gently coloring a section with a washable marker, then printing it on paper that has been dampened with a wet sponge.
5. Q-Tips and liquid tempera paint: Dip q-tips into thick paint and use precision to dab your dots.
6. Pencil eraser and liquid tempera paint: Dip the eraser end of a new pencil into paint and stamp into your artwork.
7. Punched dots, colored paper and glue: Use colorful dots punched out of paper and glue them onto your artwork, evenly spaced.
8. Texture rubbing and crayons: Create your own densely dotted texture rubbing plate with hot glue and cardboard. Once dry, cover with paper and use the side of a crayon to pick up the dotted texture.
9. Stencil, paintbrush and paint: This technique is what Lichtenstein himself used to create dots. Use a hole punch to create holes in a strip of paper. Place the paper over your artwork and dab paint in the holes. Carefully lift the stencil, place in a new spot and repeat.

Lichtenstein’s work defined the premise of pop art. Your students will love celebrating his artistic style through bright, creative Ben-Day dots!
If you’re a member of the Sparklers’ Club, you can access our Lichtenstein Self-Portrait lesson in the Art History – Art That Pops Bundle. Not a Sparkler? Join the waitlist here.
What famous artists are inspiring you this month? Tell us in the comments below!

Written by Amy Clay – Creative Content Developer at Deep Space Sparkle


Love this! Thank you!
I am teaching Marc Chagall, painting with floating figures and dream like scenes.
I am teaching Marc Chagall, painting with floating figures and dream like scenes.
This is so important & you make it interesting & fun!
Very good about Roy Lichtenstein
so amazing good work