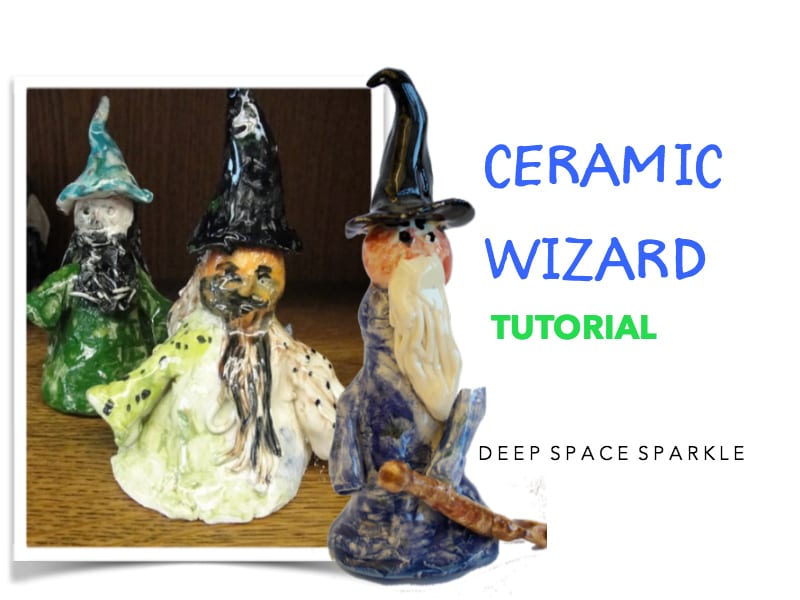


I’ve seen pictures of these cute little wizards on many art sites, and in all cases; no instructions! They looked hard to me and I couldn’t quite see how I would get 25 fifth grade kids to hand build one in under an hour. But once I had the slab of clay in my hands, I realize that the wizard is really just a bunch of shapes stuck together.
As in all my ceramic projects, I use white Laguna Clay. It comes in 50 lb boxes, so it’s a good workout lugging the stuff around. My school district supplies this brand of clay for teacher use, so that’s why I use it. You may want to check out other brands. And just so we’re clear, this is not the air dry type of clay (although that would work fine). This is for firing in the kiln. So here’s how we did it….
Note: Before we get started, it’s important to have some knowledge of working with clay and kilns before attempting this lesson. That said, ceramic clay can easily be substituted for air dry clay. The end results will be different but only in texture, not form.
Step One: Forming the Body, Head and Arms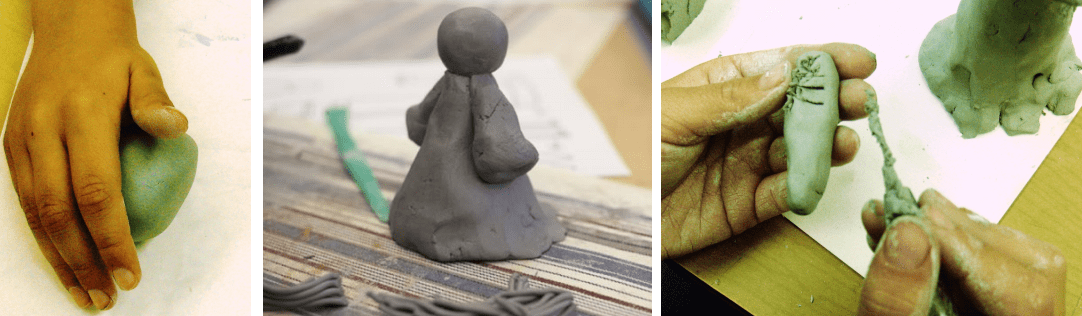
This step is fairly simple. Basically, I give the kids one hunk of clay. I cut it directly from the slab, so each child’s section is approximately 2″ x 5″ x 2″. With a clay cutter (plastic knife is fine), cut off a 1 1/2″ square section for a head. Roll the square piece of clay into a ball. This will become the wizard’s head!
Then, cut a larger piece of clay for the body (about 3″ long). Tap the edges of the rectangle on the table so that the shape becomes round. Stick your thumb up into the bottom of the rectangle and pinch around the edging to form a skirt or robe. Be careful not to press too hard or the robe will become thin and will be susceptible to cracking.
Do the same for the two arms. The rectangles will be smaller, but the technique is exactly the same.
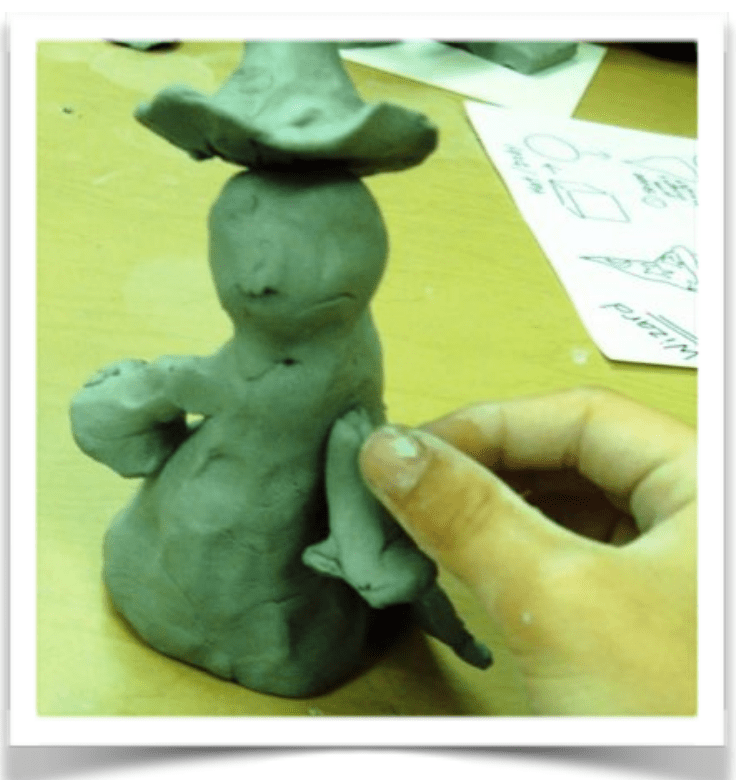
Step Two: Attaching the Body Parts
This is an important step and not nearly as fun as building the body parts. The kids need to score both sides of the clay in the spots where the two will meet. I call this “Scratch Attach” but you can call it whatever you want as long as the kids do it. If the pieces aren’t attached securely, they WILL fall apart in the kiln and you WILL have wizards heads rolling around the kiln shelves.
Step Three: Wizard Hat and Cape
To make the hat, take whatever square of clay is left over and form it into a pyramid. Tap the bottom of the pyramid to get a nice flat bottom, then pinch the bottom edges to form a brim. Again, be careful not to pinch too hard or the brim will be too thin. Press your thumb into the bottom so that the hat will fit nicely onto the head…but don’t attach yet…
To make the cape, take some clay and roll it flat with a broad tip marker. Using a clay cutter or plastic knife, cut out the shape of the cape. Scratch attach the cape to the back of the neck. Leave the cape opened at the bottom. It looks clever to have the cape billowing over the body rather than stuck tight.
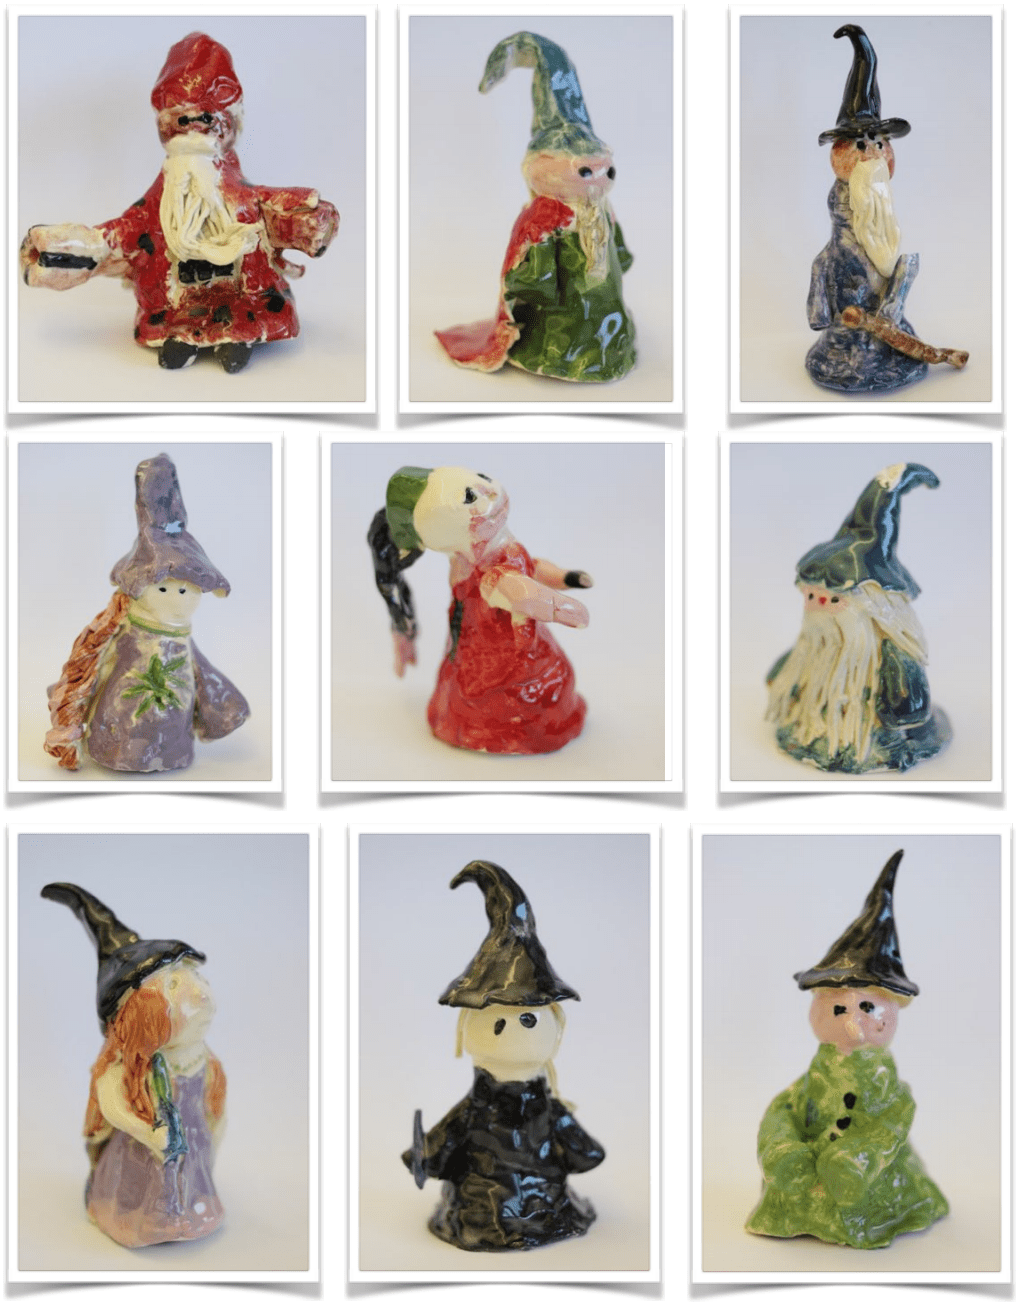
This is a popular step. Get out your garlic presses and extrude swirly, skinny, pliable hair. Scratch attach the hair to the scalp, then put on the hat. Some hair can be draped around the shoulders, used for a beard and in some cases, as a belt!
For the final step, and this can be done by you, take a thick pencil (the kind used in Kindergarten) and stick it all the way from the base of the wizard up to the hat. This does two things: it helps stick all the sections together and ensures that the clay dries faster (no moisture; no explosions in the kiln).
Before the clay dries, check to make sure that all hats are securely fastened. It takes about 10 days for the wizards to dry. If in any doubt, do not put into kiln. I’ve had many pieces blow up in the kiln because of moisture, so don’t let that happen to you.
After the first firing, the wizards are ready to paint. I use an underglaze and then fire again, but if you are short on time, or funds, use acrylic paints to finish painting the wizards. The colors will be very intense but no firing is required.
Good Luck!
Want a free download to another Deep Space Sparkle ceramic lesson? Click the yellow download button below and we’ll send you a PDF lesson plan on how to make a ceramic snowman!


I thought your little ceramic wizards were wonderful. If only I could try that with my classes…living smack, dab in the middle of the "Bible Belt", "wizards" wouldn't go over. They would consider it the devil or something. Very strange, but true. Keep up your wonderful work. You seem to be a dedicated Art teacher. I am on my way out…been doing it for over 30 years, but it makes me proud that there will be young enthusiastic teachers to take my place! :>)
How could you do a project like this if your school doesn't have a kiln?
Try air dry clay and then paint with acrylics. Never used air dry before, but I'm sure it would work just fine. Good luck!
I use air dry clay, have used both Amaco Marblex and Dass. Neither is as strong as fired clay, but if you insist the kids make chunky animals, and you have Elmer’s Glue-All for reattaching broken tails, it can work. I take four sessions to do clay: the first lesson is partly a lecture about clay history/technique/rules and partly a clay-play-day to just get the feel of it. The second day I demo a turtle/elephant that they copy, to show joining techniques and how to make a four-legged creature, their choice. The third class, they paint the works in tempera, using only primary colors and white to make all the colors they need, and the fourth class they paint the works with tempera varnish, put them on a piece of wax paper, and get them at the end of the day. An older art teacher showed me how to set up a big flat box that 18X24″ paper comes in, put a sheet of paper in it with the teacher’s name and all the kids’ numbers on it, for kids to put their sculptures on their class numbers. Then at the end of the day, I write the number in the bottom of the piece of clay, and hand them out for painting the next time. It’s very enjoyable to teach clay in this way.
This is a great way to track clay pieces. Genius!
I would love to try these! I have been using air dry clay- so far so good. If anything does break, I’ll just use hot glue… Again- great website and I’ve used many of your lessons this year! (I’m a first year teacher and loving it:))