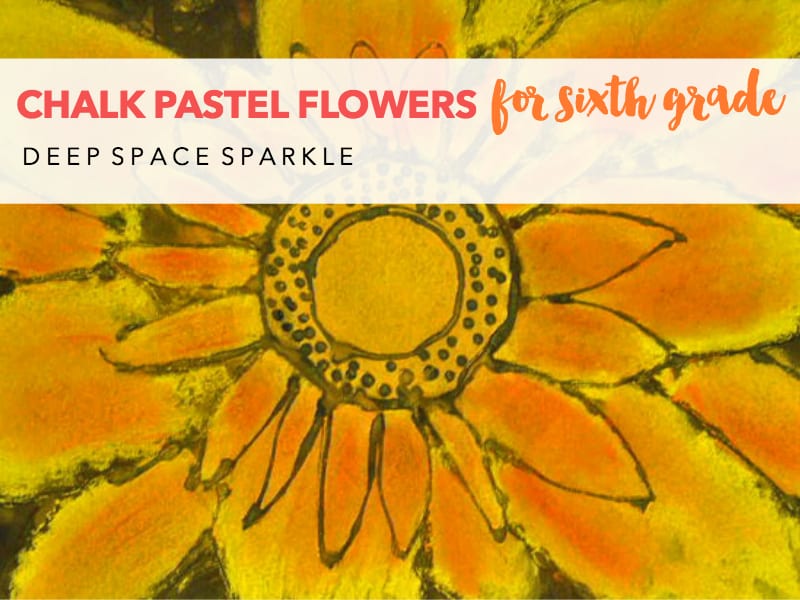


I teach my Chalk Pastel Flowers lesson every year. It’s fast; only takes 2 @ 55-minute sessions, reinforces blending skills and offers practice on developing fine motor skills.
Supplies:
– Chalk Pastels
– 12″ x 18″ black drawing paper
– 1 bottle of white school glue per student
DRAWING THE FLOWER
Display a variety of flower pictures (old calendars are great) on the whiteboard and talk about the elements of a flower. By sixth grade, these kids already know, but go over it again.
I show the kids how to properly use a glue bottle for “drawing”. Click on the link to learn how to draw with glue.
Before I go on, let me give you an option. You can either have the children draw their chalk pastel flowers with a pencil or have them skip this step and draw immediately with glue.
I recommend the latter. Kids with pencils (especially older kids) tend to become perfectionist; drawing the tiniest of details. This is fantastic, but it won’t work with this lesson.
The bigger the drawing, the better. The less detail, the better. So having said that, go directly to glue.

Begin with the centers of the flowers. That could mean one large center or two or three smaller centers scattered around the paper. Then, beginning on the left (if you are right handed), begin adding petals.
Once the entire paper is covered with beautiful, white flowers, lay the paper on a flat surface. Drying racks with a slant will not work!

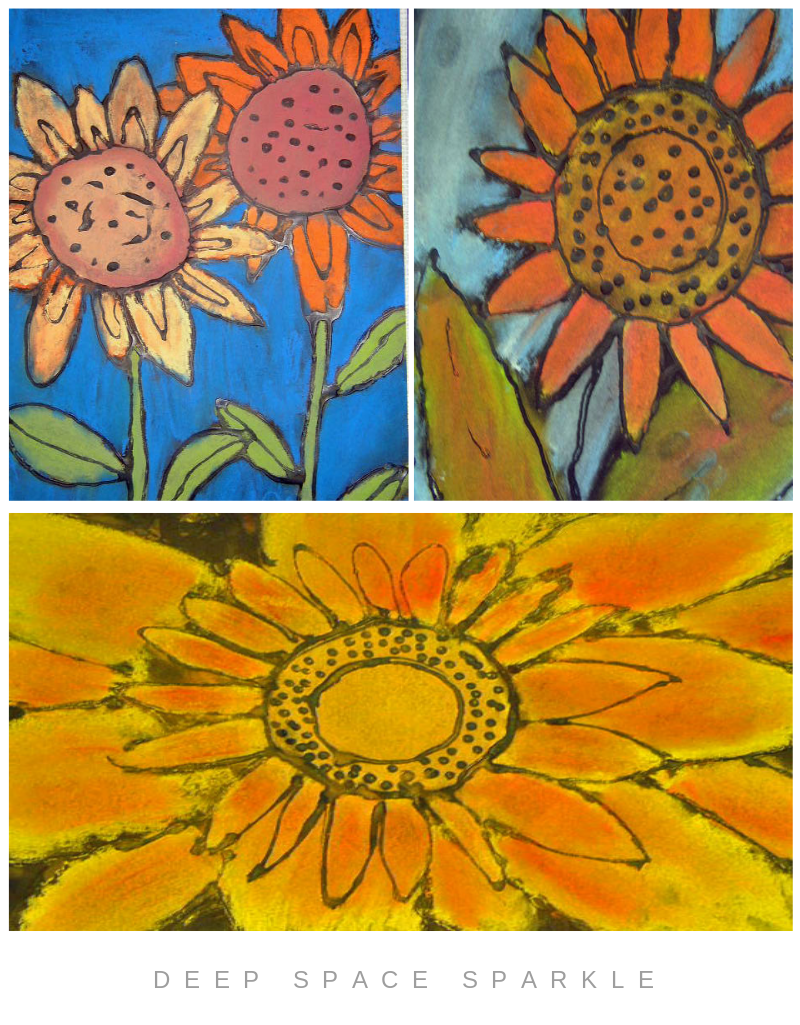
This part is easy. Bring out the beautiful pastels and get to work. I encourage the kids to push the chalk up next to the rigid glue line and then blend into the paper using just one finger. Watch the kids work. If too much black paper is showing through, then they aren’t applying enough chalk.
Chalk tips to avoid never wanting to work with chalk again:
Have the kids hold up ONE finger. Tell them that this is their tool. Do not use more than one finger to blend.
To clear their paper of chalk dust, have them hold their paper vertically and tap the paper onto the edge of the desk and onto the floor. Hey, it’s better than on their clothes.
Set a damp face cloth or rag on each of the tables. The kids who can’t stand the dry, dusty feeling of chalk dust can wipe their fingers when they feel the need. Just make sure it’s not too wet.
Finally, if you can, spray the picture with hair spray. This is not a perfect fixative, but it’s cheap and works relatively well. Some years, I laminate chalk drawings. The colors become more vibrant, but if your school is impacted by budget cuts, sometimes a laminator isn’t available!
Gallery of some Chalk Pastel Flowers:
This post contains affiliate links.
Enjoyed this chalk flower lesson? Click the download button below to receive another free chalk pastel lesson on sunflowers!


These chalk drawings are beautiful!!! I recently found your site and LOVE your lessons. I am a first year art teacher, so I am always looking for ideas, and feel like I just stumbled upon the Holy Grail with Deep Space Sparkle. Last week I did the warm/cool color modern landscapes with chalk pastels, and they turned out beautifully. I can’t wait to try this lesson!
Love your art site. I've gotten lots of great ideas for my class. I especially love your Van Gogh Flowers. I seem to be having problems with my chalks on dark paper.
Your pictures look so brilliant in their colors. When we use them, the chalk is thin (no matter how much we put on)leaving the picture dark and dull. What are we doing wrong?
Marinas,
First of all, make sure you are using art chalk and not chalk board chalk. I use a fairly inexpensive brand, and the colors seem to work great. So check your chalk.
That's the only thing I can think of with the exception that you are using chalk pastels and not oil right? No. You said chalk!
What pretty flowers and such a clean little painting. The unexpected things that we meet each day provide a great source for picture-making. Better to live an unplanned life I think.
I love this idea and want to use it with my sixth graders. However, I am going to do fall leaves instead of flowers. My question is, how do you get the glue lines black? Or what causes them to stand out? Thank you!
Hi Andrea,
Use black paper as per the instructions. The glue dries clear!
Give it a try yourself and you'll understand how it works. It's fun!
Is black construction paper ok to use instead of drawing paper?
Same thing…I use Tru-Ray Sulphite drawing paper. It’s a higher quality construction paper (less fuzzy that the stuff you buy at a discount store).
really love your projects and the way you have shown your lessons on the website. I have been teaching art for 20 years and love new projects to keep me and my students excited.
I have found that giving each child a small piece of brown paper towel and showing them how to wrap it around their pointer finger is a good way to keep chalk from becoming too dusty or messy. I do this in first grade and older. By rubbing the chalk into the paper with the towel I do not even need to use a spray. I tell them not to fill the whole space but instead to put a small amount of chalk and then rub it with the towel until it fills the space. If the chalk gets too light they simply repeat the process with another layer. New spots on the paper towel can be used with each color so that they do not all mix and become muddy.
What other medium could you use instead of chalk pastels? Could oil pastels work also?
Hi Leanne,
The purpose of this lesson is chalk technique. As with many of my lessons you may notice that there are only so many techniques to teach children but the subject matter ranges a great deal. If you like the brightly colored flowers but don’t have chalk, try using a black oil pastel to draw the outline of large flowers and paint with tempera or watercolor. No need to use the glue as it’s the glue and chalk pastel combo that makes this project worth the effort. You could color with oil pastel but I wouldn’t use black paper and there would be no need for the glue. Good luck!
I am always inspired by your site and use many of your projects. Thanks so much. I just did this with my kids today-its turning out great.
I bet it would be great for watercolor on white paper too. I’ll have to try that for a winter scene!
Hi Patty!
I suppose that after drawing with glue, glue must dry out completely?
Just found your site–l-o-v-e this idea! I teach second grade, not art, but I still like to incooporate some into in my classroom.
plan on doing this with my own kids as well! My daughter loves drawing flowers…this will take it to an entire new level!
I’ll be sure to blog about it and link you!
=)
thanks so much!
Hi Patty,
First of all I really enjoy your site, thank you for sharing your ideas, thoughts and lessons with us. I love working with chalk pastels because of the beautiful results that occur but I’m concerned about the dust. Do you ever worry about it? How bad is it and is it something to avoid altogether? Just wondering what your thoughts are on this.
Hi Mrs. G,
I’m not aware if school grade chalk pastels are toxic or harmful to children. My understanding is that the products I use are safe. Are you concerned with breathing conditions such as asthma? I think in order to receive proper information, you may want to contact the manufacturers of the product in question or perhaps even a consumer report site. Sorry I’m not much help, but this hasn’t been one of my concerns.
Love this site!! I have been teaching art for many years and just wanted to share a tip.
BABY WIPES, they are the best when it comes to cleaning surfaces, wiping hands (from chalk dust), we even use them to clean paint brushes between color changes! The wipes keep the brushes a bit more dry so paint, (tempura, watercolor, acrylic) becomes less watery.
Just came across your site for the first time and I am thrilled with your ideas and lesson plans. Love this wonderful idea for chalk pastels. Can’t wait to try it out with my year 5 class. THANK YOU!!
i do a similar project with my art club kids. I add black acrylic paint to the white glue. Then i have the kids outline their picture on white watercolor paper – some drew fish with fins with the black glue. We let it dry and the next week we use bright watercolors to paint in-between the black lines and the background. Just another alternative. Love the flower idea.
I love your creative, inspiring projects! I can always count on you for new and fun ways for my students to use chalk, glue, and oil pastels (my favorite media to use!) in the classroom. Thank you for being an inspiration, especially to those of us lacking in both time and (ahem) talent.
jeanne.paulsen@arapahoewarriors.org
Hi Jeanne,
We’re happy to send you the PDF. Just scroll to the image in the post that says Download PDF. Then, click the box, enter your name and email in the pop up and you’re all set. We’ll email you the download. Be sure to check your spam or junk folder as sometimes our emails end up there.