


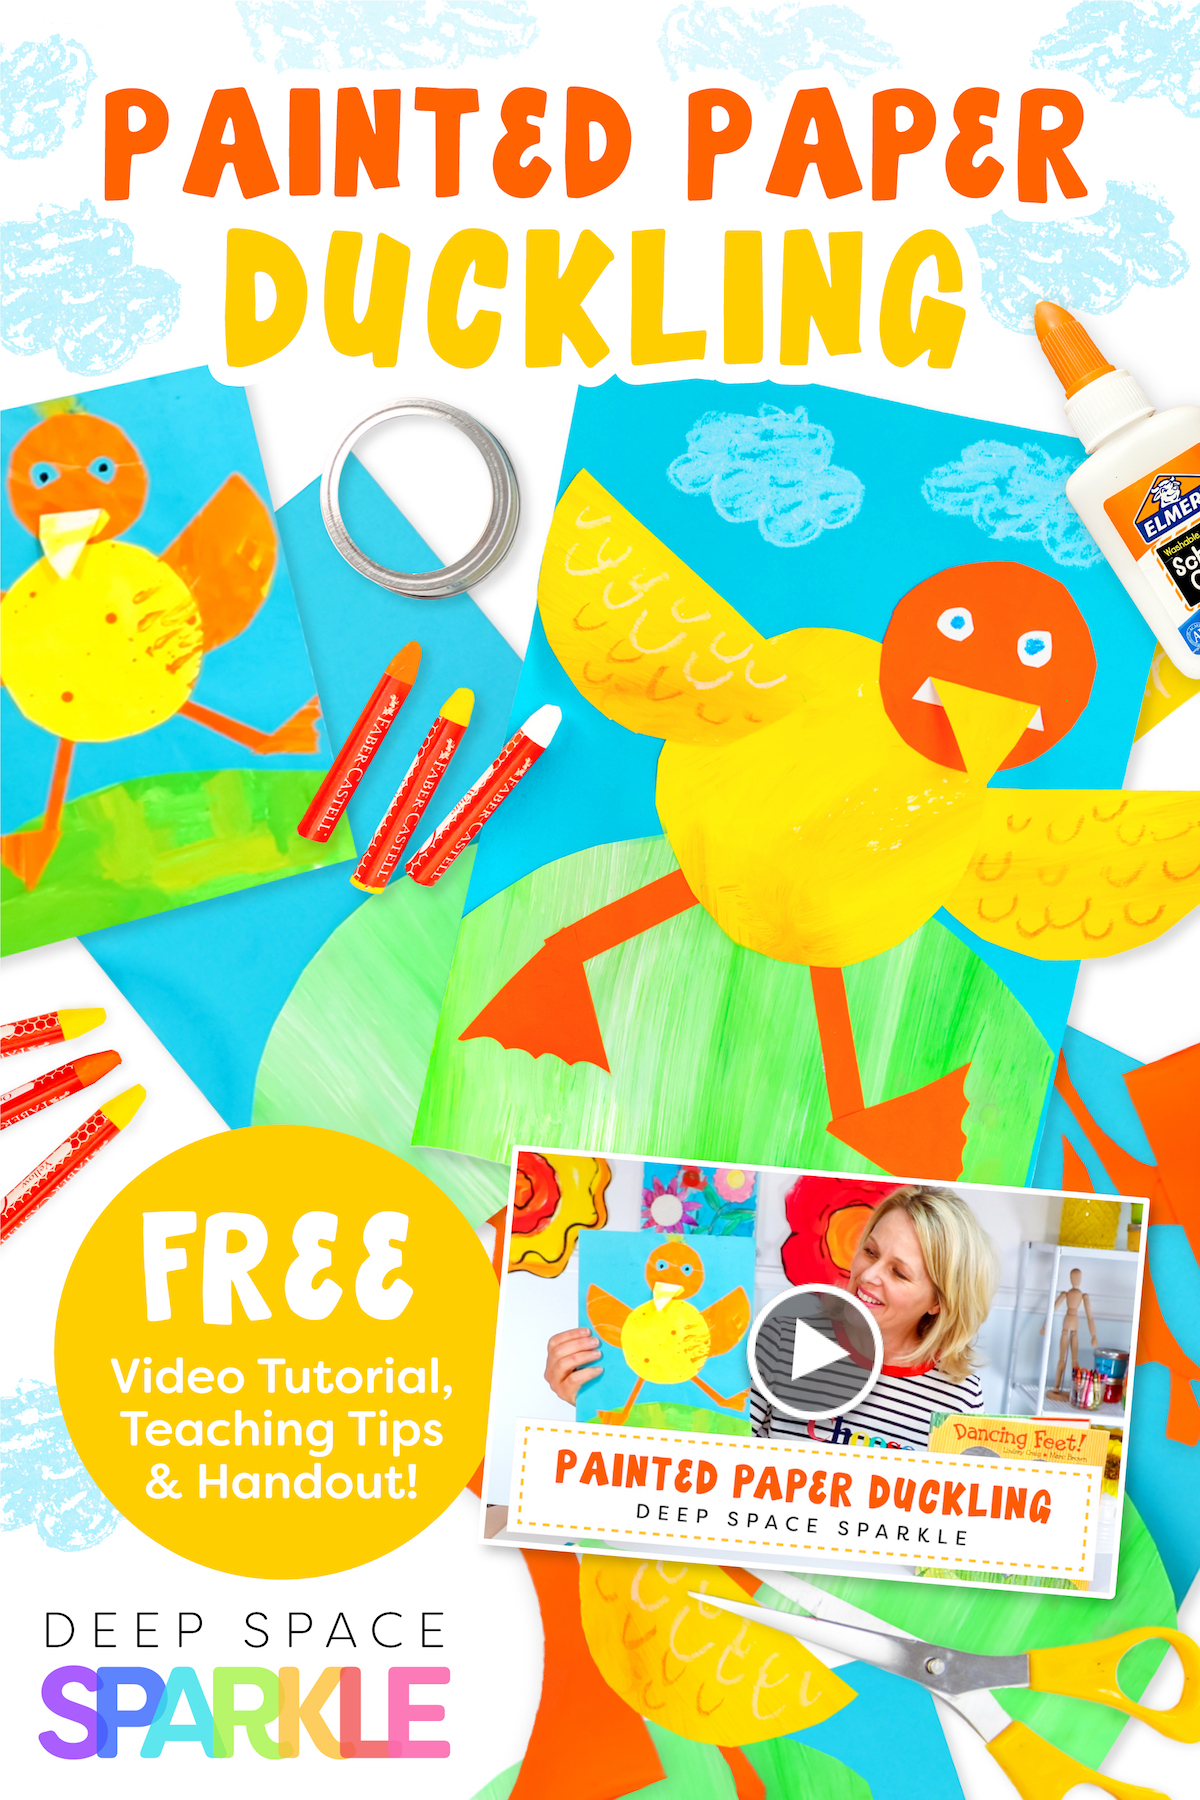
This sweet little dancing duckling is a perfect spring lesson for your little wee ones! Kindergarteners, pre-kindergarteners and even preschoolers will love to build and create their own frolicking duck while practicing their fine motor skills through tracing and cutting.
The book Dancing Feet by Lindsay Craig was the inspiration for this lesson. The beautifully bright and textured illustrations will engage your students and it is well worth finding a read-aloud on YouTube or checking our from your local library.
Watch a quick video tutorial here:
Click the yellow button below to DOWNLOAD the free drawing handout for the duckling drawing guide, as well as the other April Project drawing guides. Just add your name and email and we’ll send it straight to you!

WHAT YOU’LL NEED:
– 9″ x 12″ colored paper (background)
– 6″ x 9″ green painted paper (green)
– Yellow & orange painted paper
– Crayons
– Scissors & glue
– Circle tracers: one large and one small
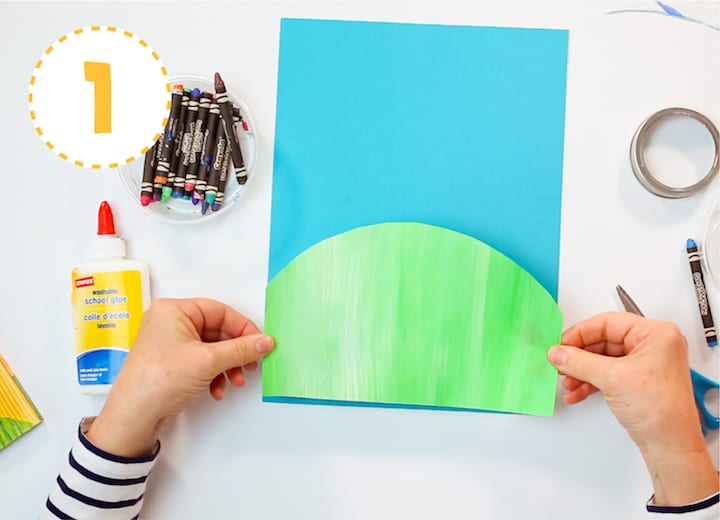
THE BACKGROUND
Use a crayon to draw a curved line for the hill on the back of the green painted paper. Start near the middle on the left side of the paper, curve up almost to the top, then back down to the middle of the right side of the paper.
Cut along the line, then glue to the blue background. Make sure to line up the bottom of the hill with the bottom of the paper.
You can flip your paper over and rub the back to make sure that everything is flattened down.
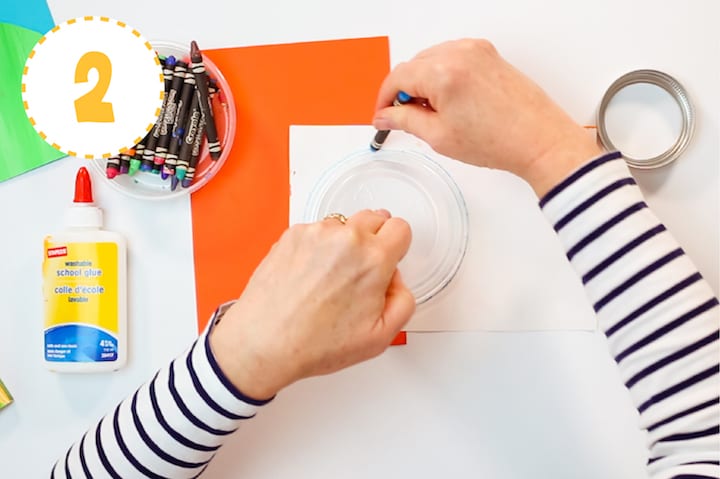
MAKING THE DUCKLING
Trace two large circles onto the back side of the yellow painted paper using a crayon.
Trace one small circle on the orange paper.
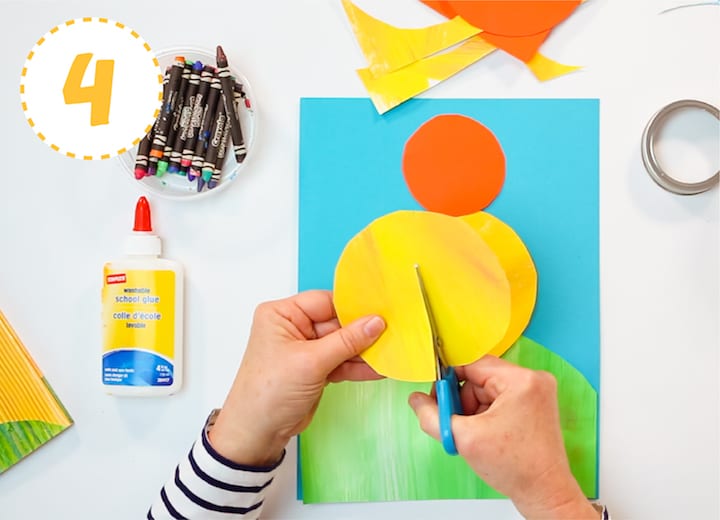
Cut all of the circles out. Save both your orange and yellow scrap paper.
Cut one of the large yellow circles in half for the duckling’s wings.
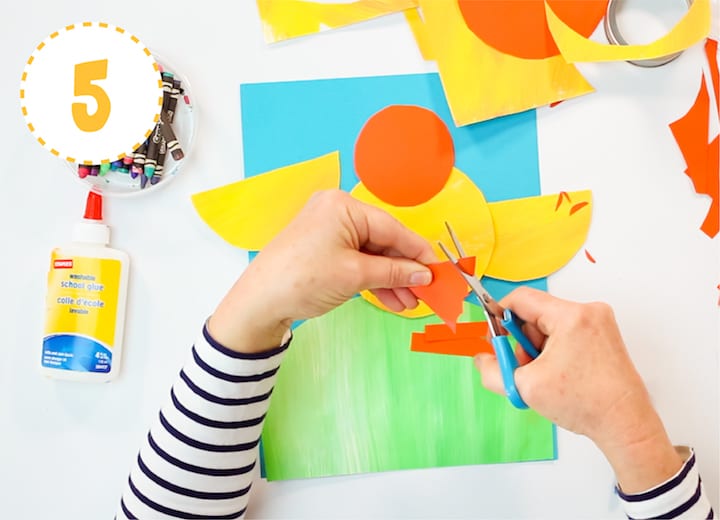
Use your scrap orange paper to cut out two thin rectangles for legs. Try to make them the same length.
Next, draw and cut out two triangles for the feet. Stack them up together and use your scissors to cut a scalloped line across to make the bumps for the toes.
Draw and cut a triangle for the beak out of the extra yellow paper.
An easy way to teach young students to draw a triangle is to make a dot about one finger length from the bottom of their paper. From that dot, make two diagonal lines to the bottom of the paper. Viola! A simple triangle!
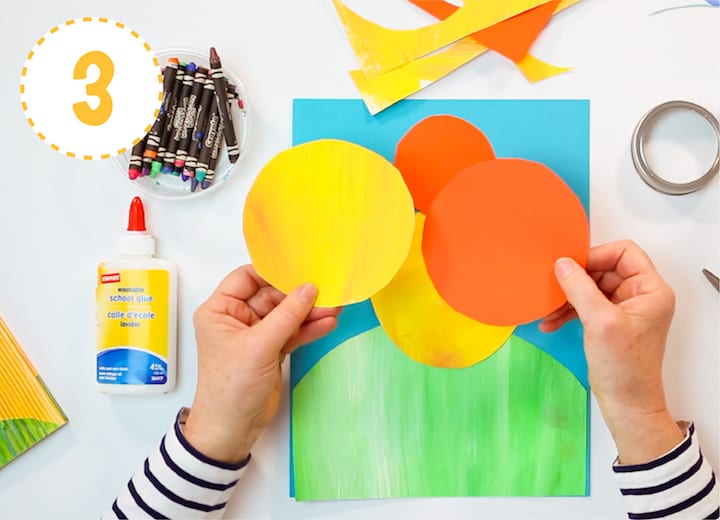
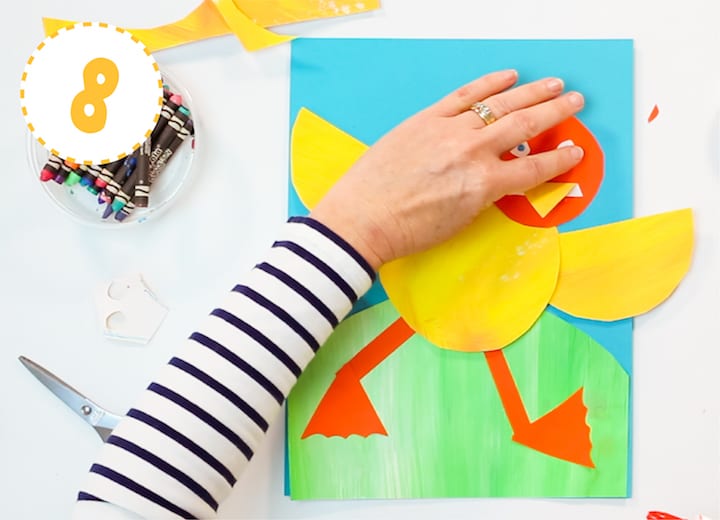
PUTTING IT ALL TOGETHER
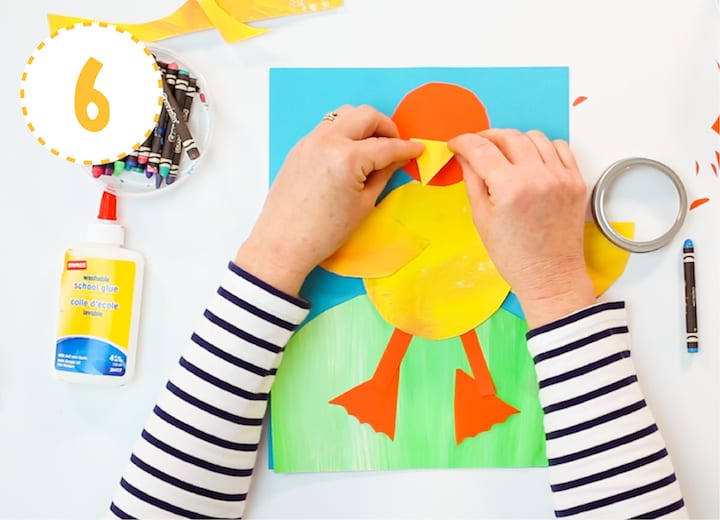
Arrange the circles on the background paper to make the duckling; the large yellow circle for the body with the smaller orange circle on top for the head. Place your wings on either side of the body.
The way you arrange the wings and head will determine how your duckling is moving. The wings can either go on top of the body, or be slid underneath. Be sure to download and use the provided handout to get some ideas.
Once you are satisfied with the position, glue down the body, then the head and wings.
Next, arrange the legs and feet, then glue. Be creative with their position to make your duckling dance!
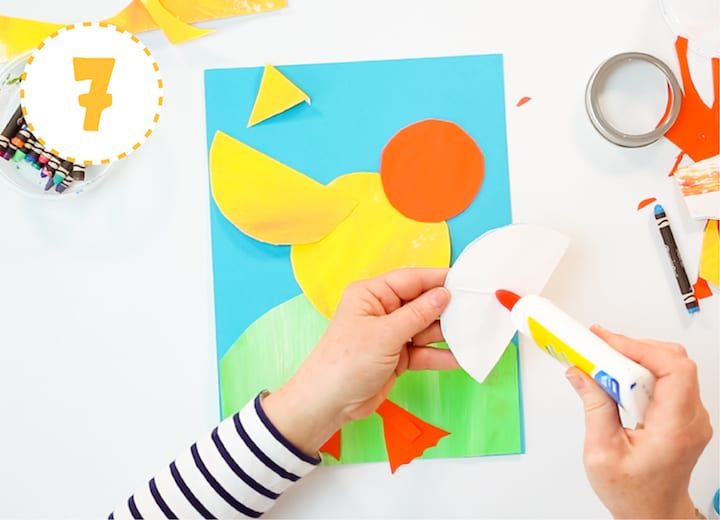
To make a beak that pops up, fold over one edge of the beak. Put glue on the folded edge, leaving the rest of the beak to pop forward.
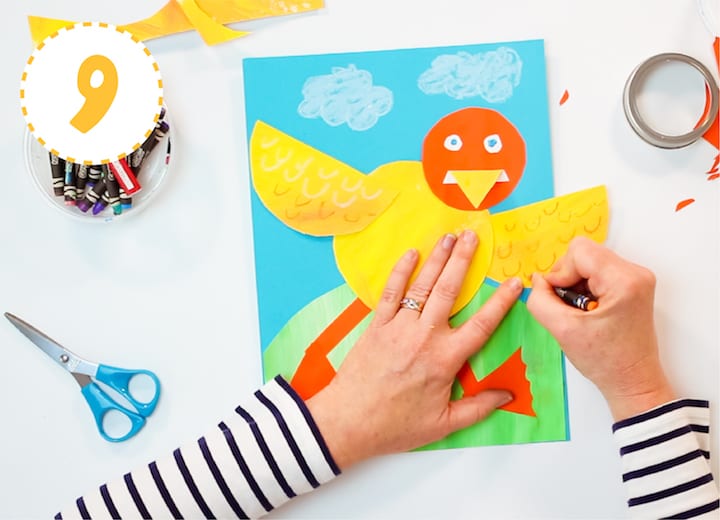
ADDING DETAILS
Use scrap paper to cut two tiny circles for eyes. Use a crayon to add a colored circle in the middle. Put two dots of glue on the head, then place the eyes on top.
Another option for the eyes is to draw them directly onto the duckling with crayons.
Use a white oil pastel or crayon to draw puffy white clouds in the sky.
Add feathers to the duckling by drawing “U” shapes on the wings with a crayon or oil pastel.
Now your duckling is ready to go splash in a springtime puddle or dance the day away!
For more information on joining, sign up to our waitlist HERE.
*This post contains affiliate links. As an Amazon Associate I earn from qualifying purchases.
Click the button below to DOWNLOAD the April Project Guide for more fun art lesson you can use this month!
PIN ME!


this is fun
Very nice and simple. A good way to introduce/revisit the shapes. Full circle, half-circle, triangle, big, small so on. The end product is very attractive. Than you
so cute
Thanks
Love it!