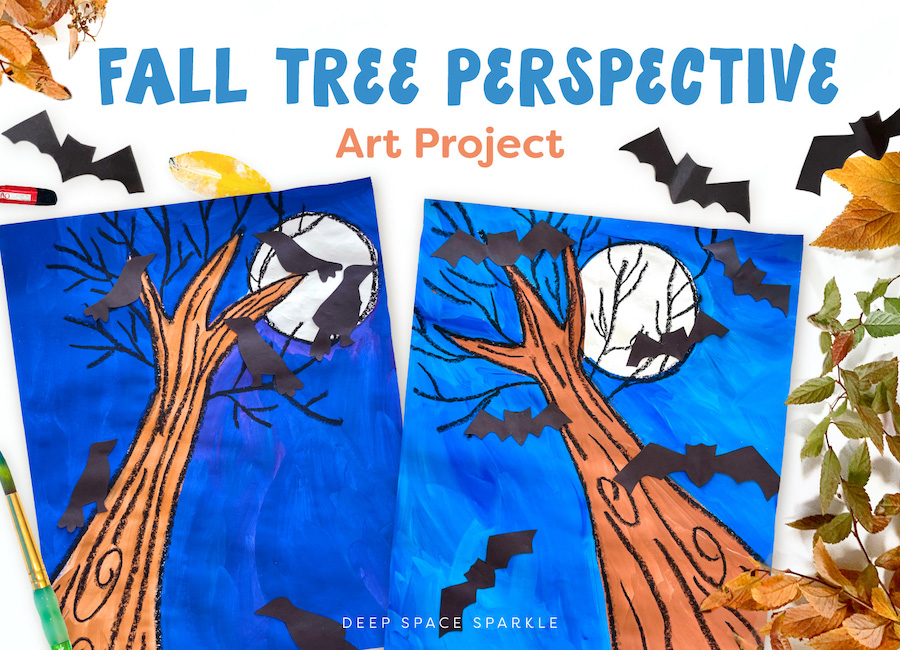


Drawing using perspective is not always easy. It can be confusing to draw the three-dimensional aspects of nature on a flat piece of paper, but it is the perfect skill to stretch drawing skills for third or fourth grade students.
This lesson is a fun way to get kids thinking about what they see as opposed to what they think they see, which is half the battle with perspective.
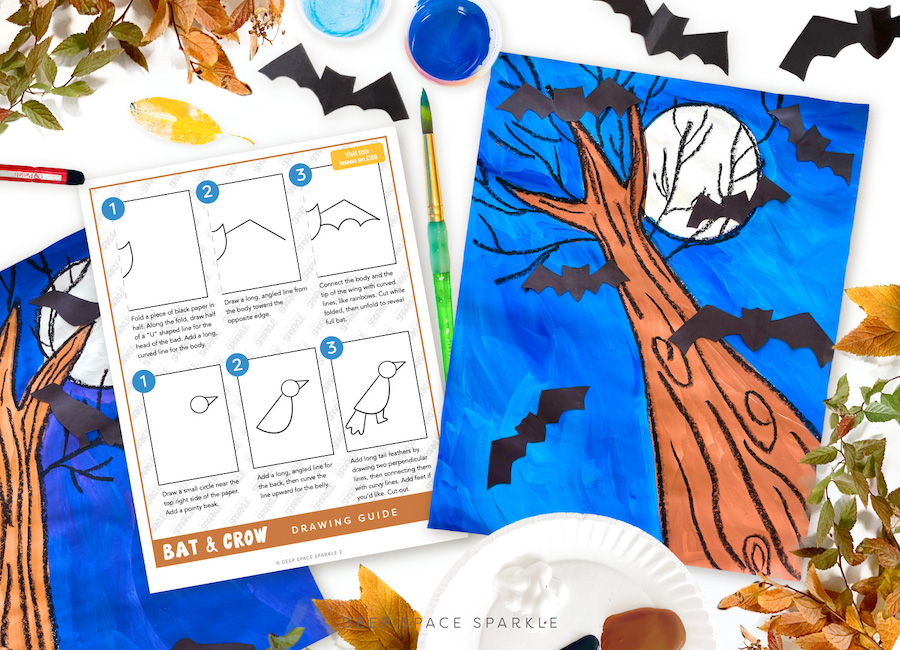
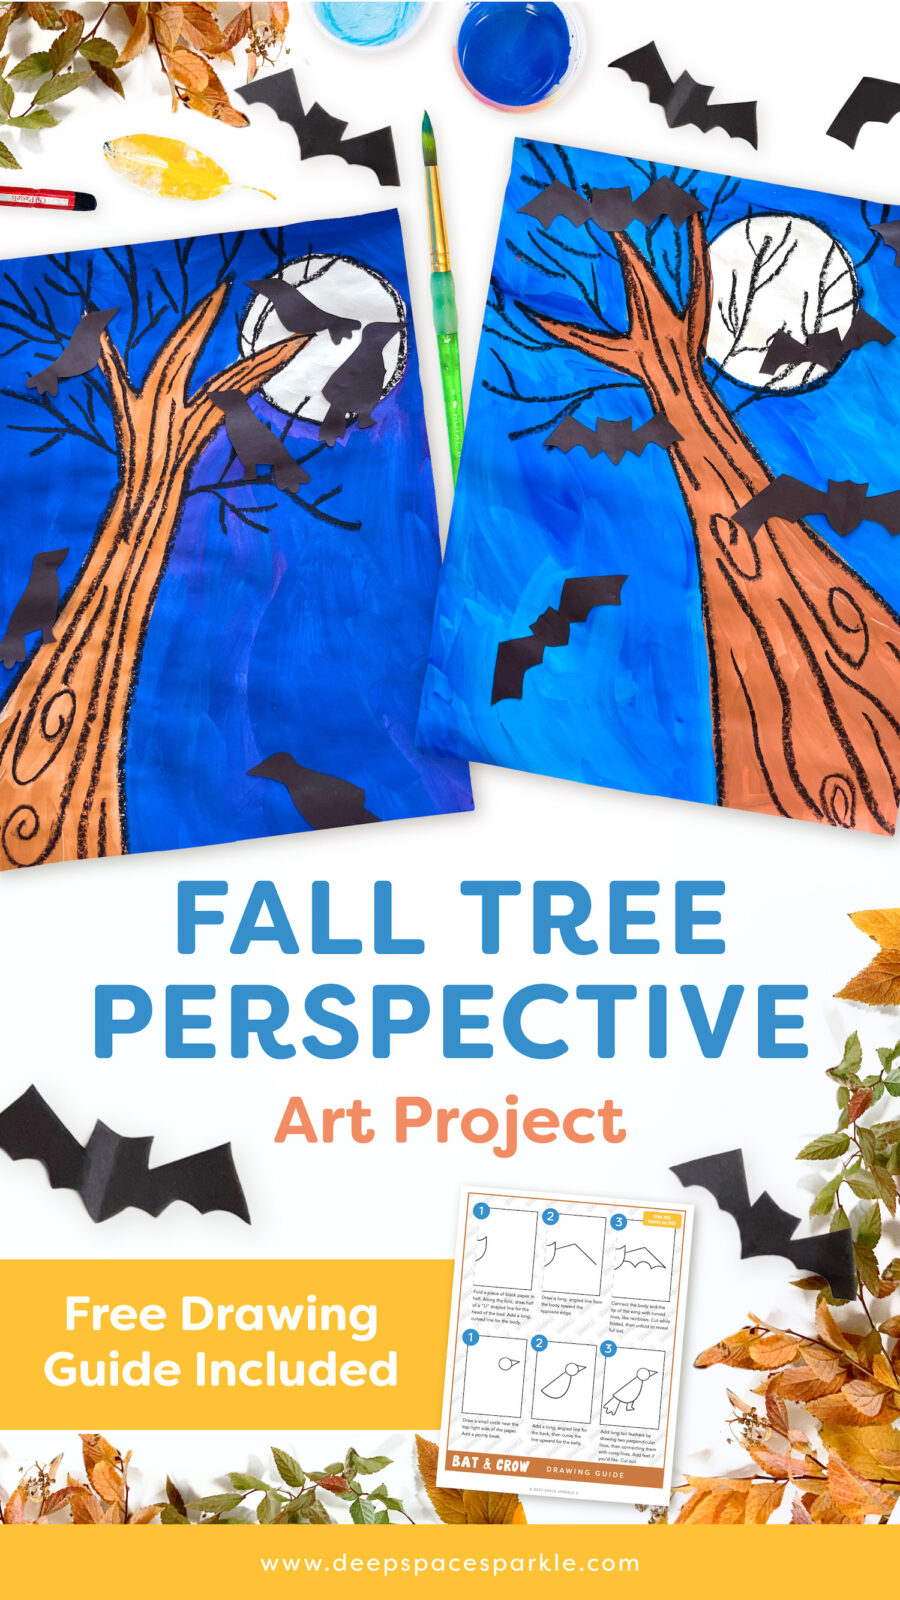
We’ve created a guide to drawing and cutting out the bats and crows for this lesson. Click the yellow button for you drawing guide below!


Take it Outside
If you have lots of trees around you, take children outside and lay down under the base of a large tree. It works best if the tree is the type that has a wide base and narrows as it grows taller. Not all trees are like this.
The idea is to recognize that as a tree grows taller, it narrows. You can replicate this on a piece of paper with some oil pastels, some paint and a bit of black scrap paper.
What You’ll Need:
– 12″ x 15″ piece of sulphite paper
– Black oil pastel
– Circle tracer
– Liquid tempera paint (white, brown, blue or purple)
– Medium round paintbrush
– Scissors
– 4.5″ x 9″ black sulphite paper, or scraps
How to Draw Trees in Perspective
Place the oil pastel on the right side of the paper, near the bottom. Draw a line that curves inward slightly toward the top of the paper, near the middle.
Repeat on the left side to make a tree trunk that comes from the right corner of the paper and things as it goes upward.
At the end of each line, draw a short, curved line back out toward the edges of the paper.
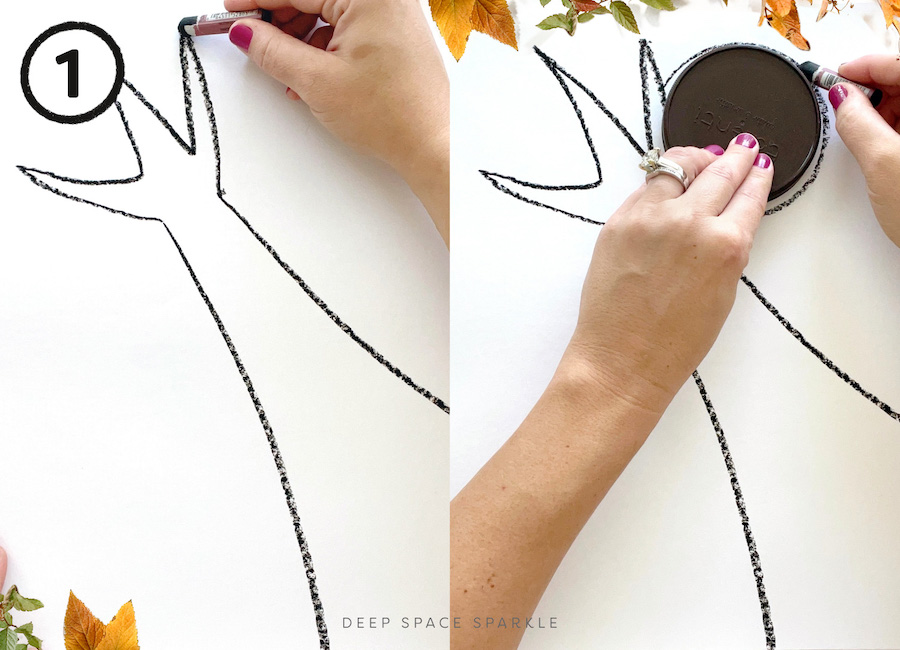
Now for the hard part: draw the three main branches. I showed my students how to draw the branches so that the ends grow smaller. Smaller tree branches will extend off the ends. Most students in second grade will have a tendency to round the tips of the branches.
Use a circle tracer or container top to trace a moon behind the tree branches. The moon can be as big or small as you wish. Bigger is a lot easier.
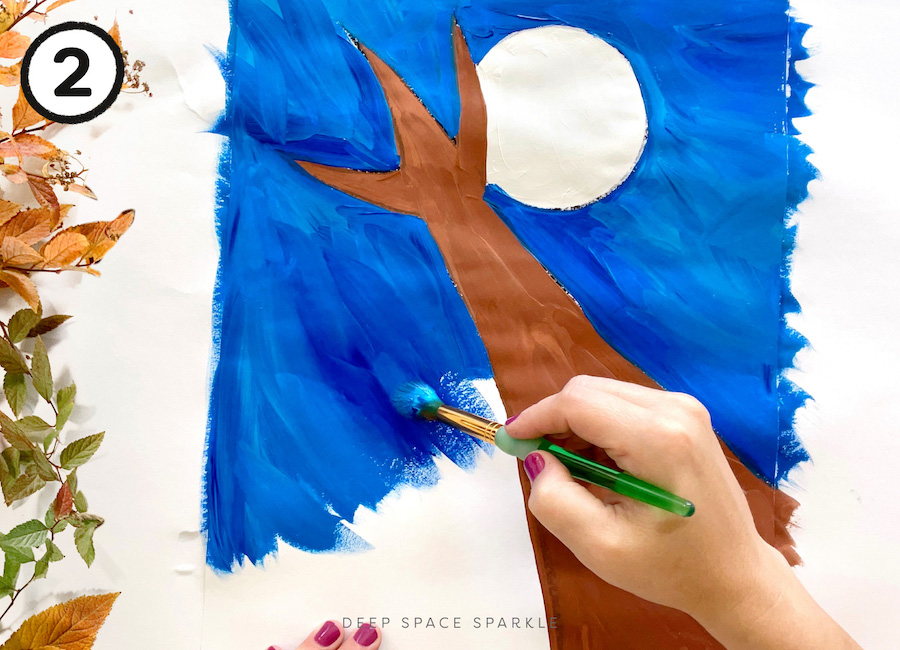
Paint the moon using white liquid tempera paint.
Paint the tree brown, then fill in the sky with blue or purple, or a mixture of both. Painting typically makes the end of the first session for this project.
For less mess, you can use cake tempera paint if you’d like.
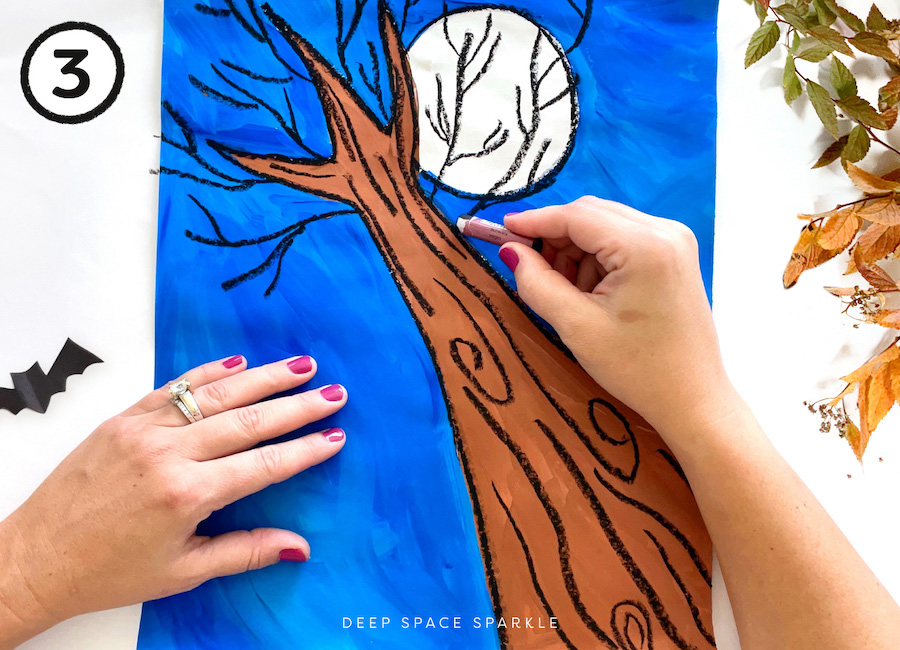
Using black oil pastel, draw lines to represent the bark of the tree. Add lots of small branches growing from the main branches and outline the moon.
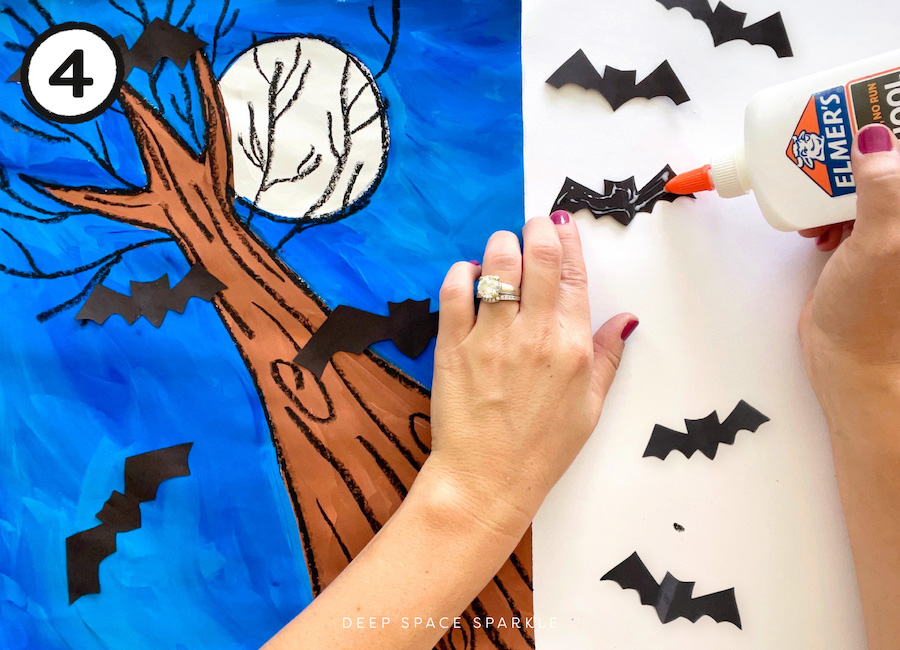
If you have extra time, use some scrap paper to cut out some bats or crows to place on the branches or in the sky. The kids LOVED this part, so don’t skip it if you can.
We’ve created a guide to drawing and cutting out the bats and crows for this lesson. Click the yellow button for you drawing guide below!
Pin me!


I believe I signed up for your weekly newsletter, but so far have not received aynything. I did see your message about your new exciting book adventure and wish you the best. Please let me know if you will continuing your newsletter. Thank you.
Yes. I missed last week since I was in Europe. Next newsletter will be sent on Tuesday. Thanks for asking!
Love! Love! Love!!!!!!!!!!!!!!
A great project, I used the pastel for the outline and moon and used crayons for the bulk of the colouring. If I were to do it again, I would sketch with pencil and the use all wax crayon and trace with sharpie at the end and to add my branches. Only because the pastel smudges and runs during the colouring after drawing the tree and moon.
I just completed the trees with my second graders and they look great!!! They were so excited to do something “spooky” for the season, while incorporating perspective and line in the lesson. My third graders do haunted house drawings, so this was a way to appease them until next year!!!! Thank you Patty!!!
I’m teaching a perspective lesson to students ages 6-11 this evening. It will be a similar concept, looking at a tree from the bottom up! I am trying to formulate the best way to explain the lesson in a way that all ages can grasp… I will let you know how it turns out 🙂
What did you use as your I Can statements for this lesson?
It’s super cool to do ,mine turned out great 😁😁
Just finished this lesson with my K-3 students. We used liquid watercolours (brown for the trunk and dark blue for the background and left the moon unpainted). They turned out beautiful. I can’t wait to put them on display tomorrow. Thanks for continuing to inspire art in my multigrade classroom.
Great Lessons for teachers who have no art experience. Thanks
Great lesson. Students really got the perspective.
I did It with my 3rd graders and they really liked doing It .They all said that It was easy and fun
You are SUCH A GRATE TEACHER !!!!!!!!!!!!!!!!!! signed Your NANA !!!!!!!!!!!!!!!!!!!
I just love Deep Space Sparkle curriculum. It makes our time in Art so much more rewarding for the kids and for me. I’m just as excited about new lessons and projects, like a kid at Christmas. And as soon as I walk in the door in the morning I’m always greeted by a group of kids clamoring, “Miss Kay, what are we going to get to do in Art today?” They love all the lessons even the hard ones.
I love this!
This looks great and is quick and easy. Thank you!
great drawing project- unable to open download
I am curious to know more about your assessment practices in the art classroom. How many projects do you assess? How do you assess the assignments (percentage, four-point scale, etc). Do you have additional resources for assessing art?
beautiful
Super cute, thanks for sharing!
Not able to download drawing guide
Hi Mary! Everything is working on our end. If you click the download button and add your email address we will send the lesson directly to your inbox. Be sure to check your Spam or Junk folders to make sure it didn’t end up there. We have found that the Firefox browser doesn’t work as well on our site but both Chrome & Safari browsers work so be sure to try using one of those. Enjoy.