


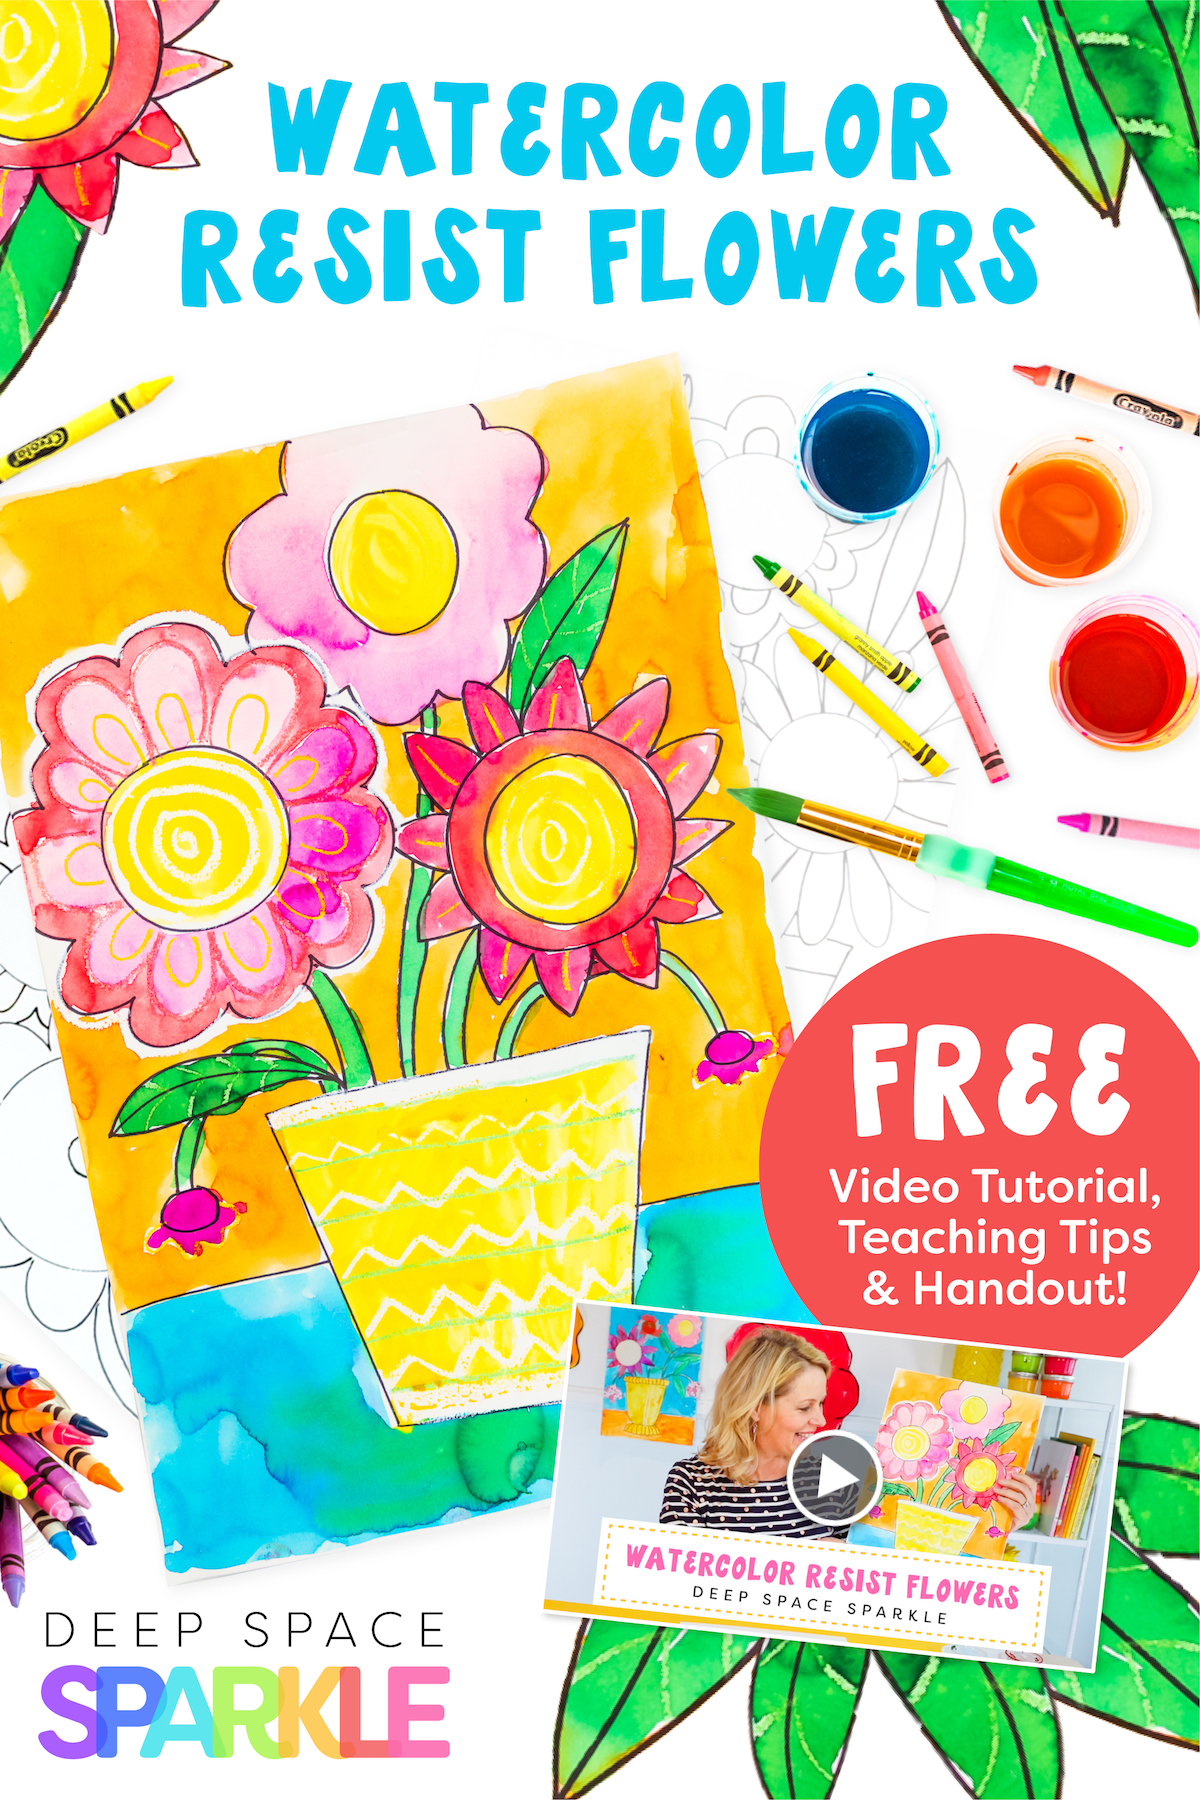
These bold, colorful flowers are sure to brighten your day! This lesson is a mash up of two projects from my book, Draw, Paint, Sparkle; Van Gogh Flowers and Big, Bold Painted Flowers. The two lessons combine to create a happy bouquet of flowers, inspired by Vincent Van Gogh, that even your youngest students can be successful with.
This lesson uses watercolor resist; using oil pastels or crayons first to create details, then painting on top with watercolor, which allows your beautiful details to shine through.
Watch a quick video tutorial here to follow along…
Click the yellow button below to DOWNLOAD the free drawing handout for the Watercolor Resist Flowers drawing guide, as well as the other April Freebie Pack drawing guides. Just add your name and email and we’ll send it straight to you!

WHAT YOU’LL NEED:
– 12″ x 18″ watercolor paper or sulphite paper
– Sharpie marker
– Oil pastels
– Liquid watercolor
– Medium round paintbrush
– Big Bold Painted Flowers Handout
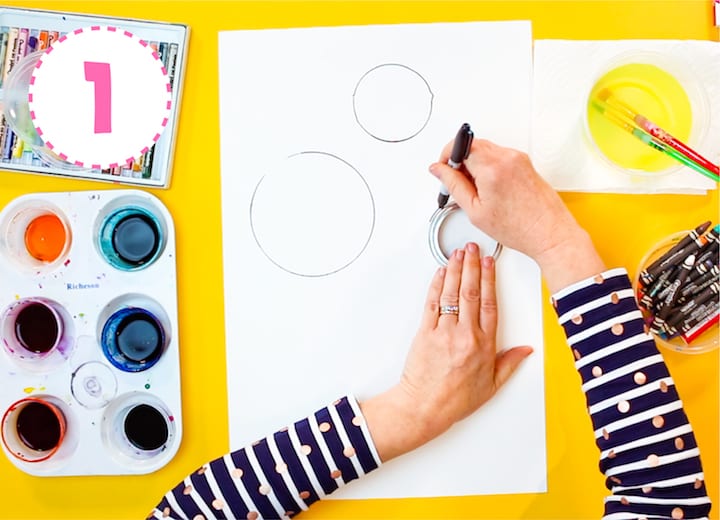
STEP 1:
Use circle templates to trace the center of each flowers with a Sharpie marker. Three flowers is plenty to start with. Spread the three circles our across the top of the paper, leaving enough room around the flowers so you can add the petals.
Using templates serves as a way to ensure that your students will draw really big. Staring with big flowers empowers students to continue drawing large to fill the space on their paper.
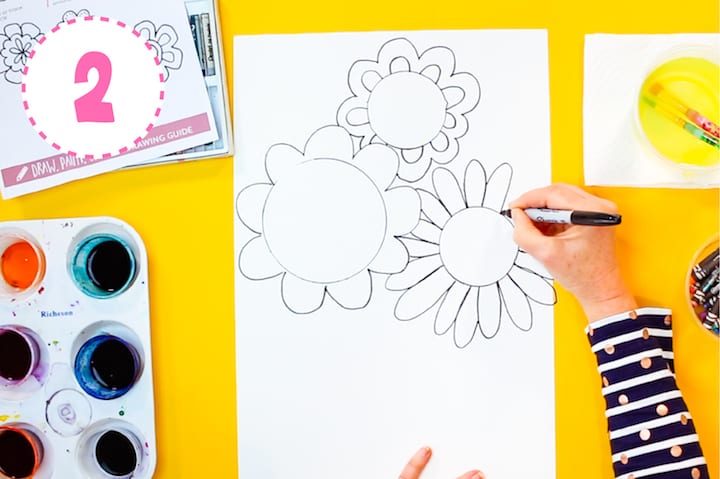
STEP 2:
Add petals around the center of the flowers. Start with the biggest flower first. If you need ideas for this, you can use the provided handout.
In places where the flower petals touch each other, you will need to overlap the petals. Draw petals until the flowers touch, then hop over the top flower so your lines don’t go through each other. This will help give the illusion that one flower is in front and the other is hiding behind it.
Here are a few tips for drawing the flowers that are especially helpful for young students:
Scalloped petals:
Space out dots around the center circle, then connect the dots with a rounded “U” shape to make the scalloped line.
Short petals:
Starting from the center circle, place the tip of your finger extending out from the center. Trace around your finger to make a short “U” shape. Move your finger around the center circle to repeat the process.
Long petals:
You can use your finger again, but this time instead of using the tip of your finger, trace the length of your finger, extending out from the center. Draw one large petal on top, one on the bottom, then one on the right and left sides. Fill in the spaces in-between with more petals.
Don’t be afraid to go right off the edge of the paper. It helps to have a paper or messy mat underneath your paper so you can draw all the way off of the edge.
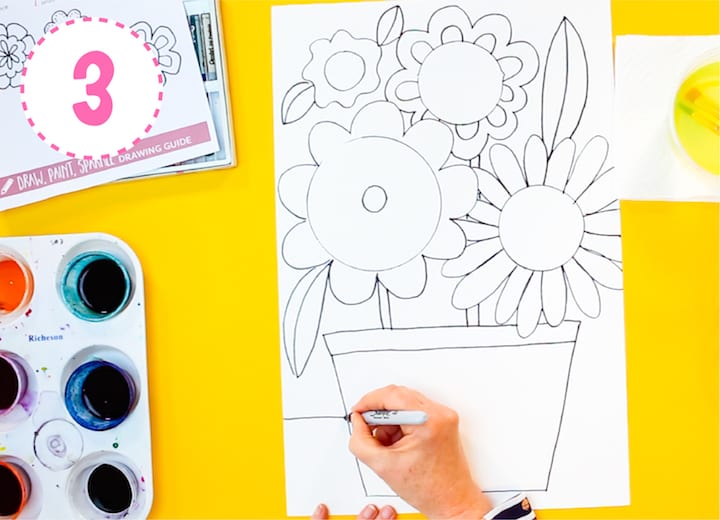
Step 3:
At this point, your flowers will look like they are floating in space, so you’ll need to make a vase or pot for them to sit in.
Draw a horizontal line about a finger width from the bottom of your paper. Add an angled lines for each side of the pot, then close off the top with two more horizontal lines. If your flowers overlap the top of the pot, jump over them and continue the line on the other side.
Add extra flowers and leaves to fill the blank spaces around your original flowers and stems to connect your flowers to the vase or pot.
Finally, draw a table line. Start at the left edge of your paper and draw a horizontal line. When your line reaches the pot, jump over it and continue the line to the right edge of the paper.
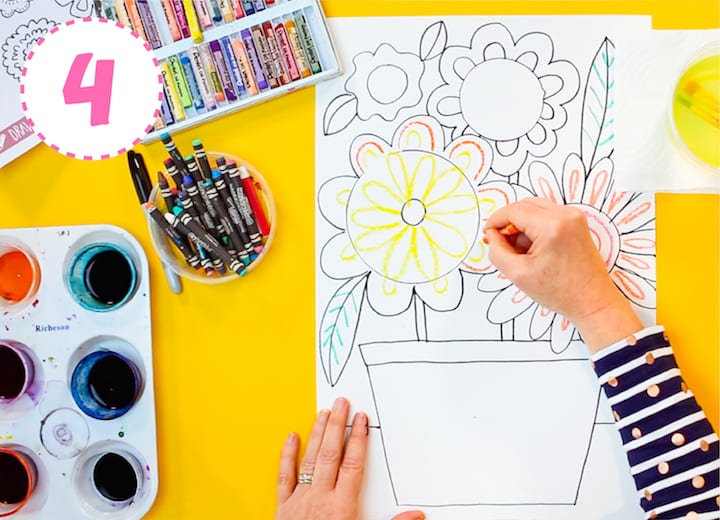
Step 4:
Use oil pastels to draw circles inside the center of the flowers, details in the flower petals and veins inside the leaves. You can also trace over the marker lines, choosing whichever colors you want.
Crayons will work, too if you don’t have oil pastels.
TIP: Try drawing some designs with a white oil pastel or crayon to reveal a surprise when painting.
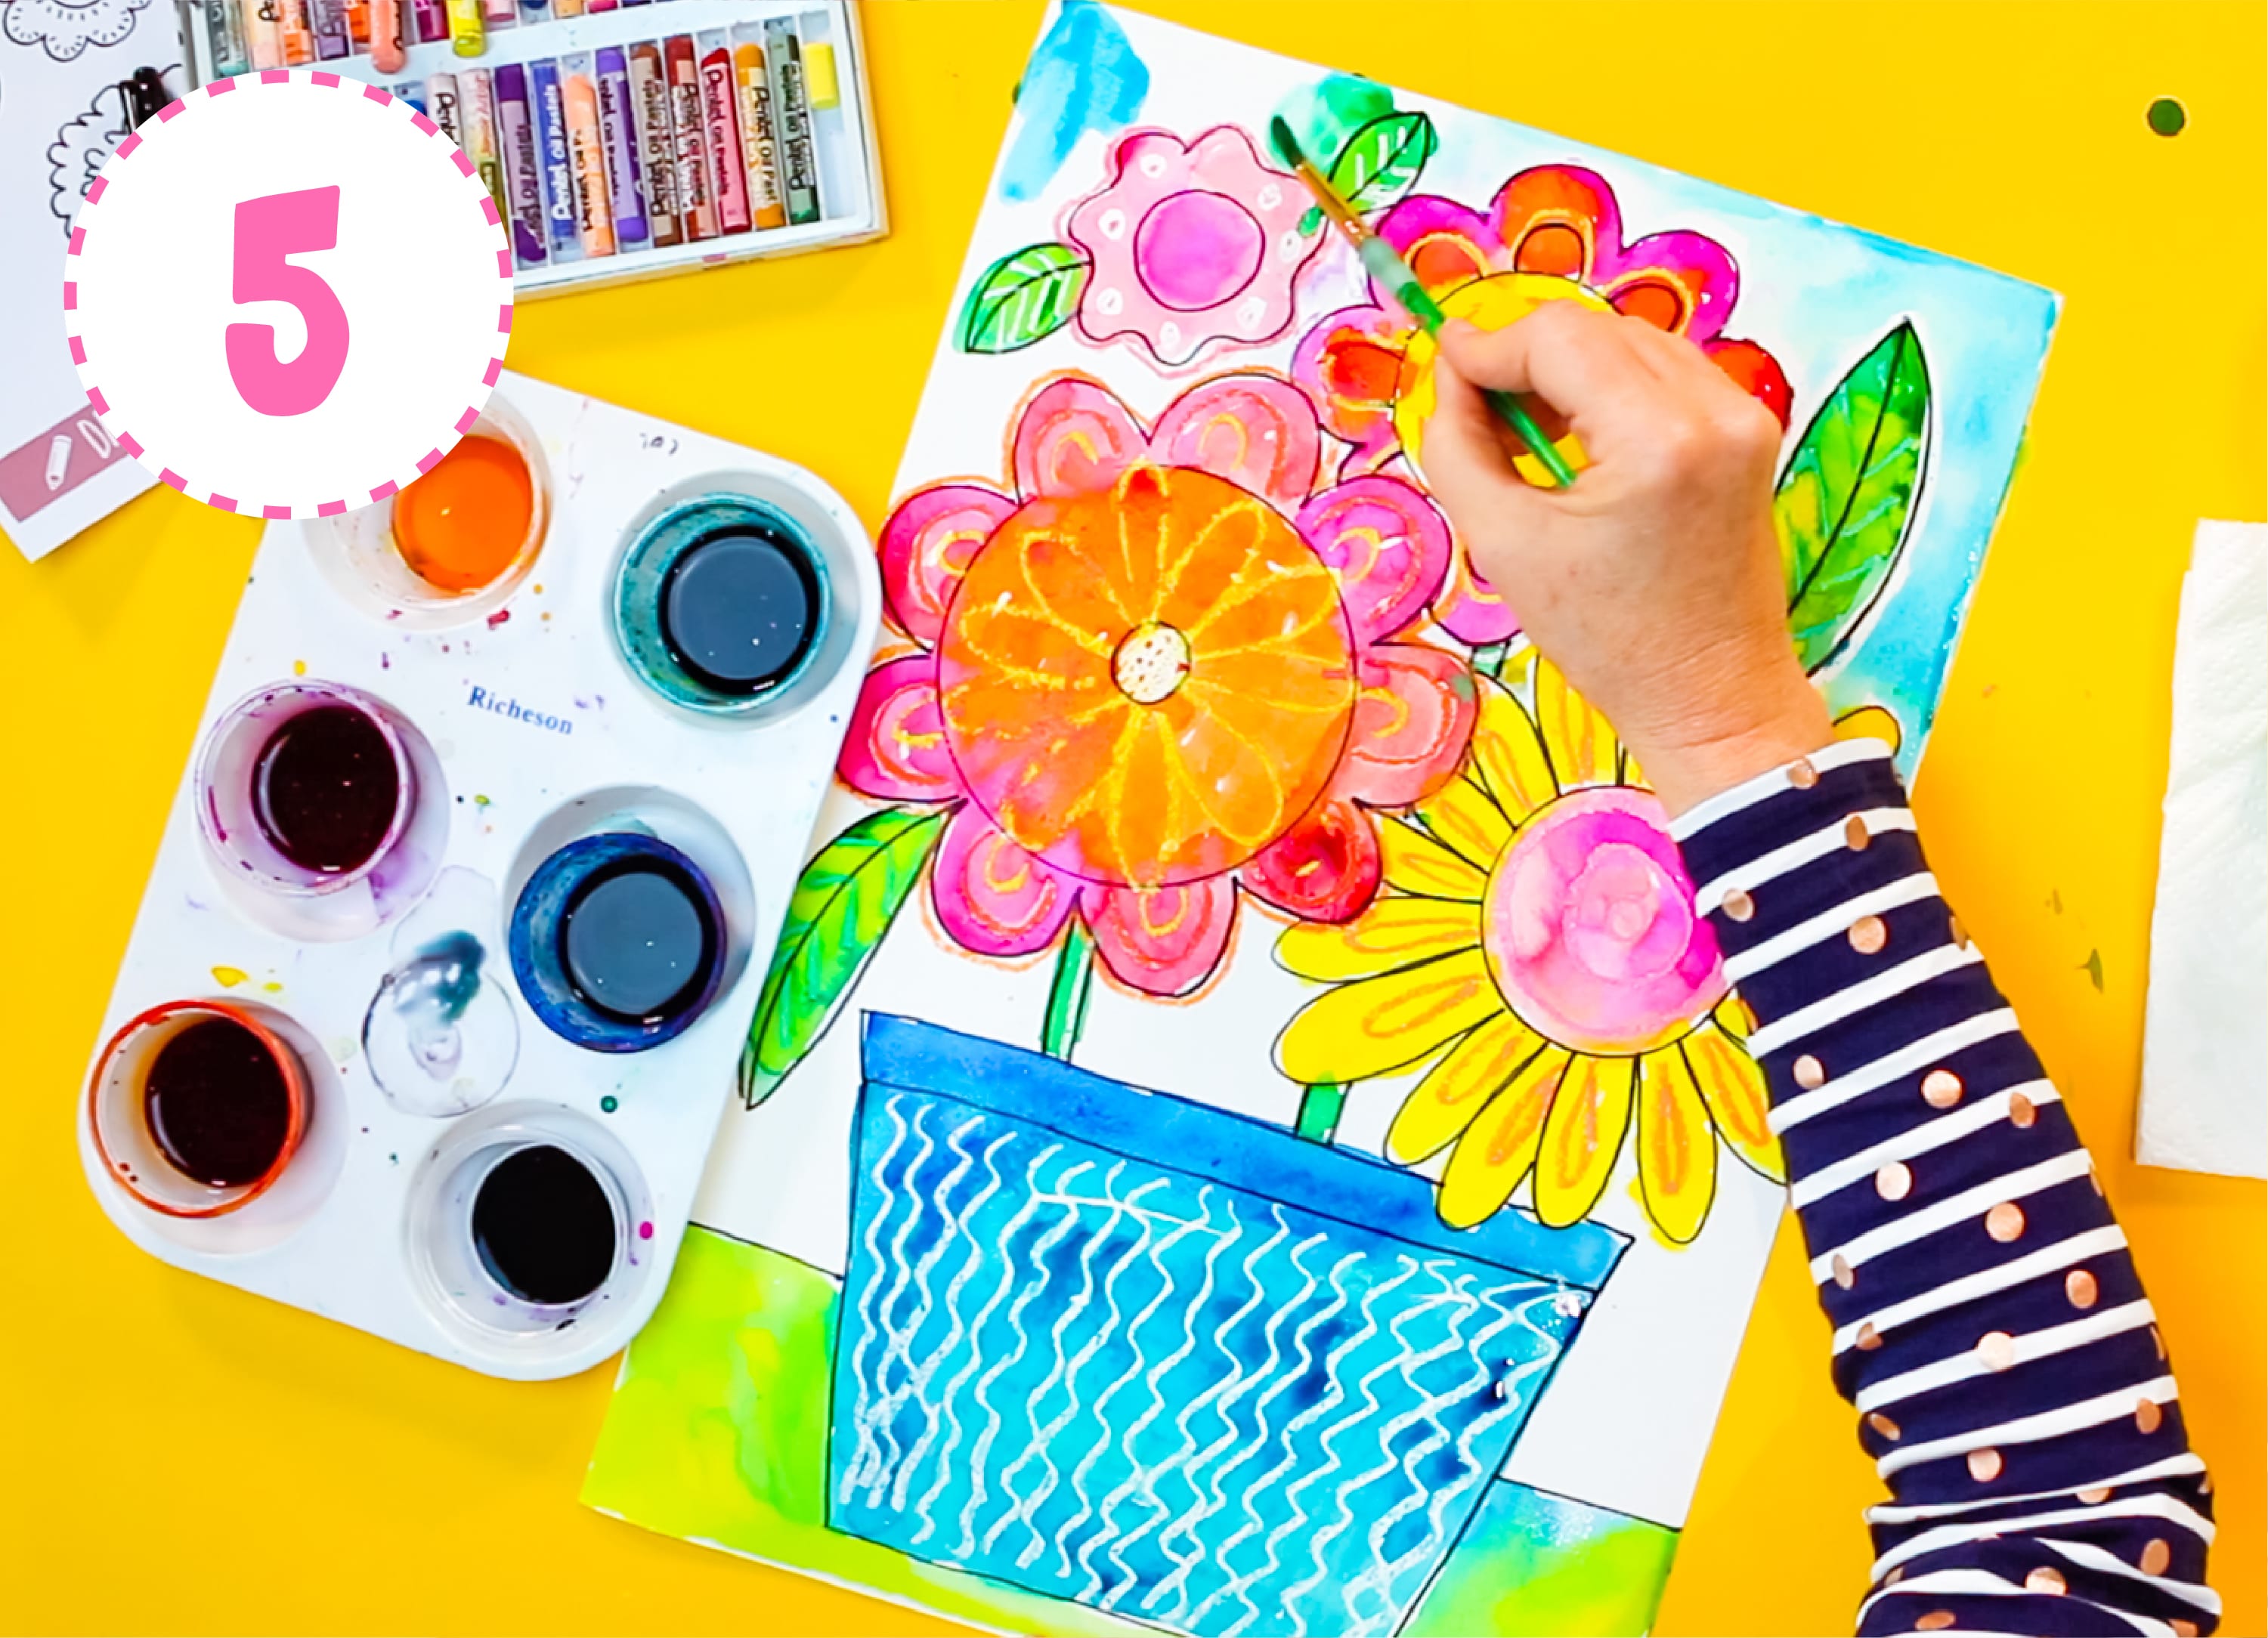
Step 5:
Set out a palette of liquid watercolor paint. Liquid watercolors are great for painting large areas, since the details have already been drawn. Don’t be afraid to paint right on top of your details. The watercolor will resist, or not stick to your oil pastel or crayon lines.
Start painting with lighter colors first, like yellow. Paint any spot on your paper that you’d like yellow. Wash your paintbrush, then continue using progressively darker colors. This helps keep your paintbrush clean and your colors true.
Don’t forget to paint the table and the background behind the flowers.
Put the painting on a flat drying surface or drying rack to let the paint settle and dry.
For more information on joining The Sparklers’ Club, sign up to our waitlist HERE.
Click the button below to DOWNLOAD the April Freebie Pack for more fun art lesson you can use this month!
PIN ME!


Awesome Lessons!!
I love this flower art.
i love the watercolor resist flower
me and my Gigi love the stuff you make we are doing one now we are doing the line art cat thank you for having the app
I love the watercolor resist flower project