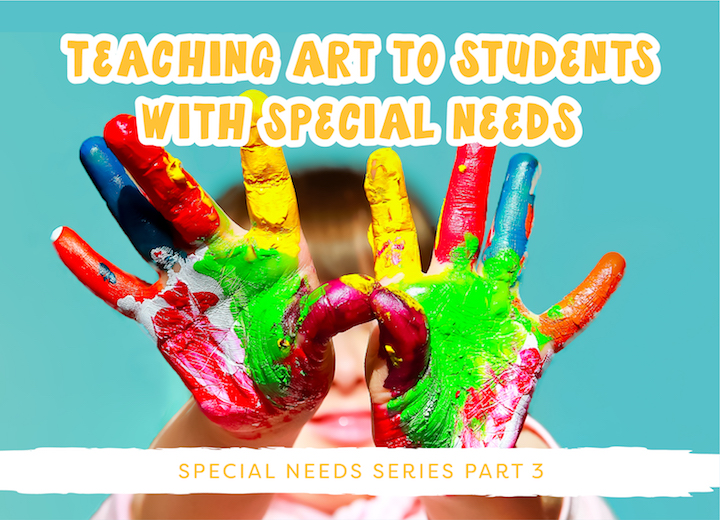


Concluding our special 3-part series on teaching art to children with special needs, Team Sparkle’s Rachelle Smith shares her expertise to help you navigate the nuances of teaching art to children with various degrees of special needs —
Children with special needs are unique individuals. There isn’t a one-size-fits all solution for teaching them because their needs can vary from mild to severe.
Children may have physical differences that make it hard to hold art materials and tools. Some children have hearing or visual differences. While others have tactile sensitivities, which can cause them to be tactile defensive to certain materials – meaning there are certain things they just don’t want to touch.
Some may have learning disabilities and cognitive delays or be on the autism spectrum. And of course, some children have multiple disabilities, which can further increase the complexity of how to approach art with them.
In this post, I’m breaking the process I use to take an existing lesson plan and break it down or alter it to adapt to our special needs students.
If you missed the first or second post in our series of teaching art to children with special needs, you can read them here:
Part I: Teaching Art to Children with Special Needs
Part II: Teaching Art Remotely to Children with Special Needs
Click the yellow button below to download our Resource Guide PDF:
What to do before you open up a lesson plan…
Regardless of what differences your children with special needs may have, the most important thing you can do is take time to get to know each child’s personality.
What interests do they have?
What are they afraid of?
Make some careful observations of your children with special needs when they are in a relaxed setting.
What kinds of behaviors are you noticing?
What do they like to do?
From these observations, you can begin to develop a plan.
Adapting Art Materials
I get it. You find a project that you think will work for your students but some of the art supplies required may not be the best for your students. The truth is, many children find certain materials unpleasant to touch. You may notice that they retract their hand quickly from a specific material. This can be due to a real aversion to the material or it can be a result of little to no previous exposure to the material.
If the second case is true, don’t give up! Provide opportunities for the child to gain more exposure to the material. Introduce it in a small session while the child is relaxed. Provide a small reward or positive feedback when the child interacts with the material.
Over time, you should notice that your child will have less aversion to the material.
If your child refuses to touch the material and has a strong negative reaction to it that does not lessen over time, it could be due to the way their brain is processing that sensation.
In these cases, you may need to find an alternative material to substitute. Try different versions of the same material. For example, a child may not like the feel of kiln-fired clay, but they may be okay with play dough or Model Magic.
If they don’t like the feel of chalk pastel, try a paint stick. The point is to keep trying.
Increasing a Child’s Engagement and Attention Span
Another challenge that may be present with special learners is a short attention span and a lack of engagement in a given activity. This is where a consistent routine will work magic. When children know what to expect, they feel safe and comfortable. Having a consistent routine will help your children with special needs to have a positive experience each time they do art.
Here’s one example you can use and modify to fit your child’s needs:
Opener: Sing a song or read a story
Warm up: Color or practice making shapes with a crayon
Activity: Break the activity or project down into smaller steps and only focus on one or two steps each session
Wrap up: Summarize what you did and give plenty of positive feedback
Modifying a Lesson for a Visually Impaired Student
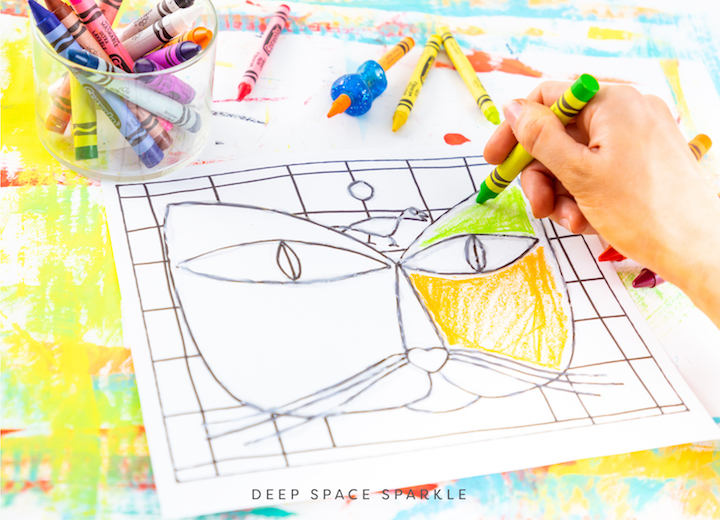
If you have a child who has a visual impairment, you can modify the lesson to include more tactile materials. If the lesson involves drawing or coloring in the lines, you can use hot glue or puffy paint to create an outline for your child.
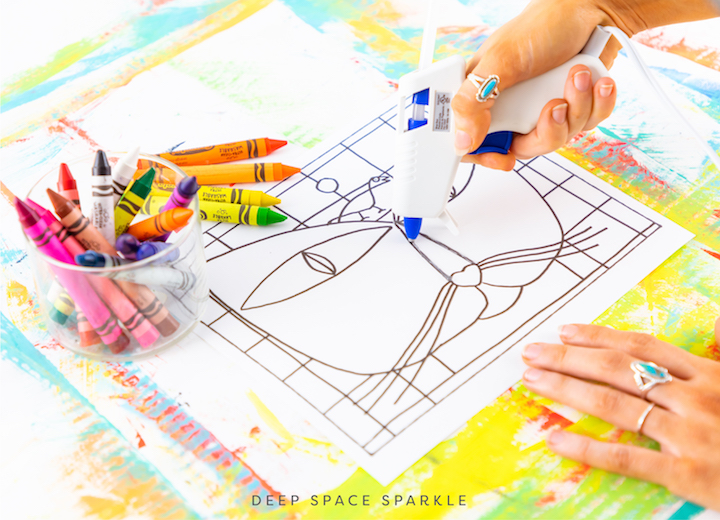
GLUE TRACING
I prefer to use hot glue because it has a less sticky texture. Hot glue also dries a lot faster than puffy paint and kids can start coloring as soon as it cools down.
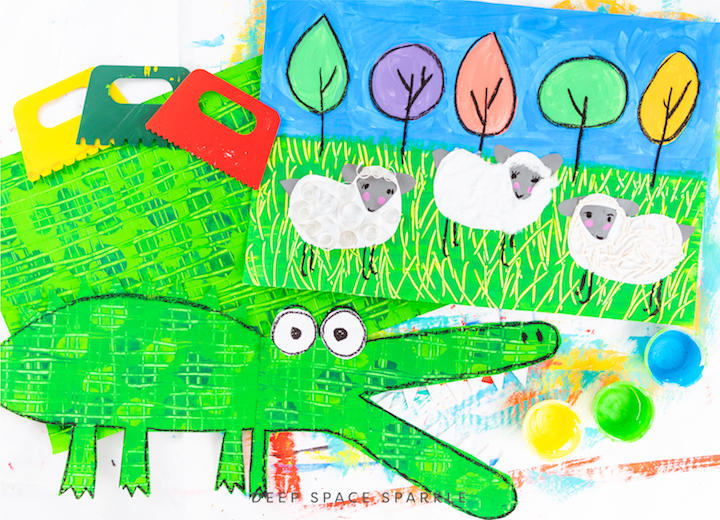
Consider incorporating materials that have interesting textures. Corrugated cardboard has a nice ribbed texture if you pull off the top layer. Think about what materials might go along with the project you are doing. If a project has clouds, you could use the cotton from cotton balls as a material. If the project has an animal, you could collage in some soft felt or fabric.
Modifying Materials or Tools for Children with Cerebral Palsy or a Physical Handicap
Some children don’t have the full use of their hands and arms. This can make it challenging to complete art activities. But no need to worry, there are many ways you can adapt tools and materials so that your children with physical disabilities can participate.
If your child has trouble grabbing onto small materials like crayons, there are a couple of fixes for this. You can purchase larger crayons. Try Crayola’s My First Palm Grip Crayons. There are also companies that make grips that can be added to regular crayons or you can get creative and make your own.
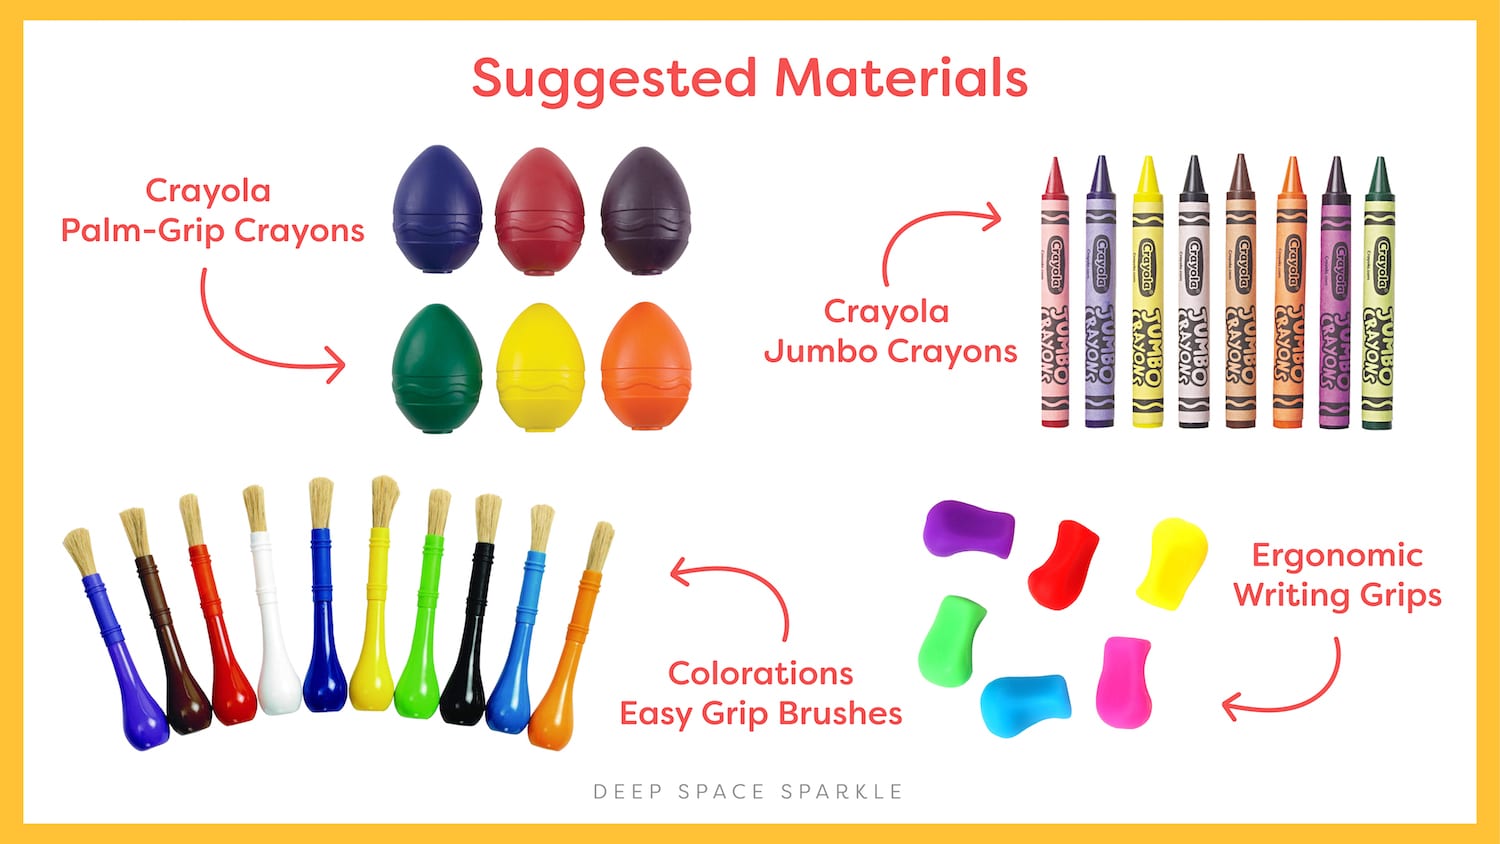
Regular paint brushes may also pose a challenge to children with physical disabilities. Look for paint brushes with larger handles or adapt a handle to create a larger grip.
You can try inserting a paint brush handle through a stress ball. First, puncture a hole through the center of a stress ball with scissors, then insert the paint brush handle. This type of grip will be more comfortable for your child and will also provide the added benefit of physical therapy.
For my many years working in the classroom with children with special needs, I have learned that each child is uniquely different and I have to customize my instruction, materials and environment to meet each child’s needs.
Whatever challenges your child may be facing while creating art, Deep Space Sparkle is here to help! Let us know what your specific concerns are, and we can help you figure out a solution that will help your child have the best art experience possible. Leave your questions or tips below and I’ll be sure to respond. And don’t forget to download the Teaching Art to Children with Special Needs Resource Guide!


Great idea using a glue gun to help the visually impaired, I thought that was a very helpful suggestion. I wish there was more of a in-depth knowledge and tips to teaching students with more severe disabilities and how actually DSS lessons could effectively be modified, not just tips that could of easily been pulled from a kindergarten fine motor development program. I know it’s not a one-size fits all because that’s impossible with all the different needs of children with disabilities, but I hoping for more than just modified tools and consistency. For example, a very simplistic breakdown of skills and effective ways to promote independence. Looking forward to seeing more development in this area from team DSS.
Thank you for your feedback, Lauren! I am looking forward to sharing more, too! I love your suggestions of providing ” a very simplistic breakdown of skills and effective ways to promote independence”. I will be using your feedback to develop future resources for art educators who work with special needs groups.
These are all such great ideas! I appreciate your thinking-outside-the-box approach and working to make sure every student is involved. May I chime in with a couple extra ideas for your list?
— The Occupational Therapist in your school district is a fabulous resource for helping develop alternative access to materials that might be hard for a child to handle. These are some of the most creative and resourceful people to work with and most of them are incredibly nice to boot!
–The OT may be able to come up with a holder to allow a child with arm movement but no ability to grasp to use brushes, markers, bingo blotters and the like. Holders exist for individuals who have only head or foot control if that is a better option.
–Even the most involved students should have CHOICE…choice of colors, choice of design, etc. If a child cannot physically be involved in creating, then they should have the option to direct the creating. It’s a great way to develop purposeful communication skills for non-verbal students, too. Too often we forget to give students the power of choice.
–There are some really fun ways to decorate paper that can then be cut out for use in more complicated projects, so even if a child needs someone else to do the cutting (assuming an alternative “scissors” can’t be found), they have still had a major role in creating. Paint spinners and markers duct-taped to remote-control cars (!) and more may be useable by students who can operate an adaptive switch. Bubble painting, colored inkblots (“Rorschach” style), marble painting (as in, tipping marbles rolled in paint across paper in a sheet pan), thumb/hand prints and marblizing paper are a few ways to add design to blank paper that don’t require fine motor coordination yet still yield impressive results.
I don’t teach art anymore sadly, but I do teach Special Ed now, and this is awesome! We can use this in any lesson, since hands-on is how most students love to learn!
Rachelle,
THANK YOU, THANK YOU, THANK YOU! I’ve been teaching students with varying abilities for years, but I never felt confident that I was doing what was best for them. These students traditionally joined the general ed classes for art. However, this year we get a separate class period just for my special needs kids. I’m so excited for the opportunity to get to know them better and really focus on modifying just for them. This blog couldn’t have come at a better time.
My students have no motor control, and they cannot look at something and work on it at the same time…We are working hand under hand…however they are unable to visually attend to what they are doing, any suggestions.
Thank you Rachelle for sharing your tips! I also teach art to children and adolescents , with special needs, autism and behavioral issues. One of the best materials I often use in my classroom, especially for kids with cerebral palsy or low muscle tone: tempera paint sticks. They can be costly, but Michael’s has their own less expensive version. Side note: replace them with the thick crayons for the kids who applies to a lot of pressure on their art supplies. I also found helpful to show a sequence of the actions at the beginning of the class. DSS handouts are magical-I usually create a powerpoint using each step as a separate slyde. It helps to reduces anxiety for my students with ASD.
I find your blog very interesting. And your reasoning about both techniques and teaching tips help me on my way to better understanding.
I to have a variety of students with needs. But one of them is a real challenge. He has a kind of language disorder and I think perception difficulty. What I need help with is how to think about simplify an artlesson without putting him totally aside from the other students? They are 12 years old. He often needs my full attention to be able to move forward and that is really difficult since I have a full class and with other needs..😏🙄 best regards.. Gunilla
Awesome! Thank you Rachelle!
I had not even considered some of what was covered. Thank you. Some of this can be used with first and second graders as well who may not have special needs but because of their age, this could accommodate them. Thank you!
Hi , Happy New Year to you, its great to see you love what you do to help children with disabilities gain purpose through arts. our Art center Art and the African Child, ATAC Nigeria Gallery, have been contracted to design an Art curriculum for children with disabilities in Benin City Nigeria, i would be delighted to connect and learn from your wealth of knowledge and experience.
How to teach a blind student art?
How to teach a student with no hand mobility art?
How to teach a non verbal student art?
Hello,
I am a Kindergarten art teacher and this year in my autism class I have a non-verbal student who eats everything! I am talking paint, model magic, beads, crayons, cotton balls, you name it! I am going to try edible paint with him but I am wondering if you have any other lesson ideas for a student with this difficulty? Thanks for any help you can give!
Hi Alex! After reaching out to the Creative Team they had a few ideas. One thought I have is putting paper and paint in a large zip-lock that’s taped to the table. Maybe making salt dough with food coloring could be an option? I don’t know that you would want to encourage the student to eat this, but if they did it wouldn’t be toxic. Another idea is to try ice painting, you can freeze ice cubes with food coloring in them with popsicle sticks in them and then use them to paint with! I hope one of these options works!
Hi my name is laderiee Daughtrey, and my daughter is Keiana Collins. Keiana is a special needs child, I’m trying to get her into art class. Do y’all have Saturday classes?
Hi Laderiee! We are happy you found us online. Unfortunately, we do not offer art classes in person. We do have an online membership called Primary https://primerry.com/. With Miss Patty’s guidance via online videos, children explore drawing techniques, have fun with paint and pastel and discover the joys of creating art all by themselves.
Do you have any advice for supporting students at KS3 / 4 with very low attendance
thank you
Emma
Hi Emma! We’re happy you found us. I’d suggest incorporating lots of choice of subject/materials could be helpful. If you’re not seeing them a lot – things like templates/draw-alongs, or anything to help build skills and confidence could be helpful. If you’re a Sparkler I’d suggest asking this question in our Private Community group to get more input from teachers who have the same issues and may have found success in some way that they would share with you.