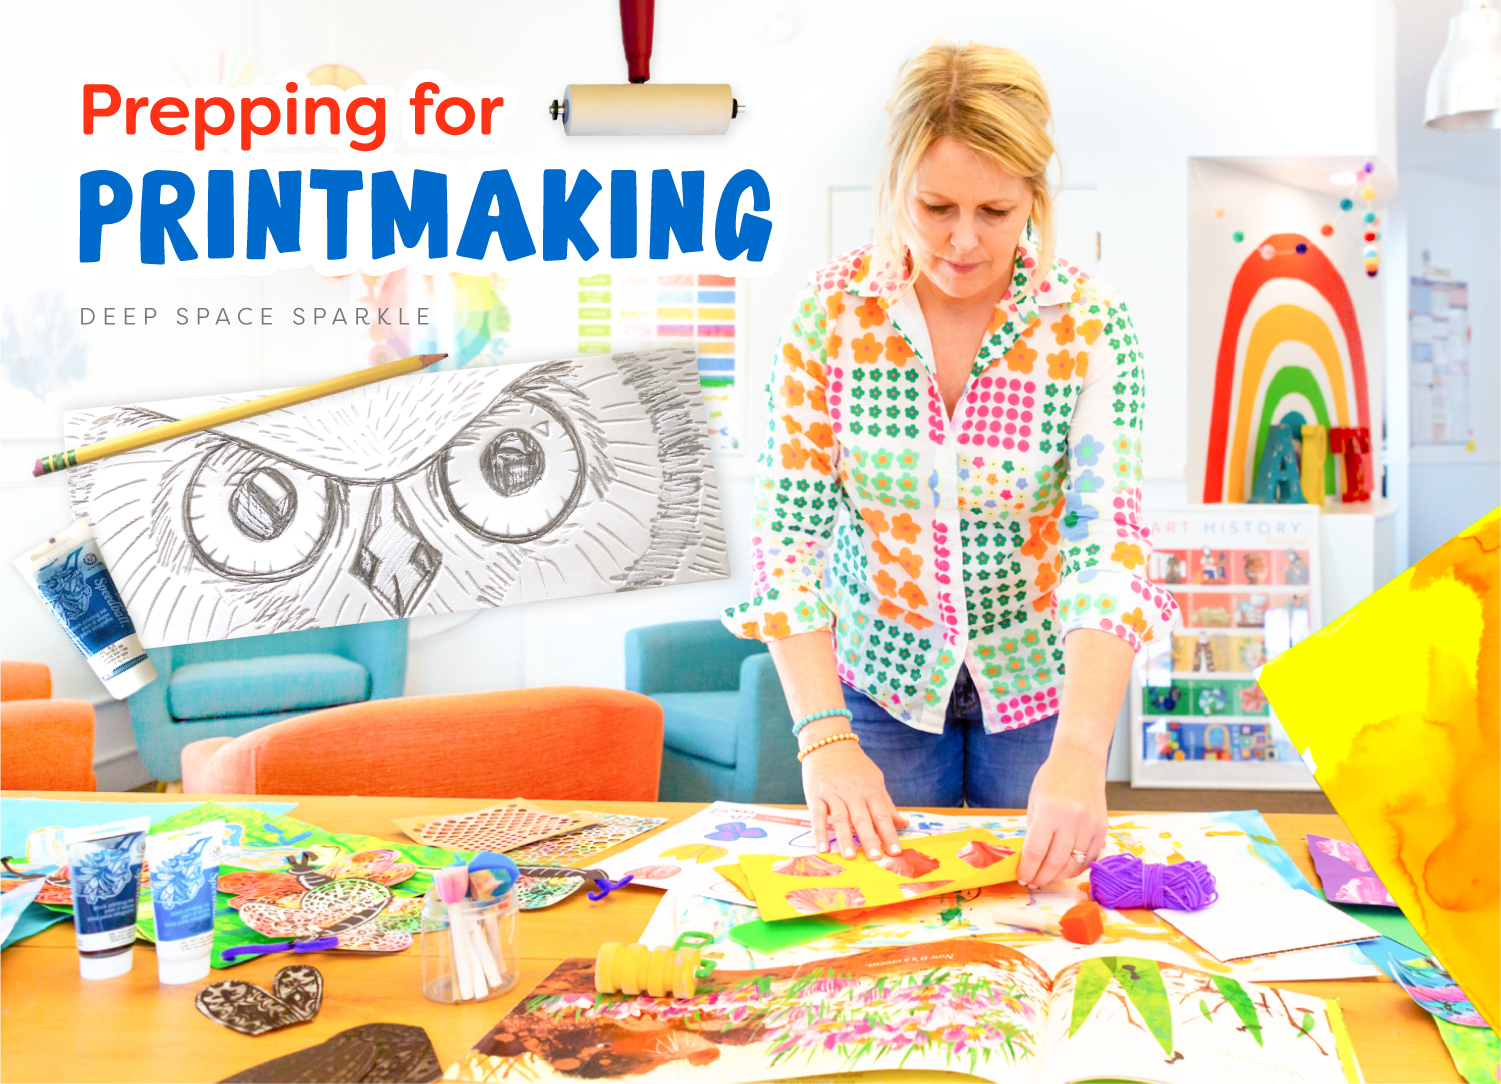


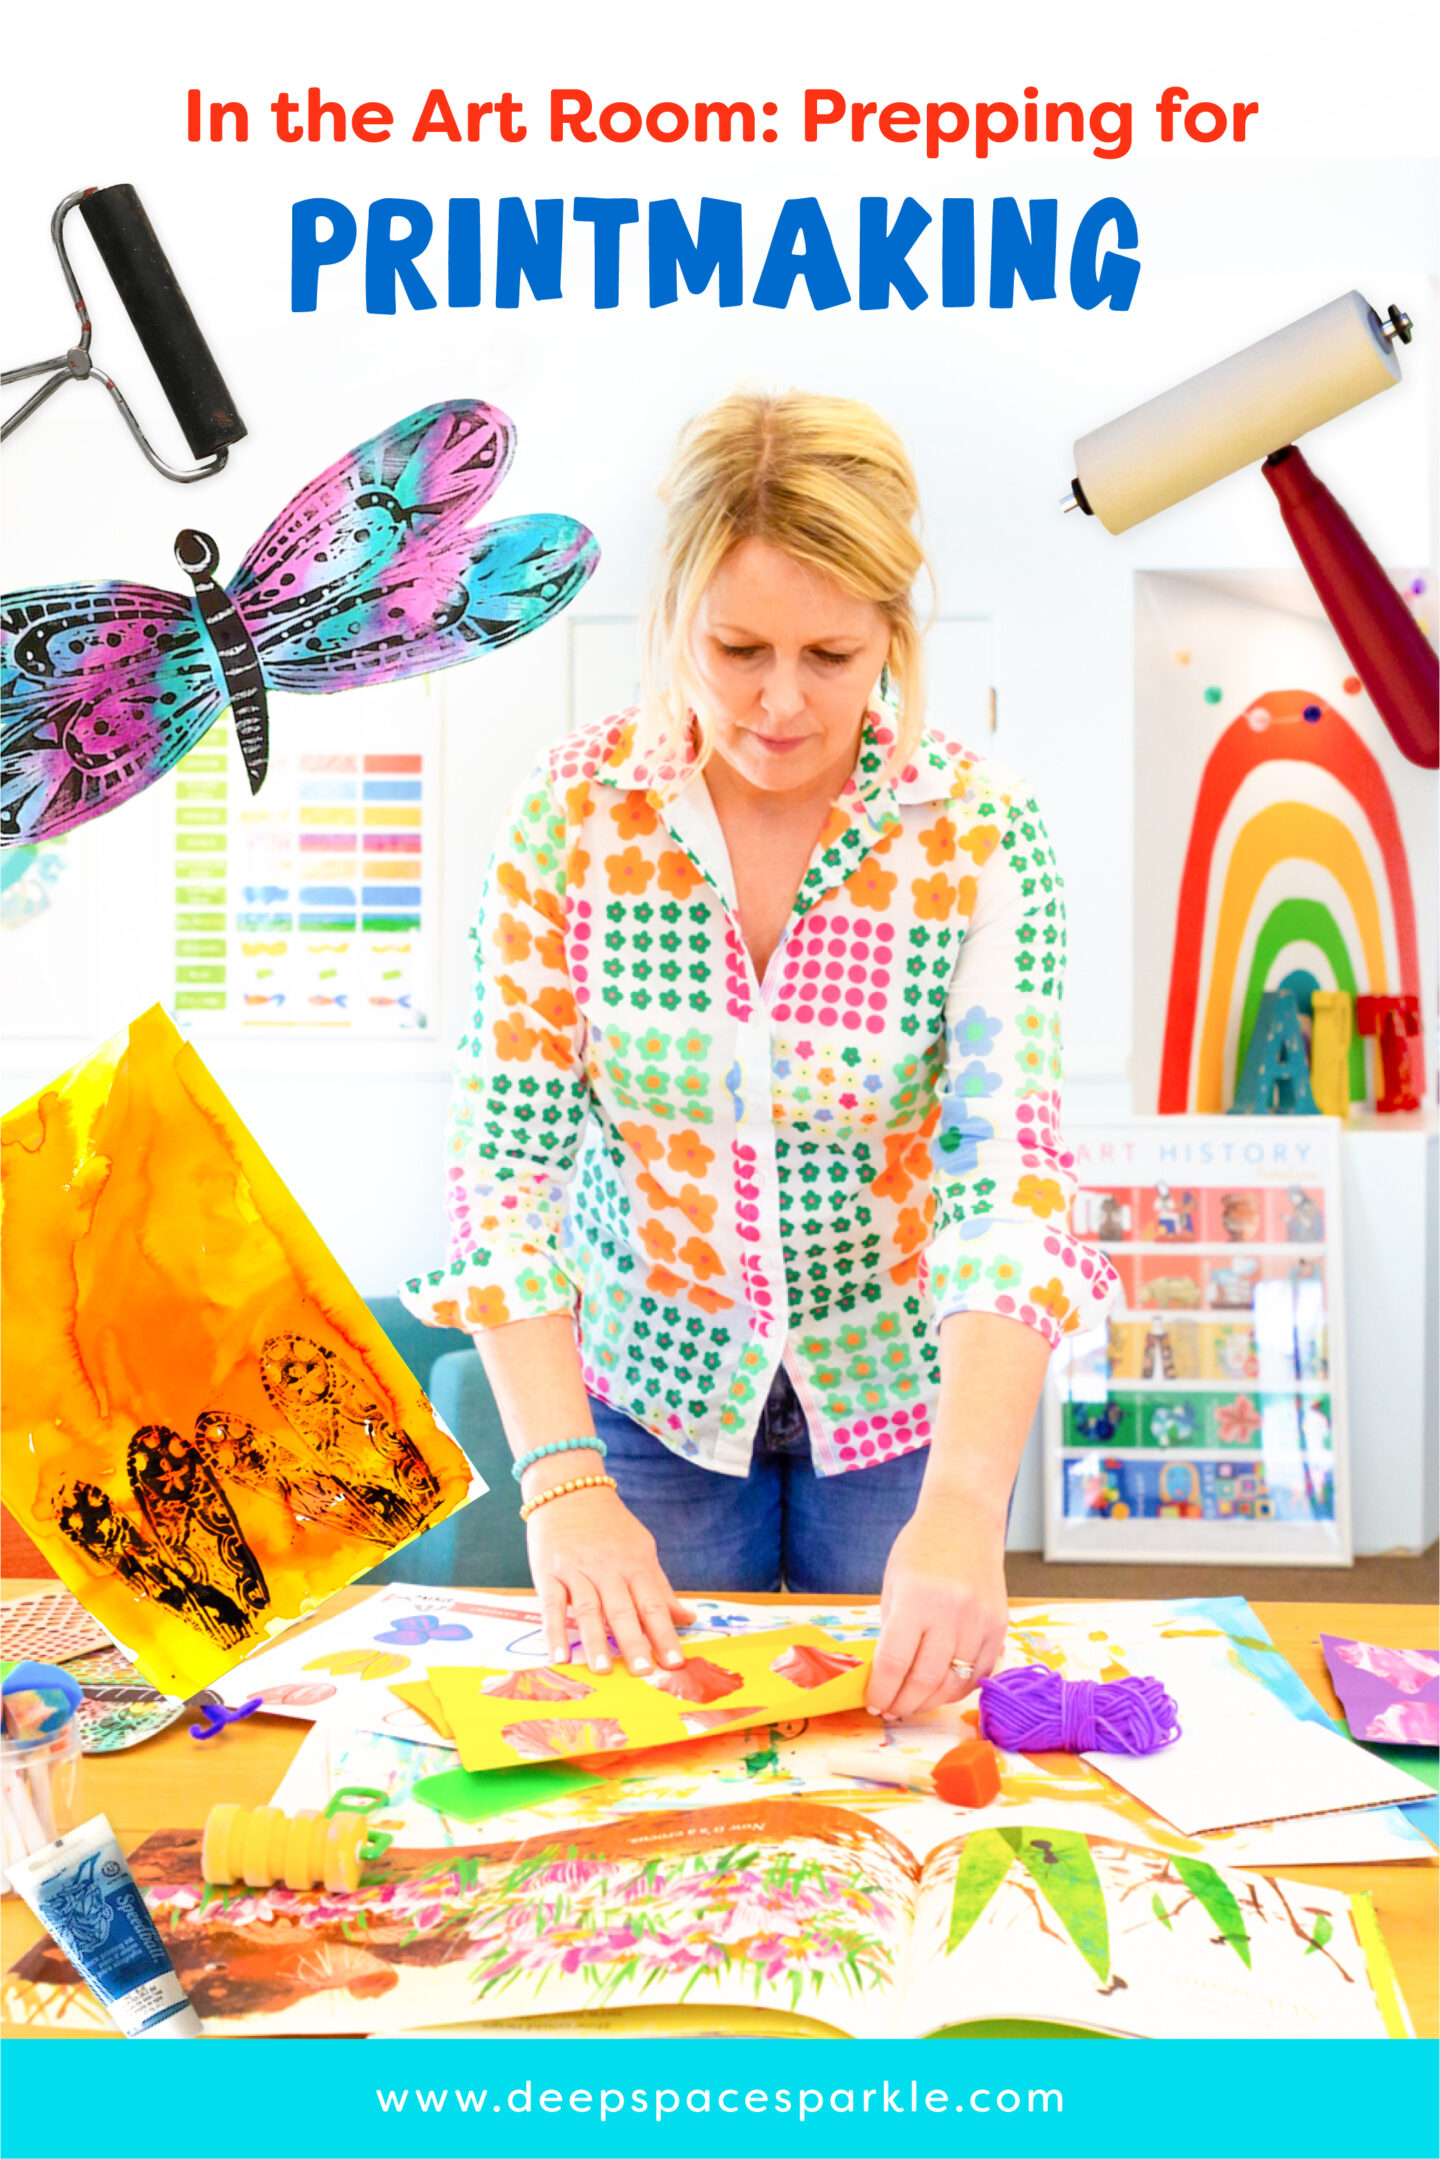
There are two kinds of art teachers; those who love printmaking and those who avoid it at all costs. The ink, the brayers and multiple pieces of finished artwork can all seem a bit daunting.
It’s true that printmaking can be messy and maybe a little chaotic, but with the right setup and preparation, you can share and enjoy this engaging art-making process with your students.
There are 6 steps that will help make printmaking a pleasurable experience for both you students and your students…
Start with a Plan
One of the first considerations to make is stacking or planning your day or week so that everyone is printmaking at the same time. Not every class needs to do the same project, they can just use the same materials.
Once you set up for one class, re-using the setup for multiple classes makes a whole lot of sense. If you’re not up for an entire day of printmaking, consider printmaking in blocks, like all of your morning or afternoon classes.
PREP your Tables
Printmaking is messy so take a few extra minutes to cover your tables with butcher paper – the kind that you find on big rolls typically in the teacher work room or library.
Tape the paper down with masking tape so that it covers the edges of the tables. This will save you a lot of time at cleanup. At the end of the day or once your printmaking session is done, simply peel the paper off and discard.
Pro tip: If students get ink on their fingers, they can just wipe them on the paper.
Partner up > Sharing Stations
There are many printmaking prep configurations, but the best system that works best is having students who sit across from each other share an inking station. This setup allows students to use the inking station without having to reach over it, plus only sharing with one other student means that there is less down time between prints, which is always a plus management-wise.
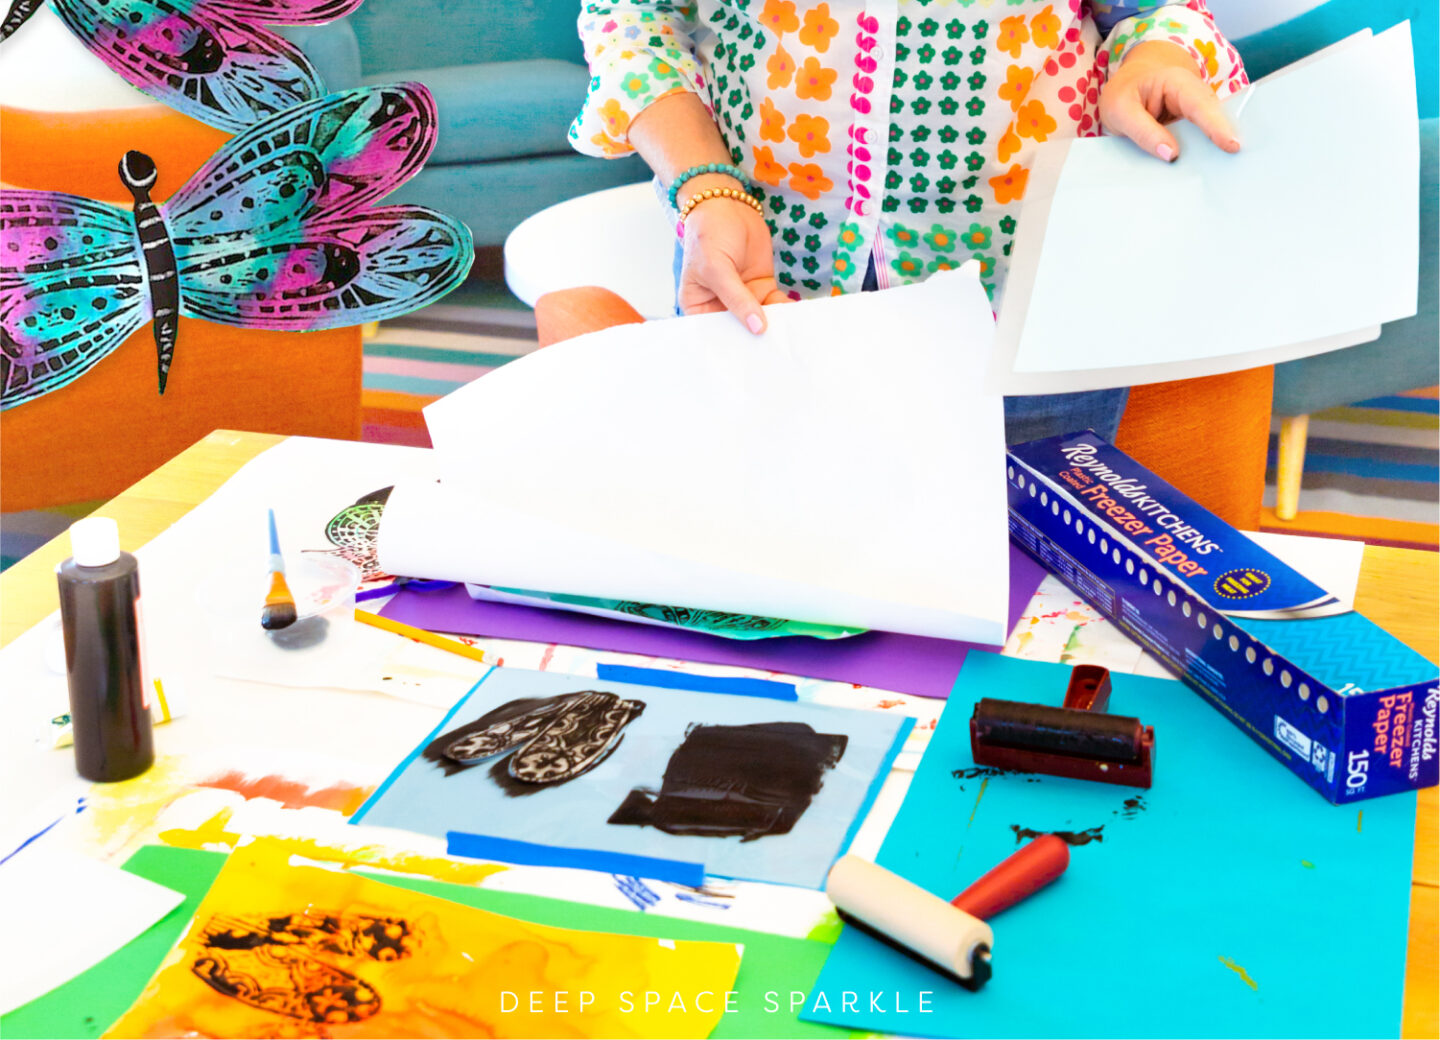
The Inking Station
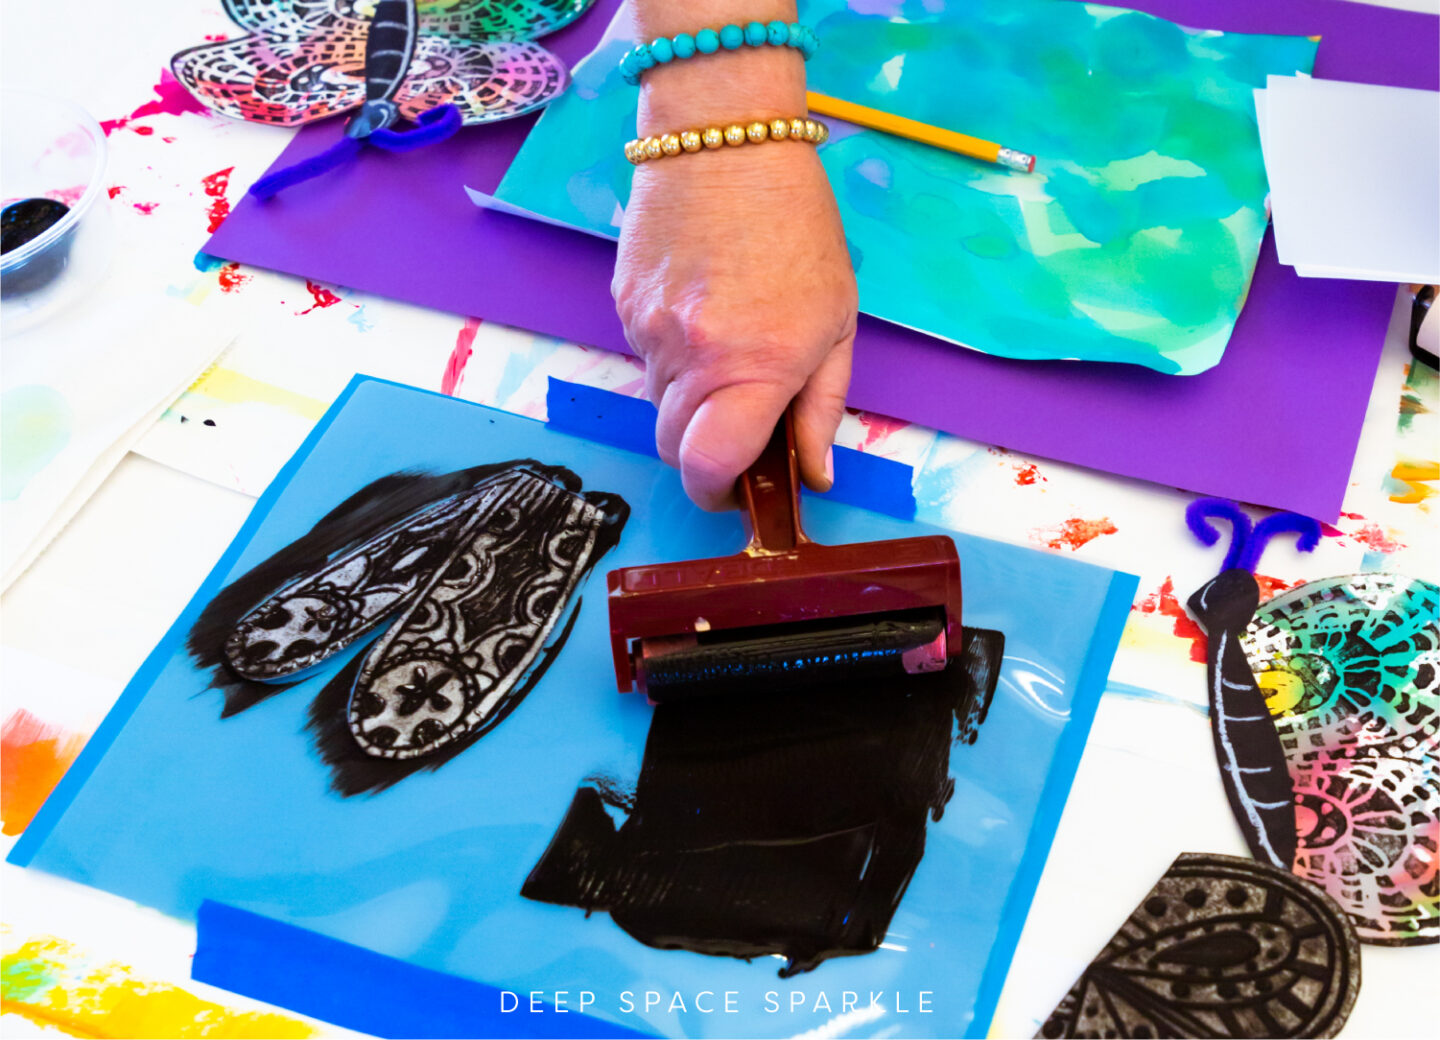
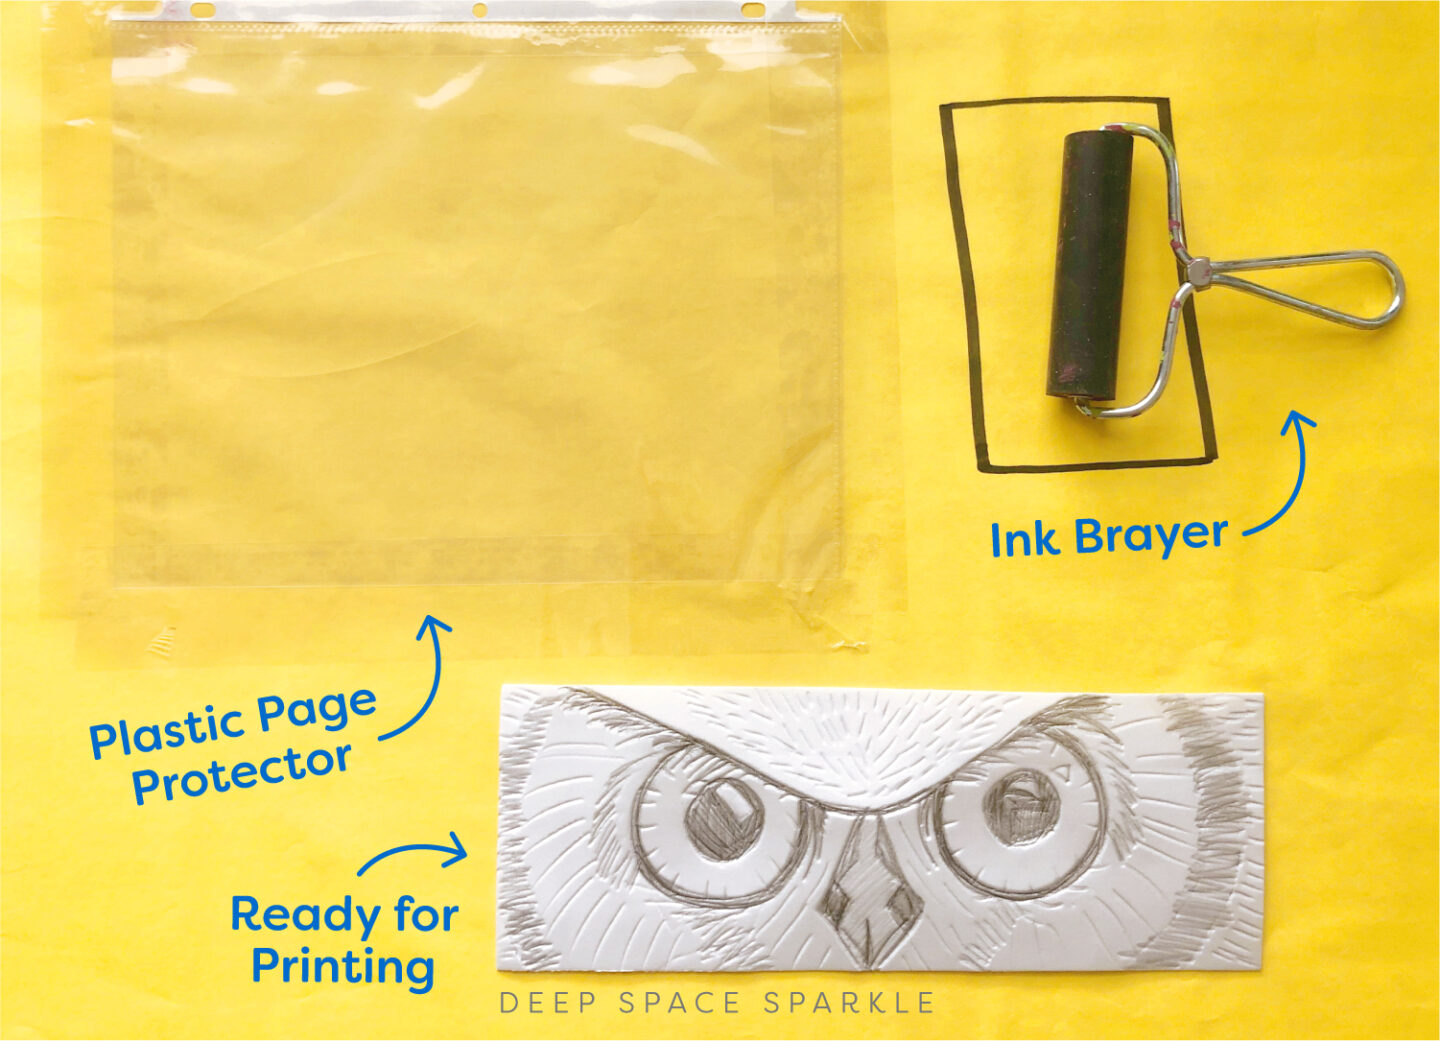
If you don’t have reusable Plexi-glass or acrylic printing pieces, plastic page protectors are a great alternative for inking stations.
Tape one page protector down the center of the table between each set of two students. If you have colored masking tape or painter’s tape, this will offer students a visible barrier for where the ink should go and where it shouldn’t.
Another tip is to draw a resting place for the brayer next to the printing station, directly on the paper covering the table. This will avoid students haphazardly setting the brayer down and getting ink everywhere.
Pro Tip: Teach students to place their brayer down, roller side up.
Name Management

Before students begin printing, give them a few pieces of paper to use as the final project and have them write their name on all papers before beginning.
This will help to avoid random nameless prints on the drying rack.
Pro Tip: Printmaking seems to be a stand-up type of activity. If students wish to stand up when printing, let them!
FINISHED PRINTS
When printmaking, try to avoid having students move around the room – there is just too much room for error and messes. Instead, give each student a messy mat or their art portfolio to sit next to them on the table. When they finished their prints, lay the wet prints on the messy mat or their portfolio.
Once a student had two finished prints, pick them up and put them on the drying rack. Give them another messy mat if they are making more than two prints.
The plus to using portfolios on the drying rack is that once they are dry, you can simply slide their prints inside, no extra organizing needed.
After that planning and prep, all that’s left to do while students are actually in the classroom is to refill ink and watch your students enjoy the magic of printmaking.
You’re ready to print!
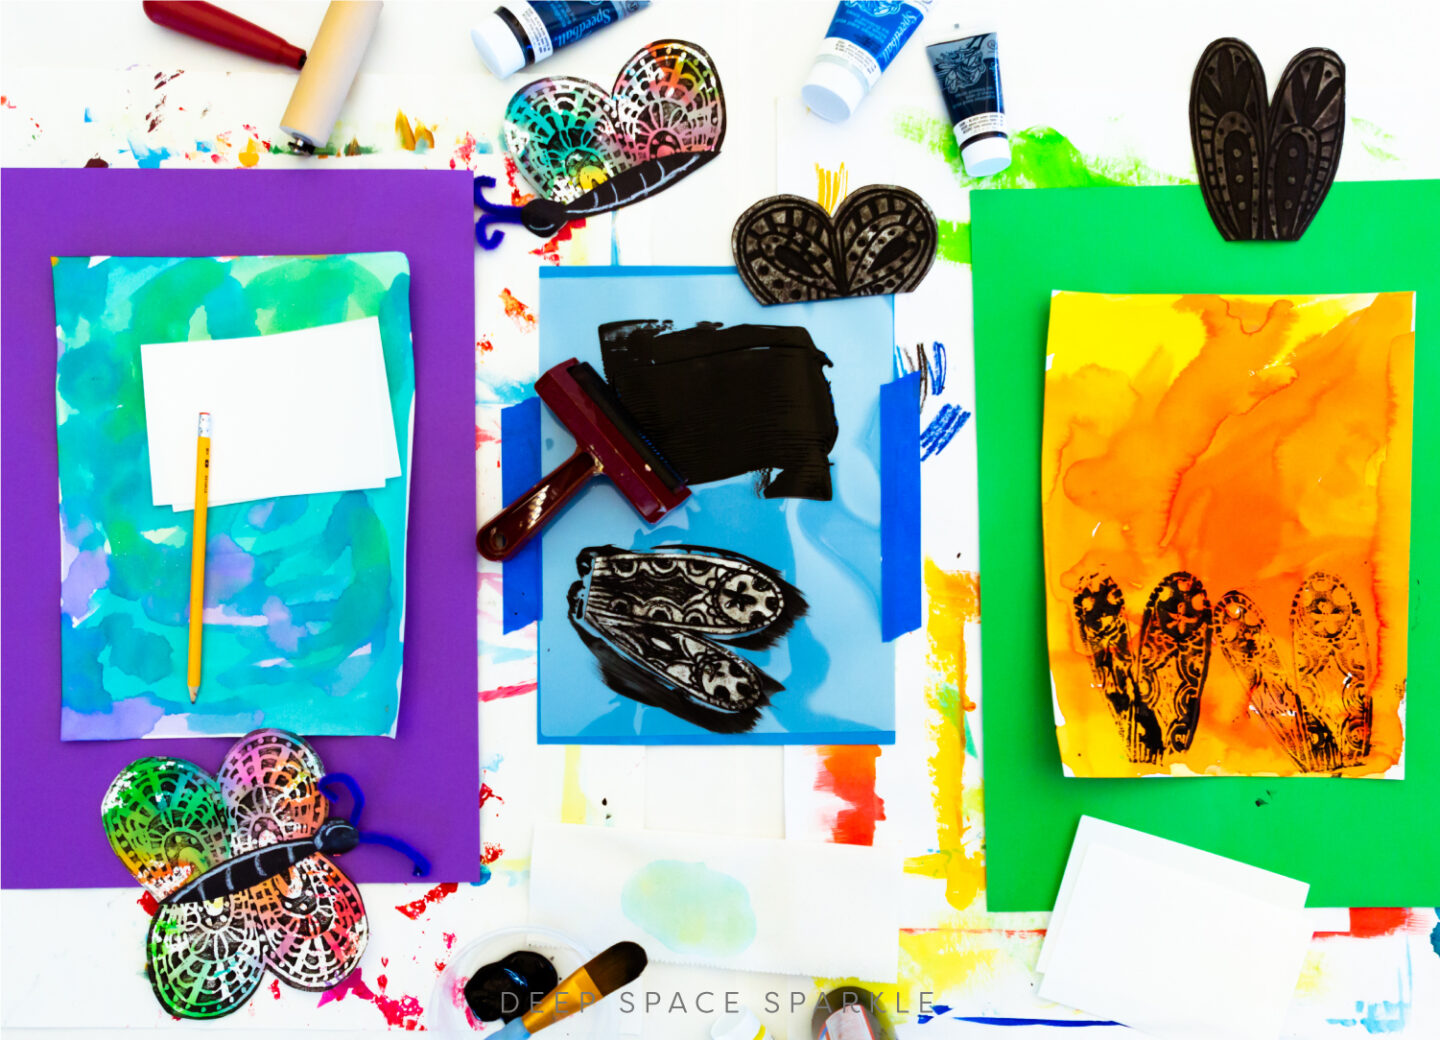
Here are a few projects that you can try:
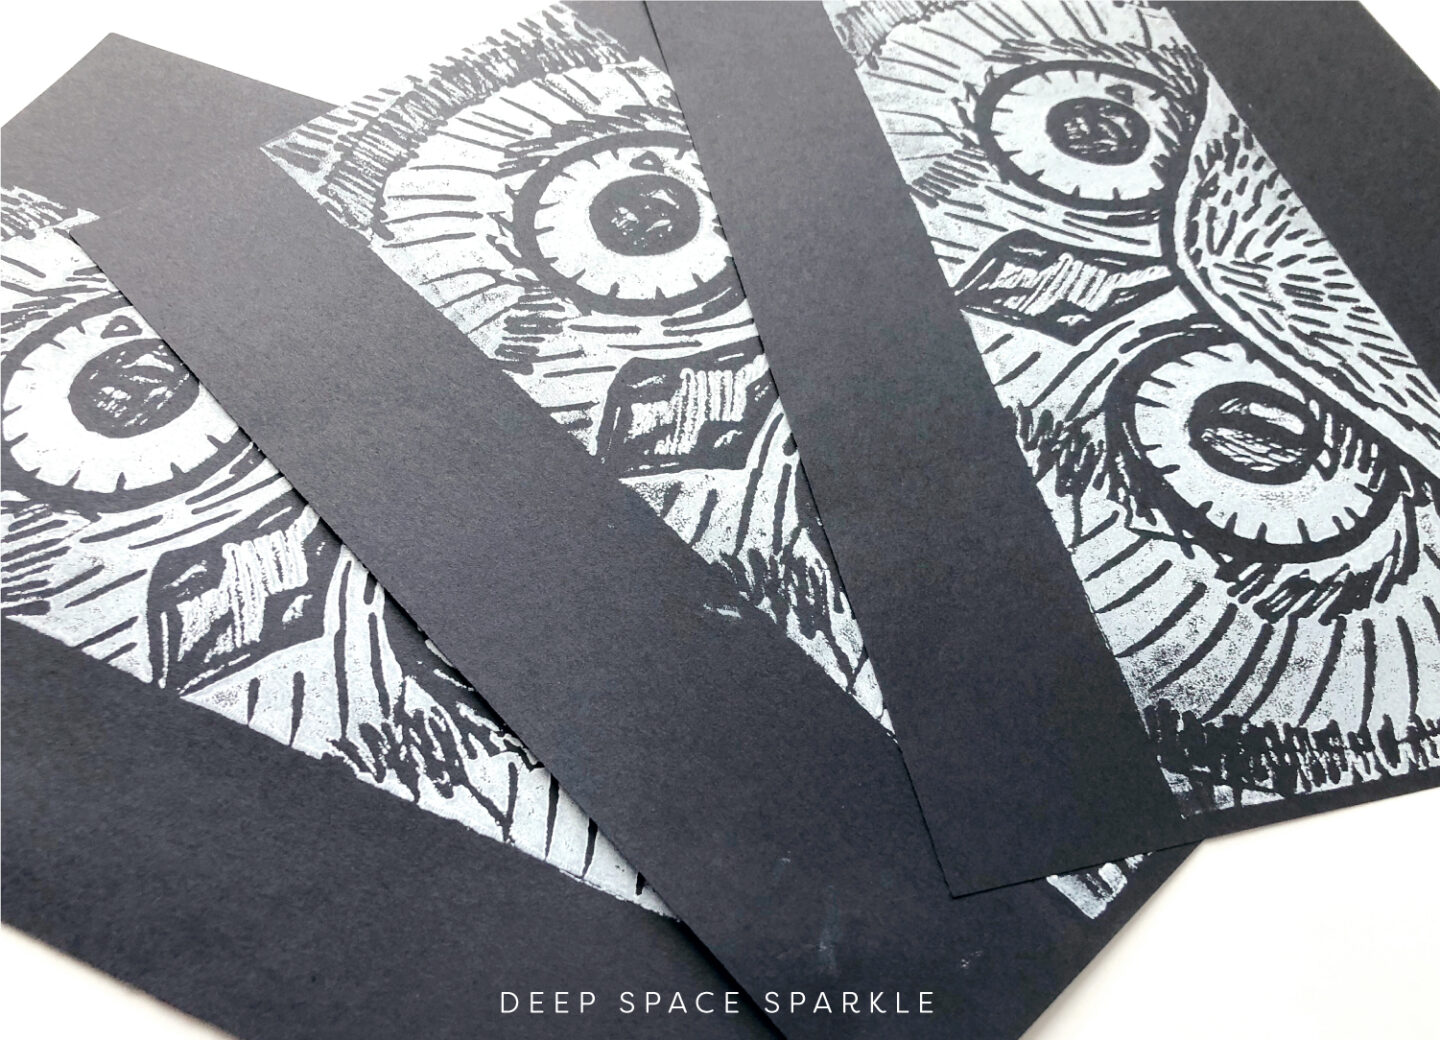
Animal Eye Prints (Inside the membership)
Harbor Seals in Sea Cave (Inside the membership)
You can find full printmaking lessons in this months Spring Bundle, complete with standards and assessments in the Sparklers’ Club. Sign up for the waitlist HERE.
What are your favorite printmaking tips? Leave them in the comments below.


cute ideas
Wish I had this last year! Glad I have it now!
Easy. A great simple plan. Just the instructions I needed!
Love this project!!!