


Sonia Delaunay along with her husband Robert Delaunay cofounded an art movement called Orphism. Strong colors and geometric shapes defined this movement.
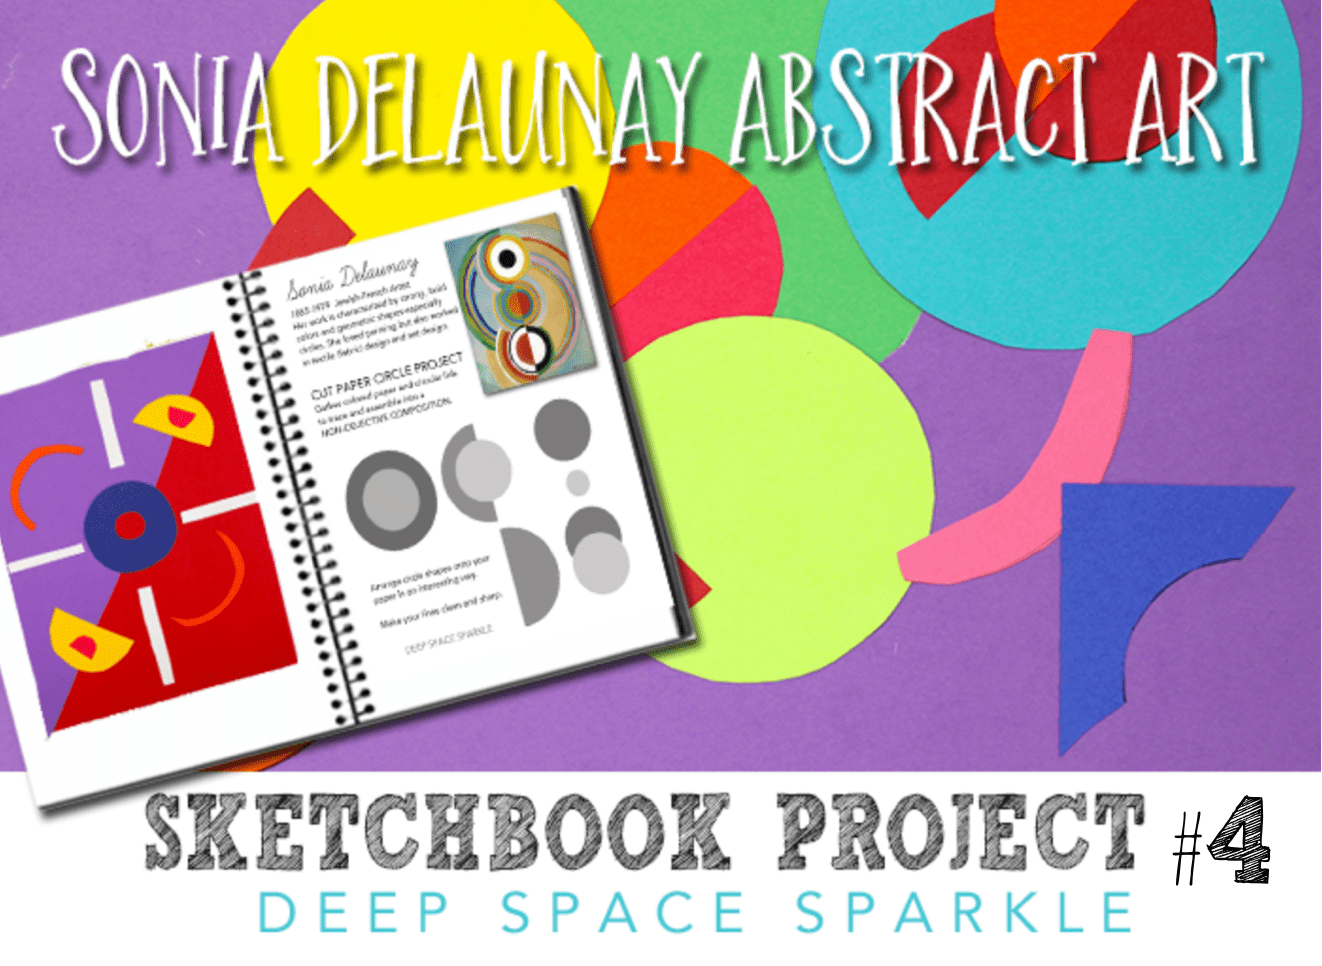
For the fourth installment of my free series, The Sketchbook Project, my 6th grade students looked at a few pieces of Delaunay’s art and examined the colors she used and how she arranged the shapes. Using this handout, the kids considered what colors to select for their artwork and how they might arrange the pieces of paper onto their background.
Use the coloring page to practice color composition or just use a free choice activity.


In regards to paper cutting , my other art teacher had cut out the work for the year ones and twos them so when i did a sub for her , I said to the students ” are you up to cutting out your own giraffes” and snow beenies etc . they said yes so i made them cut then out there were a few amputations but we use tape to put them back together they really did a great job . Its just a case of getting them to take it slowly and using correct scissors if they left or right handed . I find they are getting less practice due to the use of laptops and I-Pads . So in art there is often several exercise or projects that i do which involve paper cutting even paper weaving as it is tough and hard for kids to do but i use it for doing optical art exercises. Just lots of practice and make them go slow like the tortoise and not fast last like the rabbit.
I teach Transitional Kindergarten, which means my students turn 5 between September 2nd and December 2nd. Most of my students have never used scissors before, so we practice every week until it is easy for them. I give these tips every time we have a scissor activity, while modeling for them how to turn the paper with the “feeding hand” and how to keep the “cutting hand” stationary with only the blades opening and closing. I call the cutting hand a lazy alligator. He is always hungry but too lazy to do anything but open and close his chompers, while the feeding hand feeds him the paper and turns the paper so that the lazy alligator can chomp on the lines, “chomp, chomp, chomp”. I also always point out that the large whole in the handle is for many fingers, and the small whole is for the thumb.
I also supply several different types of scissors for kids to try out for varying fine motor skill development. I also teach them how to spot the “lefties” so they can avoid them if they are “righties” or grab them if they are “lefties.
I agree with Jeanette, go slow like the turtle to avoid tears!
Just a suggestion on something that recently worked for me, circle stencils. You can buy them for about $ 1.00. I got one for each table in my room and it was a game changer. It is better than cups and cans in that they take up no room at all and are easy to get out on a moments notice (the students request them all the time now), and clean up. In fact they were such a hit, I ending up buying enough stencils for each student.
Also, I do a lot of paper cutting. One thing that works for me, and you probably already do this, is getting them to focus on the result, not the process of cutting. I encourage them to go in from different angles to cut right up to the line. I call it “chunking it” vs. “cookie cutter”.
Thanks too, I have visited your website a lot over the last 10 years and you have been an inspiration and a great source of information. : )
I like your methode of teaching!
Things I demonstrate/say during a cutting lesson: “Fingers on the bottom, thumb on the top, open and close, and chop, chop, chop…” Freeze your cutting hand’s arm/elbow to your side and the other hand turns and moves the paper for you. Always point the scissors away from your body.
Some dollar stores have scissors that have a plastic resistance “lever” that helps re-open scissors for kiddos that need that help. The lever can be flipped out of the way when their muscle memory and hand strength kicks in.
Hi Patricia!
You’ve got great ideas to help with learning how to cut paper.
I love the phrase you use!
Team Sparkle
Thanks for amazing lessons,
Where is the free project guide, please?
Is there a link to the handout and coloring page you mentioned? I don’t see one.
Hi Jenna! Unfortunately the handout is no longer available. So sorry for the hassles.
Love these projects