


Looking for a quick art lesson to do in one session?
This project only requires just a few art supplies and maximum student engagement. You can’t beat a watercolor resist lesson.
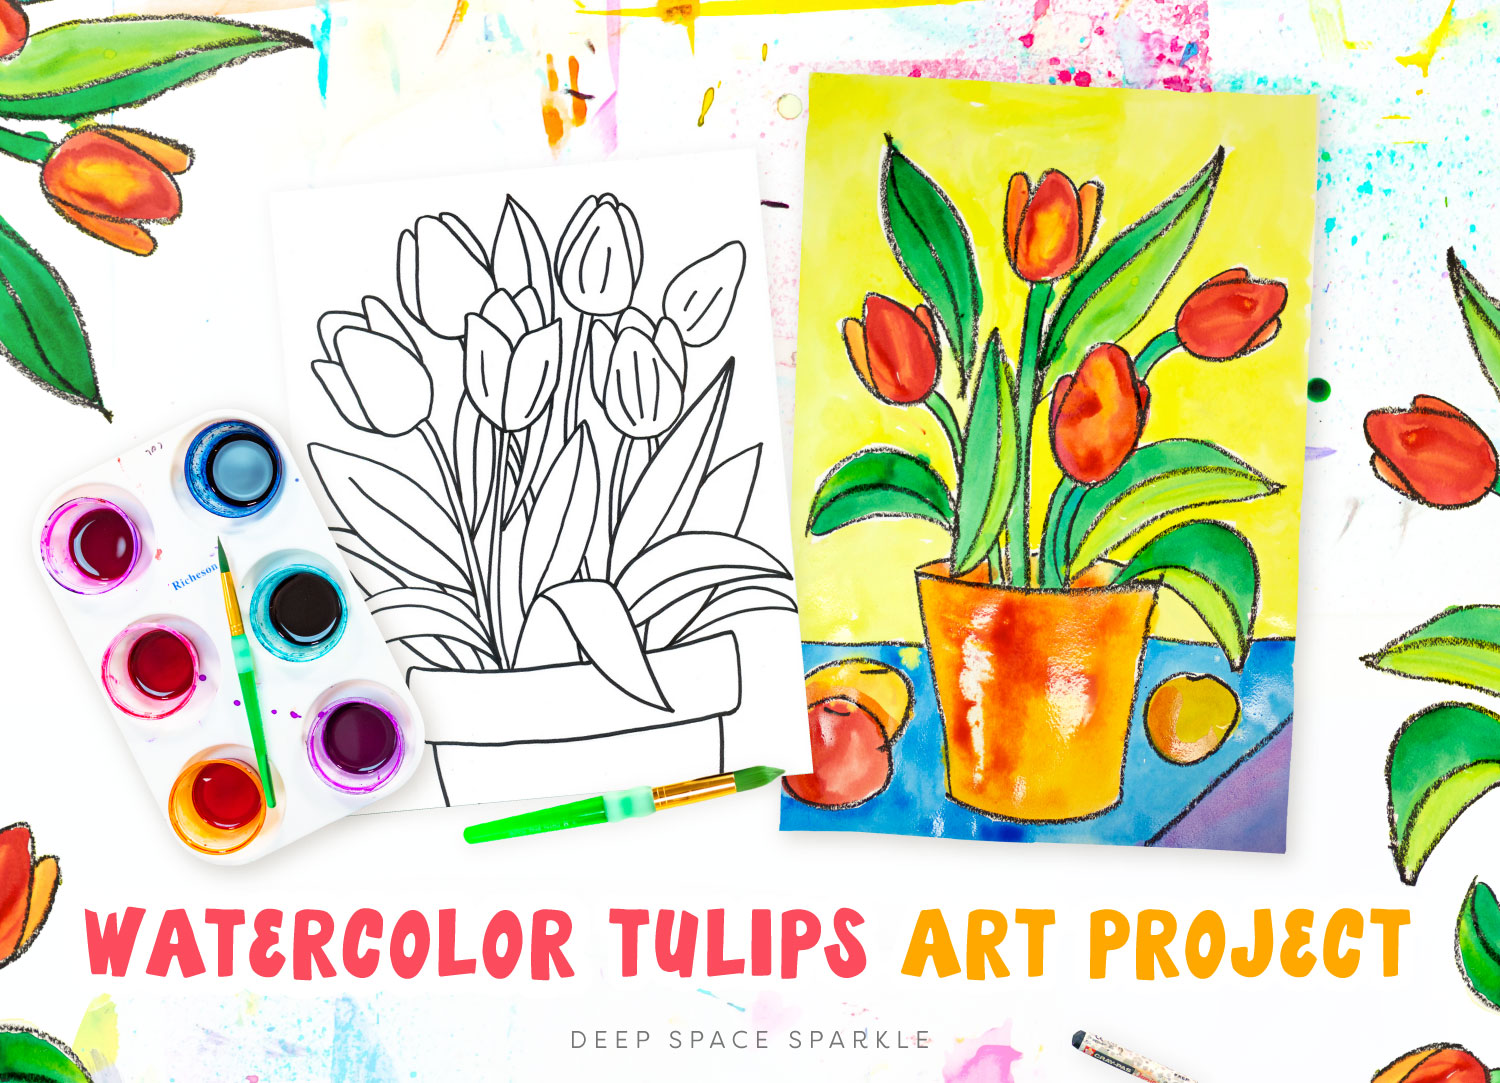
Here is a simple drawing and painting project Watercolor Tulips, to do this spring with children of all ages.
What You’ll Need:
– 9” x 12” or 12” x 18” 90-lb watercolor paper OR 12” x 9” sulphite or all-purpose paper
– Liquid watercolors (green, yellow, red, blue, purple)
– Black & white oil pastel or waxy crayon
– Medium round brush
– Water and paper towel
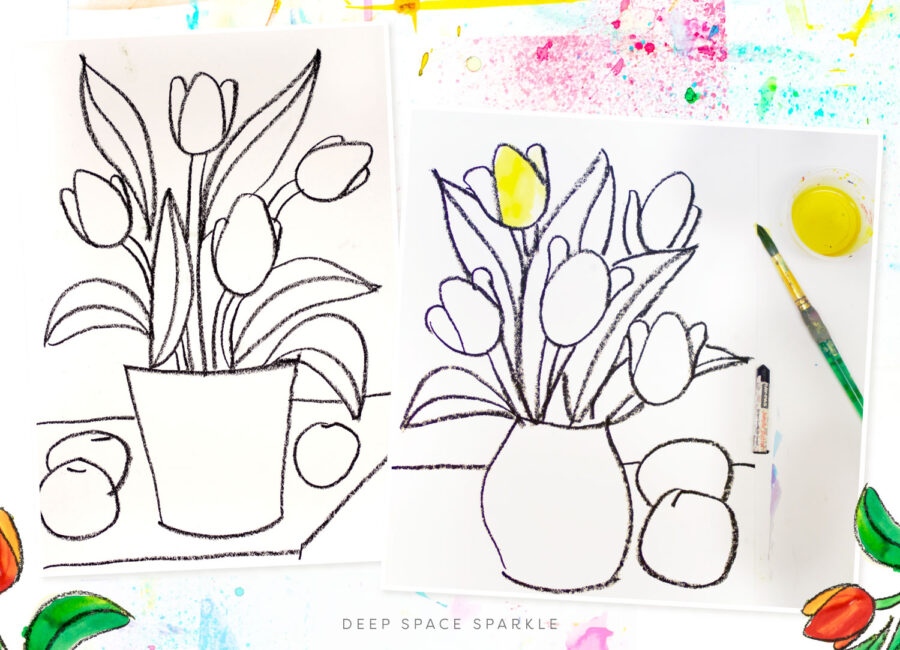
Using the drawing guide included in the PDF (download below), follow these instructions to create watercolor tulips in a vase:
1. Draw a slightly curved line for the base of the vase near the bottom of the paper. Draw two lines for the sides of the vase. Tip: Drawing from the bottom up offers kids a better chance of drawing a large enough vase.
2. Make sure the vase is as tall as your hand. Place your hand over your vase. Make a dot at the top of your fingers. Draw the top of the vase there.
3. On the top half of the paper, draw 3-5 letter “U’s”. This are the beginnings of the tulips. Make sure each tulip has space around it.
4. On the inside of the letter “U”, draw the first petal. Ot looks like an upside down “U”. It’s okay if the line looks wobbly.
5. Connect the outside flower lines with the first petal. This creates two new petals!
6. Around the sides and bottoms of the tulips, draw a few slightly curved lines around the tulips. This is the beginning shape for the brand leaves that grow around the flower.
7. Add a top leaf and bottom leaf to each line. To do that, place your pastel on the top of the line and draw a curved lined towards the bottom tip of the line. Do the same on the other side.
8. Fill your vase with as many leaves as you would like. In the empty spaces, add a stem for each tulip.
9. Draw a table line from one side of the paper to the next, making sure to jump over the vase.
Painting with Watercolors
Children love working with liquid watercolors. They are vibrant, require little mixing and are very easy to use. I squeeze 1 tablespoon of watercolor into a plastic condiment cup, baby food jar or small dish an dadd a few teaspoons of water.
Tips for using liquid watercolors:
My rule of thumb bis to add very little water to yellow and orange as they are very light colors. But for darker colors such as red or blue, I add water to achieve a 1:1 ratio. Make sure you test out your color by adding a little water at a time and seeing how it performs on the paper.
Remember, watercolor is meant to be transparent.
When you have your selection of colors ready, place the jars or cups in a plastic well palette or muffin tin. This helps stabilize the cups and prevents tipping.
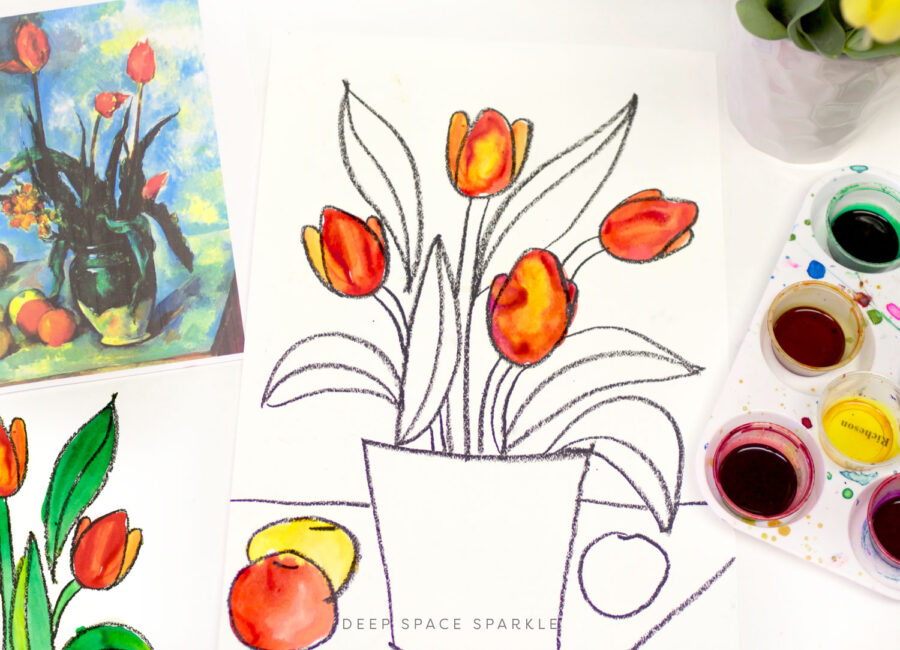
Paint the tulips first. If you have a real bouquet of tulips, the children can observe the colors and see how many colors they can identify in each flower bud.
Older children can experiment by adding two colors to the watercolor tulips.
Paint the leaves next, showing children how to use the yellow watercolor on the top part of the leaf and stronger green on the bottom. The two colors can blend a bit, too. Or, children can experiment with adding a touch of blue paint to the green.
Paint the vase and any pieces of fruit next.
When the paint dries a bit, select a color for the background and the table that allows the tulips to stand out. If the child paints his tulips yellow, then maybe he can chose any color other than yellow for his background.
See children might want to decorate their background or table top with many colors. I think this is lovely and will certainly make their painting unique.
My art philosophy…
I always say that it’s great to “control” one part of the art (drawing) so that another part of the process (painting) can be free flowing and expressive. And you can reverse this too
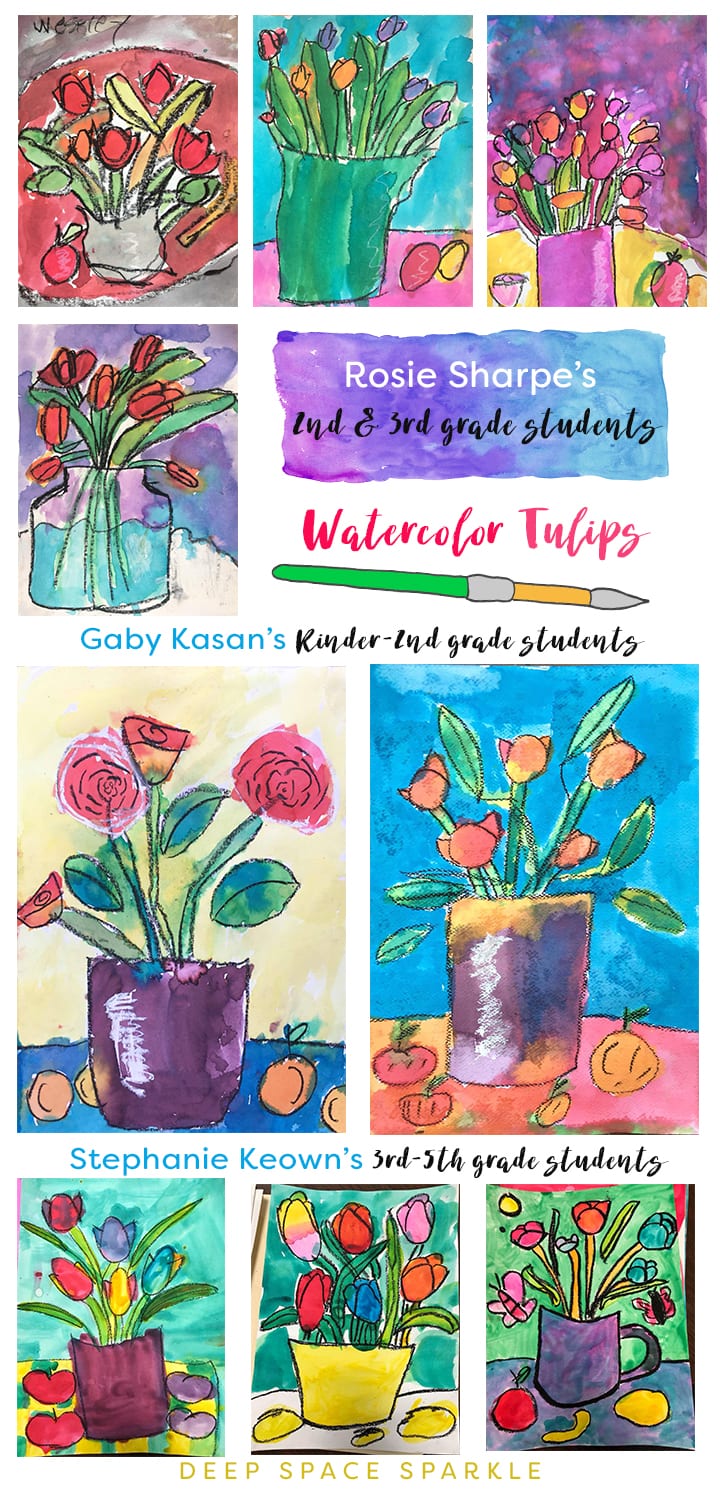
SPARKLERS ART GALLERY OF WATERCOLOR TULIPS
A special thank you to members of The Sparklers’ Club for sharing their student’s artwork.
Gaby Kasan’s K-2nd grade students
Stephanie Keown’s 3rd-5th grade students
Rosie Sharpe’s 2nd-3rd grade
DOWNLOAD THE WATERCOLOR TULIPS DRAWING GUIDE


Amazing!!! So much fun!!
Love this lesson. I always to the art myself first, because I am not an artist and figure if I can do it and really understand the process and challenges, then they can do it. It is so clear, and easy. All came out beautiful. Thank you for sharing this.
I loved this lesson, Many skills can be learnt by this lesson, It’s easy and simple and it’s suitable for different student stages, and you can leave them to use their own creativity skills in choosing and mixing the colors and the flowers arrangement to creat the whole balanced composition.
fun lesson
The lesson didn’t download 🙁
Once you click on the box, add your name and email and we will send you the PDF via email. Then you can click download. Check your junk mail folder too 🙂 If you need more support, just email support@deepspacesparkle.com and they’ll take care if you. Thanks!
Nope, sorry.
No PDF attached to email…
Hi Judith
Can you email support@deepspacesparkle.com and they’ll help you out. Thank you!
Very nice 45 minute and engaging art project. A lot can be done with this. From being simple to more complex.
Thanks Carol!
Its really informative, from next session m going to teach Arts in my school from Grade 1 to 8. It will be very helpful for me.Thank you so much.May Allah Bless you.
Thanks for sharing! Excited to try this with my class!
Great art lesson!
Nice quick project…just enough guidance plus room for creativity
This is absolutely fantastic and I cannot wait to have our residents at our assisted living facility try this. We are doing it in conjunction with our virtual visit to Holland. They will be thrilled!
I would love this project for my junior high art class!
I think I missed something! What do you do with the white pastels?
Hi Karen! Great question! The white pastel can be used for adding in the little light reflection on the left side of the vase. You would need to use them before painting to get a resist!
This is a great art project. We’re studying The Netherlands and what a beautiful way to celebrate “Tulip Mania!” The kids are going to love it!
your art is amazing.
Thank you for this lesson. Going to try with a 2nd grade class. How well do you think it would work with a regular watercolor palette, vs. liquid watercolors?
Great lesson
Great project!
Great project!
download
Hi Caryn!If you click the download button and add your email address we will send the lesson directly to your inbox. Be sure to check your Spam or Junk folders to make sure it didn’t end up there. Enjoy.
Hello,
This is a great lesson! Is there a video to show how to draw the tulips?
Hi Sarah! Thanks so much for your interest in our lesson. This lesson does not come with a video. Instead we have step by step instructions available in a pdf. You can have the pdf sent directly to your inbox by clicking on the download box and adding your email. Enjoy.
Hi Sarah! Here’s a quick video to show the steps: https://www.youtube.com/watch?v=TAKFZXMVSKg&t=11s
Awesome
Could I get a copy of pdf tulips please
Hi Sinead! Everything is working on our end. If you click the yellow download button and add your email address we will send the lesson directly to your inbox. Be sure to check your Spam or Junk folders to make sure it didn’t end up there. We have found that our website works best with Safari or Chrome browsers when downloading. Enjoy.
How can we download the free handout? The link doesn’t seem to work for any of the downloads. Thank you so much!! I love to do your art projects.
Hi Connie! We are so happy you found us. Everything is working on our end. If you click the download button and add your email address we will send the lesson directly to your inbox. Be sure to check your Spam or Junk folders to make sure it didn’t end up there. We have found that both the Chrome or Safari browsers work best so be sure to try using one of those. Enjoy.
just want I was looking to teach seniors at the center
It won’t download for me. It’s in a loop. Please send to my email address.
Hi Denise! Everything is working on our end. If you click the download button and add your email address we will send the lesson directly to your inbox. Be sure to check your Spam or Junk folders to make sure it didn’t end up there. We have found that the Firefox browser doesn’t work as well on our site but both Chrome & Safari browsers work so be sure to try using one of those. Enjoy.
I think that the lines and colors are very beautiful, I love the movement and the addition of explosive color to bring the tulips alive
You always great Patty
What a fantastic idea
thank you
Can’t wait to try the lesson.
thank you for the tulips water color template – I cannot download. Could you possibly email it to me?
Hi JD! I just sent you an email. Have a great day!
You have the best lessons!
love it!
I know my students will love it!
Fun!
Thanks!
Thank you!
Tulips
So cute!
I love this! And it was great to get this idea this morning in my inbox! Sometimes a simple lesson gets the best results. Thanks!
Please send pdf
Hi there! Good news — the download link is working properly on our side!
Just select Download, enter your email, and you’ll receive the PDF by email. If it doesn’t appear, take a quick peek in your Spam or Junk folder.
If you’re still having trouble, switching to Chrome or Safari — or trying on a non-school network — usually resolves it quickly.
download please