


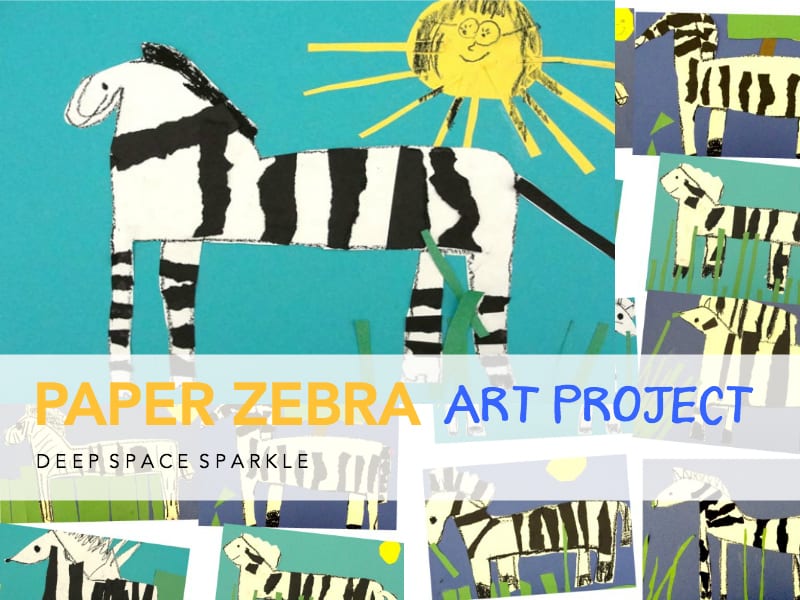
I love zebras. From an art teacher’s point of view, zebras are a sure thing for an art lesson. Doesn’t matter how you draw the body, put some black and white stripes on it and you’ve got yourself a paper zebra. Easy Peasy.
Whether you use paint or decide to rip up paper to create these striped animals, your class is sure to have fun designing their paper zebra.
Here’s a photo I snapped of a zebra exhibit at the Los Angeles Museum of Natural History where an art lesson idea was ignited!

TORN PAPER ZEBRA PROJECT FOR K-2
These are the instructions to make torn paper zebras with your class.
Here’s what we did:

On a sheet of white sulphite paper, we drew a zebra with black oil pastel. I use this medium a lot when drawing larger pictures because it forces just that: larger drawings. Using a pencil encourages small, detailed drawings and that wouldn’t work for this type of project.
HOW TO DRAW A ZEBRA
To make it easier for the kids, we start by drawing a dot for the eye and placing it near the top corner of the paper. Then, draw a short vertical line in front of the eye (nose). Place oil pastel on top of the line and draw a straight horizontal line for the top of the head. Put oil pastel on bottom of vertical line and draw a curved line for the jaw. Almost there…
From the bottom of the jaw, draw a straight line down to the bottom of the paper (legs). Draw a long neck, a back and then a back leg. Getting confused? Don’t worry. This drawing is designed to be boxy and simple. In many cases it won’t even look like a zebra until the stripes get added.
Now finish off the drawing by completing the legs (stress skinny rectangles), add a tail and a mane.

After the stripes are added with white glue or glue sticks (I used both, so use whichever works for you best) it’s time to create the background.
Have them choose between 2 or 3 colors of construction paper. Glue Zebra onto paper and use colored paper scraps to make grass, trees, and/or a sun. You might have to encourage some kids with questions about where zebras live, what do they eat, if it is a sunny day or a cloudy one…that sort of thing. I found that once the zebra found it’s home on the paper, a few kids were done. A little prodding generally stirs up their creativity.
Now sit back and enjoy watching your little artists create.

National Art Standards:
- Understand repetition and balance in nature, environment and works of art
- Identify the elements of art in nature, the environment and works of art focusing on line, color, shape/form, texture and space
- Demonstrate beginning skills in basic tools and art-making processes.
Second Grade Torn Paper Zebra

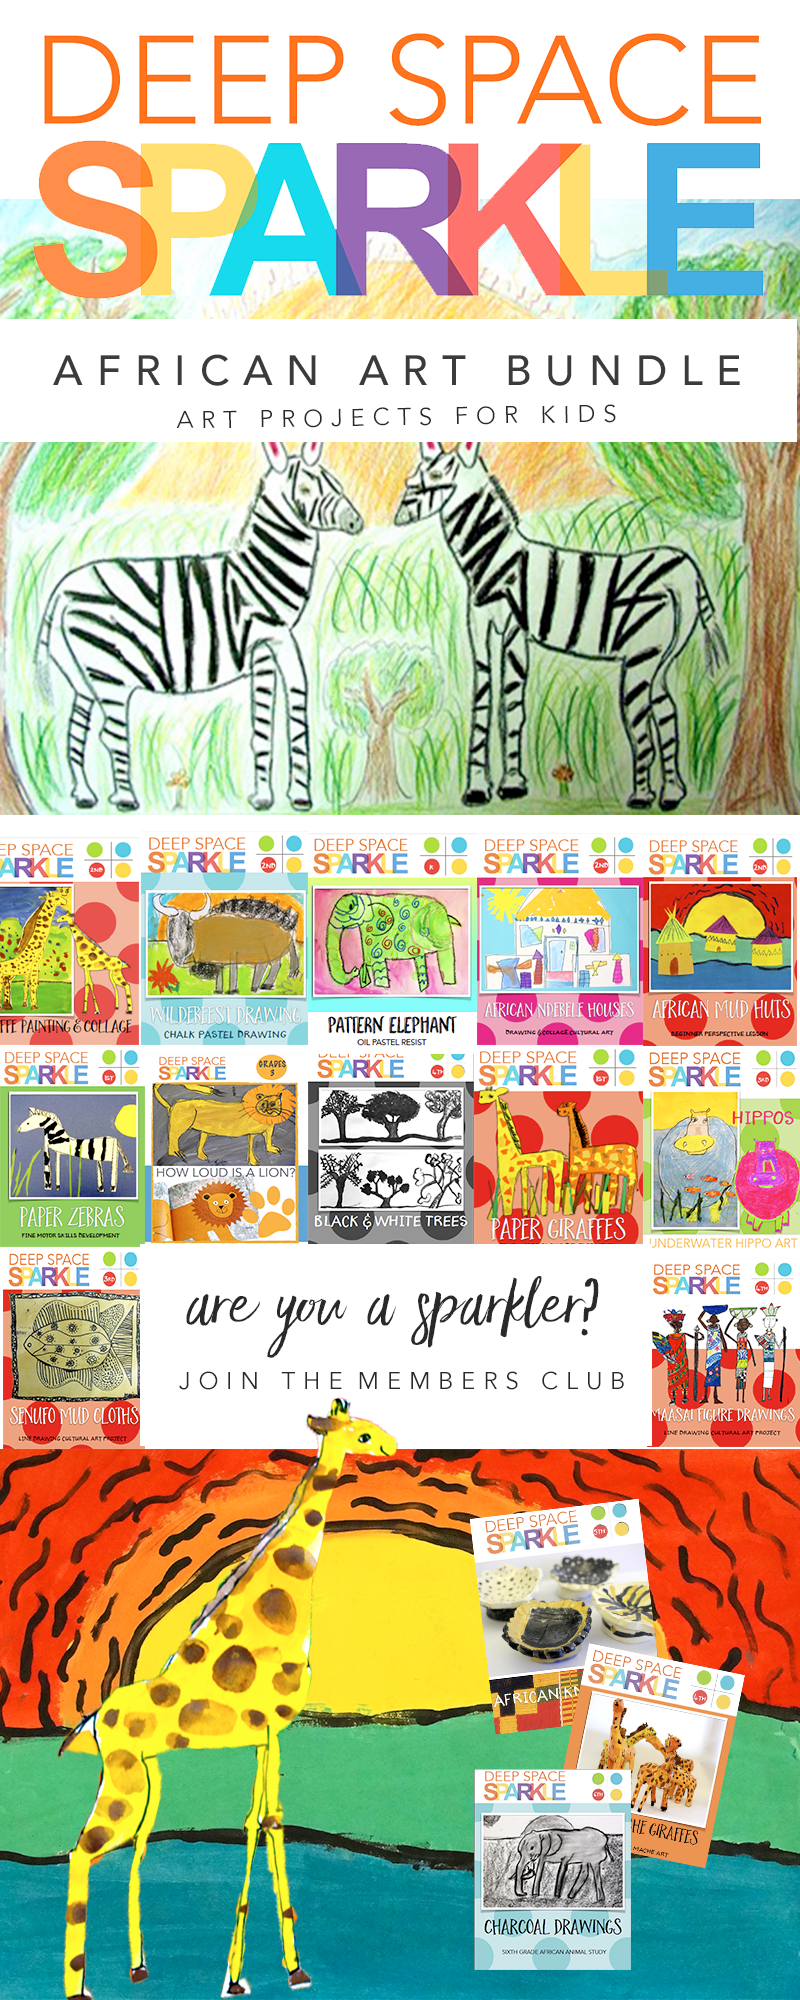
ARE YOU A SPARKLER? This lessons and 0ver 300 art lessons are available inside the Members Club. Access to videos, resources & trainings for one low monthly fee.
CLICK THE IMAGE TO SIGN UP FOR NOTIFICATION OF OUR NEXT ENROLLMENT


These zebras are beautiful.
You are right you can’t go wrong with black and white.
Love these!!
This is beautiful!
This looks like a fun craft for kids to make… especially as a follow-up lesson for reading books about zebras! http://www.kellysclassroomonline.com/
Love, how can I buy lesson. I’m a retired teacher and a friend of mine talked me into volunteering to teach an art club to kids at a title I school on all their breaks so we are having our spring break extravaganza and I need lesson plans because I literally have all day to teach a lesson plan as a school regular classroom teacher I didn’t get through a lot of these lesson plans I wonder if I can get like this cyber lesson plan I’ll pay for it and splat the cat lesson plan I think it was from y’all that I had it when I was a classroom teacher email is
arubin@satx.rr.com
Hi Angela! You can always find past purchases by doing the following:
Login with your username and your password
Click on SHOP
Click on My Account
Click on Downloads (you can also click on ORDERS to see your orders placed)
Your lesson should there! It is also a good idea to save your lesson to your computer so you can easily find it there too.
All our lessons that are available for individual purchase can be found in the shop at https://www.deepspacesparkle.com/shop/
love it very creative