


Developing art lessons can be overwhelming. Sure, you can use old stand-bys, fellow blogger lessons or source a few from art books. It’s what I’ve done and still do. But if you’re wondering how to go about creating your own art projects, my SPARKLE method of developing your own art lessons might come in handy.
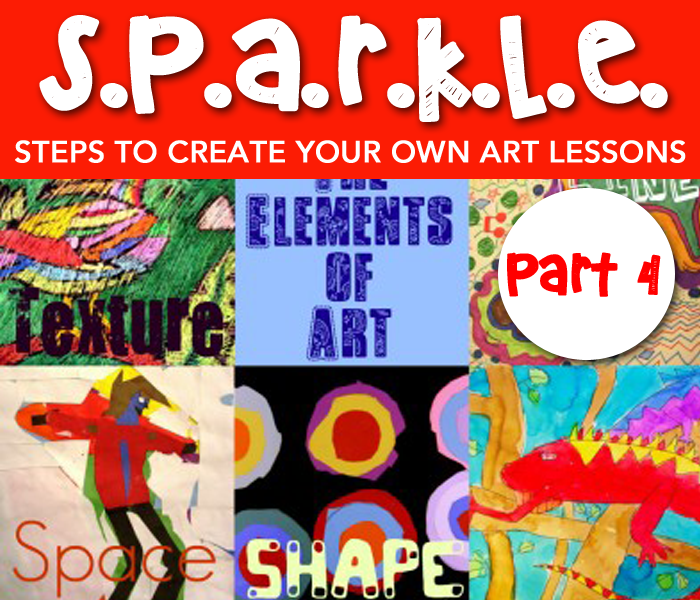
I’ve already wrote about Sourcing and Products, Assessment and Research , and Kid Appeal and Lingo. Today I will talk about The Elements of Art.
The Sparkle Method of Lesson Development
S-Sourcing
P-Products
A-Assessment
R-Research
K-Kid Appeal
L-Lingo
E-Elements of Art
The Elements of Art
I know it needs no introduction. We all know The Elements of Art but in case you need a little reminder, here it is: Form, Line, Shape, Color, Space, Texture, and Value
I often bypass standard-based art lessons simply because they look or seem too boring. You won’t see me teaching a lesson based entirely on The Elements of Art (although I admit, I did once) but I do make a very conscience effort to thread it throughout my units.
There are some elements that incorporate into every lesson: Line, Shape, Color and Space. I require a extra little push to include Form, Texture and Value.
My SPARKLE method reminds me to include these elements.
FORM: The Hardest Element
The hardest element to inject into my curriculum is form. I’m not partial to working with papier-mâché, toilet paper rolls and Kleenex boxes, but I know I must. Building something–anything–is essential to the artistic process. I’m just not that great at it. I worry about things. Like where to store all these creations before and after the project is done and whether or not I have enough table space for boxy build-it’s.
Case in point: I once did a lesson based upon a city-scape project in Nellie Shepherd’s “My Picture Art Class” book. Oh my goodness! The pictures looked so enticing. What fun my little kinders would have building skyscrapers and pasting windows and stars and glitter over gesso-covered boxes. So I started collecting boxes: toothpaste, cereal, frozen dinners, Kraft macaroni and cheese, tissue boxes. I had a huge box in the teachers lounge to throw recycled boxes into. Everyone got into it! Then I started to do the math. I had about 50 kinders. I’d need at least 3 boxes per project. 4 would be better. That’s mucho boxes. But I forged ahead. I cut stacks of tag board into rectangles, set out my huge collection of boxes, filled tubs with gesso and went to town.
I had 50 wet city-scapes to store and I had very little storage. You can see where this is going. The project was fun, but it was a pain in the neck.
Oh, I know. There are many ways to make this project work, but I decided that this project–as cute as it was–was meant for a one-on-one interaction between parent and child or a small group.
Form is important. But it has to be realistic for your classroom. Every form-based project I want to do (think I can do) undergoes serious consideration. I usually stick with ceramics–tidy, compact, accessible…but I need to branch out.
An exercise…
Look at your collection of art lessons. Randomly grab 20. Out of that 20, determine how many lessons include good examples of each one of the elements of art. If you fall short in one, two or three areas, then you know where your teaching weakness are. Like I said, form, texture and value is mine. Determine yours and develop a few lessons to fill in your holes.
Missed the series?
New to teaching art in the classroom? Download my free classroom art teachers toolkit by clicking the yellow box below!


Patty, I give you credit for admitting your weakness. But keep checking back with my blog, because later this year I'll post a GREAT cardboard sculpture project I do with 1st graders that doesn't take up too much room and doesn't have the mess of gesso-ed cities!!! And then there's the plaster bandage finger puppets that was one of my early posts. The advantage of plaster bandage is that it dries quickly (doesn't have the drip factor of papier-mache!)so is easy to store. The finger puppets are small and were easily stored on a couple of old lunch trays or cookie sheets per class, and often fit right into a shelf of my drying rack.
I also have some great relief projects I've done that don't have the storage problems of more fully 3-D stuff, since they can be slid onto drying rack shelves as well. I'll post them sometime soon, even though I'm not doing them right now. Maybe even today! :-).
How can I find your blog Phyl?
Try http://plbrown.blogspot.com/
It’s called There’s a Dragon in My Art Room
I agree, form is tough because the messy and storage factors
For an inexpensive and not messy project–
I’ve got a great tin foil project that’s become a classic.
Also, wire and modeling clay.
And I use “model magic” for my color wheel.
Value can be taught by just reminding the kids of the way we press lightly to color lighter colors and press harder to make darker colors. Also, anytime I can toss in shadows that helps them understand value as well.
Can't wait to see these projects, Phyl!
I have trouble with form and value. I do toilet paper roll Kachina Dolls and totem poles in November for Native American Heritage month. Around Halloween we make skeletons out of dried pasta shapes. Those are fun for form and texture. Value is probably my biggest bug-a-boo.
Not to be rude, but I work with a Native American teacher and have been told that toliet paper roll Kachinas are considered offensive to their culture. Check this out….
http://brownvboard.org/brwnqurt/04-3/04-3e.htm
Interesting article. Good to know although it's hard to imagine why a paper roll made into a craft would be considered offensive. Thanks for linking!
Hi! Our entire curriculum is based upon the Elements and Principles of Design. I base my lessons around them, but teach them THROUGH an artist or culture so it does not get boring and has that "hook" for the kids. It works well- I've got my entire curriculum posted on my blog.
http://www.theartofeducation.wordpress.com
-Jessica
I have heard that about toilet paper roll kachinas as well. I used to make them until I heard that it might be offensive. I hadn't made the connection until then. A toilet connection to religous icons of any sort could be touchy. There are other ways you could do the craft though, so a great lesson could still be done with other materials.
I just taught a great lesson for value in first grade. It was adapted from the book “Children and Painting” which a fabulous resource. Basically I gave each table black and white paint and I also had created a dark blue, violet and green by mixing a little black tempera with those colors. We now have a darkened “stormy” palette. I put out 2 choices of paper, a light gray and manila. Students painted any kind of land on the bottom of the page with the darker colors—could be a city, mountains, houses, trees or even a stormy ocean. They then painted outlines of storm clouds in the sky and painted them with many tints and shades of the colors presented. I showed them how to make a few different kinds of brush marks and many students added snow at the end. The final result was a wonderful painting experience and we discussed value, tints and shades during the lesson. I’ll be posting them on Artsonia in the next few weeks(Somerville School, Ridgewood, NJ)
I’ve just come across your site and think it’s great! I’m a classroom teacher from New Zealand and teach 5-6 year olds. I love doing art with them and I’ve found lots of cool ideas for our Sea topic this term. I was reading what you said about teaching form and agree storage is an issue. I’ve had success before with smaller paper mache projects (e.g. palm sized fish that began as flat cardboard shapes and were given form with newspaper and pulp padding, etc, then painted, varnished and strung together into a “School of fish” mobile). Also, have you used wire much before? That’s a good non-messy, smallish sized medium to work with. You can use cloth strips dipped in plaster of paris to layer onto the form as well.
Looking forward to using your site lots more in the furture!
I am new and need all the help I can.Thank you.