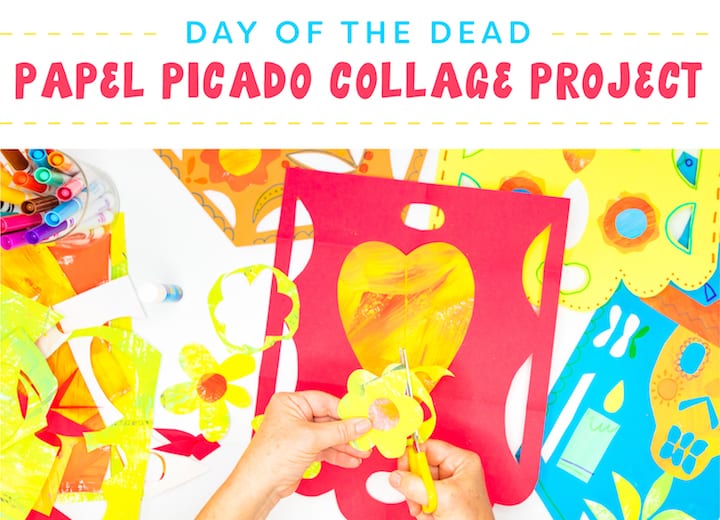


What do alters, sugar skulls, marigolds and sweet treats have in common? If you guessed that they’re important parts of celebrating Day of the Dead, you’re right!
Día de Muertos is celebrated in Mexico and Latin American countries on November 1st and 2nd, but we celebrate right here in the U.S. as well.
This day celebrates the beauty of life rather than the sadness of death. In Santa Barbara, as well as in many communities all over Southern California, families head to cemeteries to decorate grave sites, adorning headstones with yellow and orange marigolds, candles and sweet offerings to honor loved ones who have passed.
During my years of teaching in Goleta, California, I created many Day of the Dead projects including sugar skulls for younger children as well as sugar skulls for older kids, catrina dolls and papel picado projects. You can find a collection of Day of the Dead projects right here.
Book Recommendation
I used the illustrations in the book, Día de los Muertos by Roseanne Greenfield Thong and illustrated by Carles Ballesteros, as inspiration for this project. Its length and pacing plus the colorful, simple illustrations are a perfect transition into the art project.

What You’ll Need:
This papel picado project uses regular 12″ x 18″ sulphite paper instead of tissue paper, which can be challenging for little hands to master.
The project is based on symmetry and adornment so grab some colorful paper, painted paper scraps (learn how to make painted paper right here), scissors, colored markers and a glue stick and let’s start creating a papel picado!
Step One: Cutting The Bottom Details
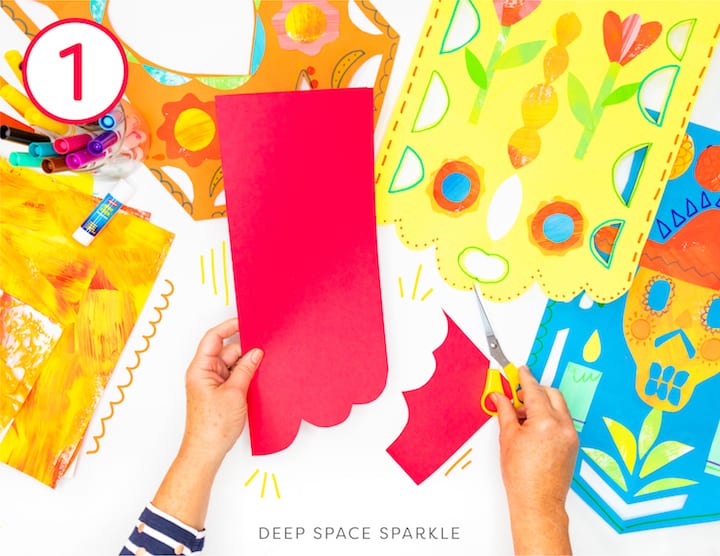
To cut the bottom details, fold the paper in half lengthwise. Start with the non-cutting hand, holding the closed or folded edge of the paper, and make the bottom edge cut. This can either be a straight angle cut, or a scalloped edge cut along the bottom of the paper.
While the paper is still folded, create a decorated cut just above the bottom or near the top. Shapes can be round, geometric or sickle shaped.
TIP: Keep shapes simple, as these are easier to cut with the thick paper.
Step Two: Cutting The Side Shapes
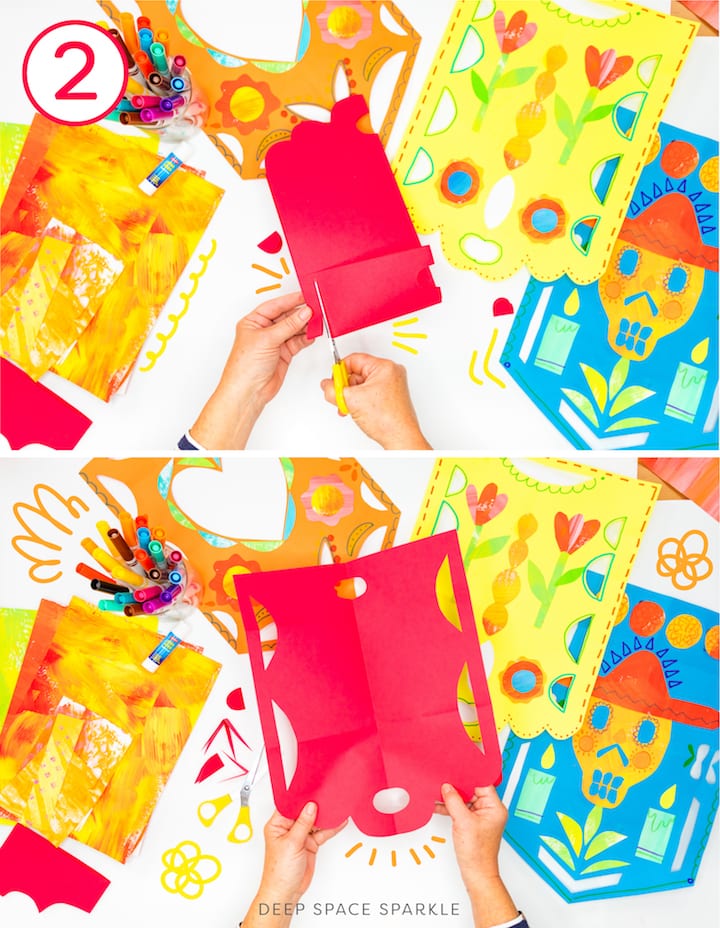
To cut the side shapes, start by folding the paper in half vertically. The side shapes can be cut once by folding the paper horizontally again. Next, cut a simple shape along the edge of the paper. See the photograph because it’s really hard to explain this!
Step Three: Creating The Main Interior Shape
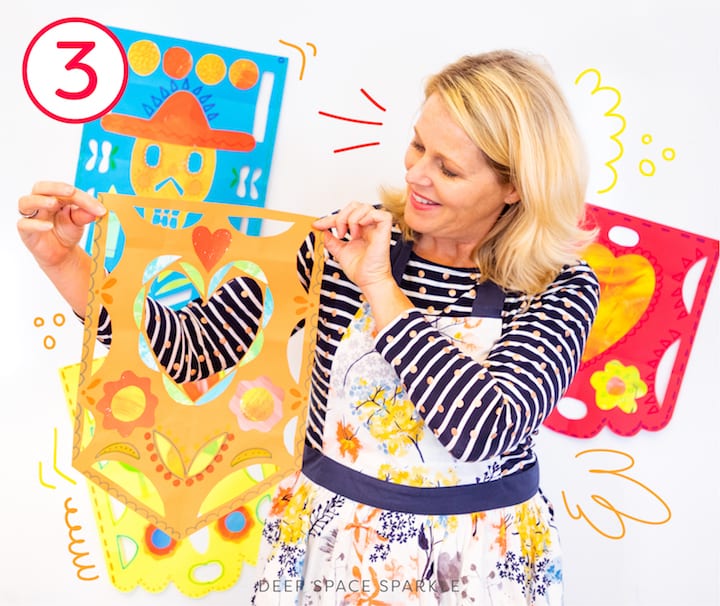
To create the main shape in the middle of the papel picado, either cut out a simple shape (like a heart) by folding the paper in half, OR use painted paper to cut out a shape and glue it onto the papel picado. I’ve done it each way and it’s fun to try both.

Older children can practice making a detailed shape, cutting it out and gluing it to the paper, while younger children can practice simple shapes. Keep in mind that you can encourage kids to make a shape or silhouette larger than their fist. Kids have a tendency to draw small, especially if given a pencil, so turn over the colored paper and use a marker. It should encourage a larger shape.
Step Four: Adding Details
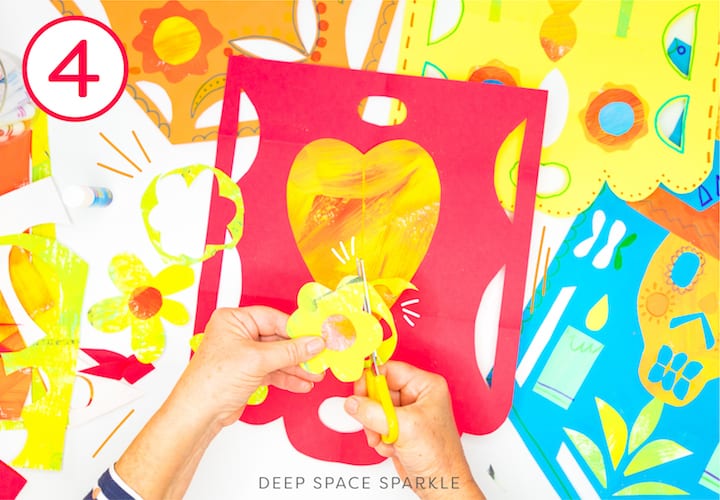
Marigolds are signature flowers for the Day of the Dead celebrations and a great detail to add to your papel picado. A simple way to make a cut-out marigold is to cut or trace a circle onto colored paper:
– Cut out a circle
– Glue the circle to a larger square of colored paper
– Draw or cut a flower shape around the glued-on circle
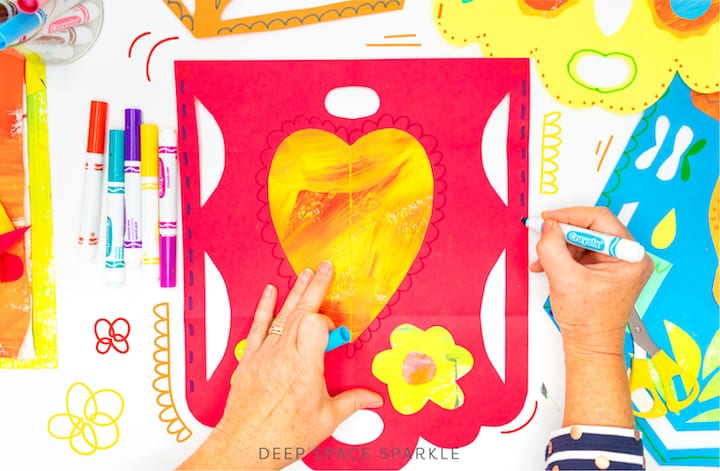
Using this technique, create symmetrical shapes to glue to both sides of your papel picado. Finish by using colored markers to add any remaining details like borders, stitching, flowers, dots or stripes.
For papel picado shape and decoration ideas, download the FREE handout below.
Creating a papel picado is the perfect way to celebrate Day of the Dead with your students. What other projects are you planning for Día de Muertos? Tell me in the comments below!
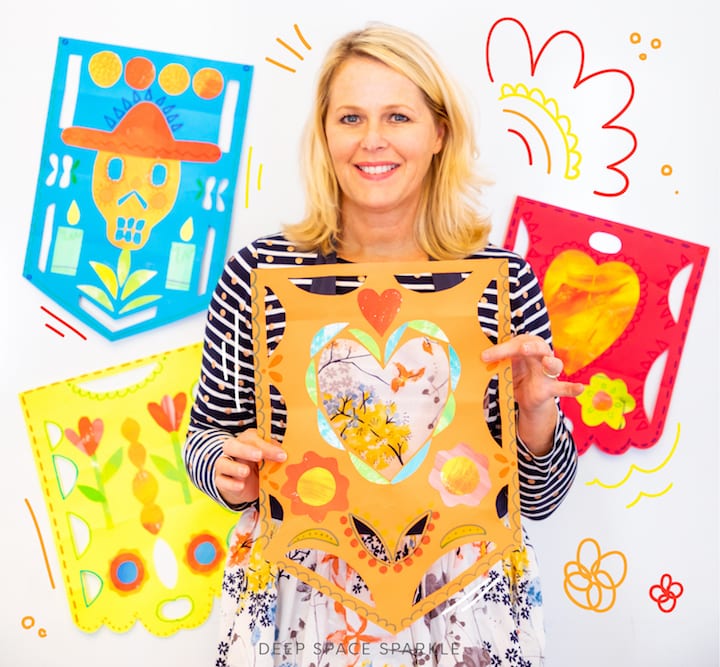
Written by Patty Palmer – CEO and Founder of Deep Space Sparkle


Just FYI.. I was at a training on DIA DE MUERTOS with the Detroit Institute of Arts and the Mexican Embassy. The correct way to write it is DIA DE MUERTOS.. (no los!)
Thank you!
Which is funny because even the book title is “Dia de LOS Muertos”. Shrug.
This is wonderful, thank you so very much for these fantastic ideas!
Beautiful!
It’s so good. My kids love that activité.
Hi, I am Pablo from Spain. You can say “Día de los muertos” but in Spain it is most used “Día de los difuntos” or even “Día de difuntos”. The other expression “Día de muertos” is a Mexican one. So there are so many ways of speaking Spanish. 😉 “muertos” and “difuntos” are synonyms (dead people)
Love this.
I really appreciate it
Thank you for all the great information, reminders and art ideas! Love to learn!!!
Same!!!!!!!!!!
I LOVE IT JUST LOVE IT !!!!!!!!!!!!!!!!!!!!!!!!!!!!!!!!!!!!!!!!!!!!!!
Best art work ever!