


Are you looking for easy Halloween art projects for elementary school that avoid the spooky factor?
These three teacher-tested projects take 30-60 minutes each, require minimal prep, and work beautifully for classrooms that need friendly, non-scary Halloween options while teaching genuine art skills.
Whether you’re teaching kindergarten or fifth grade, these Halloween art lessons will inspire creativity while covering essential elements like shape, line, pattern, and symmetry—keeping your students engaged for a full class session.
Quick Answers: Halloween Art Projects at a Glance
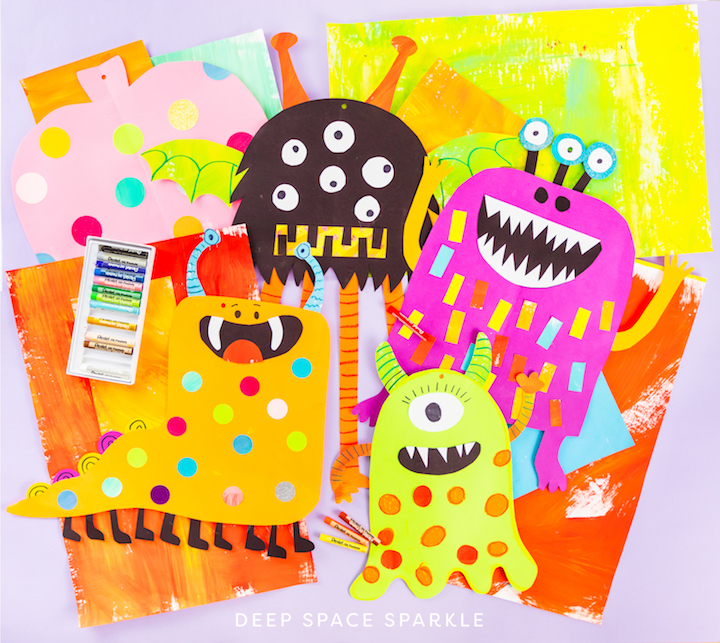
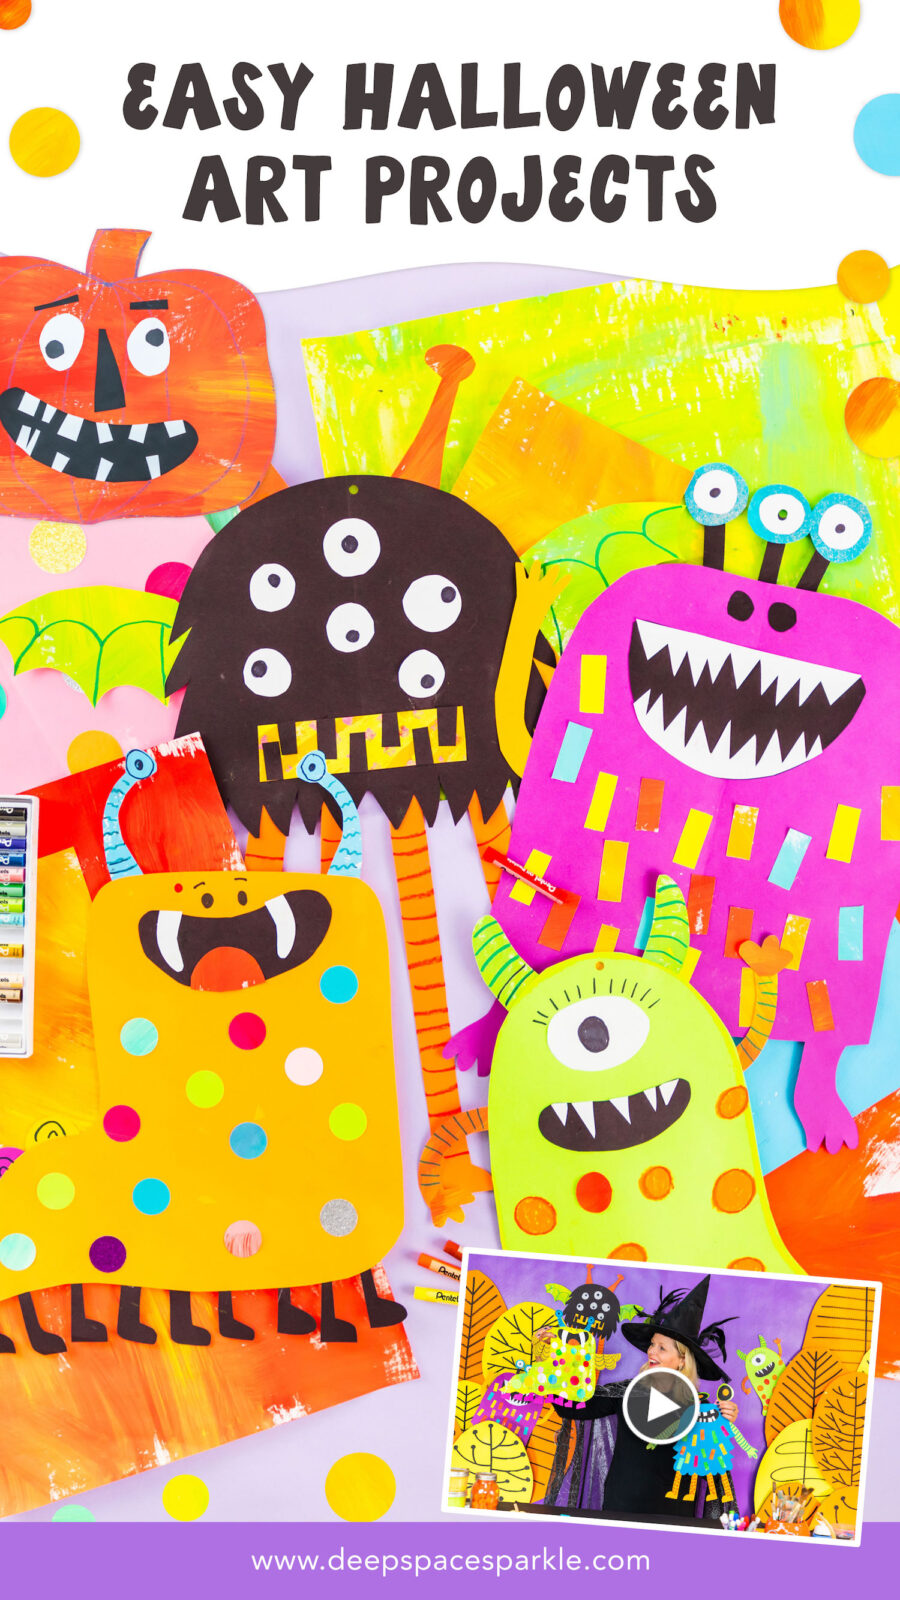
What are the easiest Halloween art projects for elementary students? The three projects in this post—Funny Face Pumpkins, Paper Monsters, and Asymmetrical Monsters—are specifically designed for ages 5-12 (or grades K-6th) and teach core art elements while also providing a seasonal activity for the art room.
How long does each Halloween art project take? Funny Face Pumpkins take 30-40 minutes, Paper Monsters need 45-60 minutes, and Asymmetrical Monsters require a full 60-minute class session.
What materials do I need for classroom Halloween art? We love projects that use basic art supplies. Gather 12″ x 18″ colored sulphite paper, paper scraps, scissors, glue sticks, and markers. See our complete Art Materials Guide for Elementary Art Teachers for recommendations and alternatives.
Can these projects work for both kindergarten and upper elementary? While each project targets specific developmental stages, we have found that even the most advanced artist has fun creating any one of the projects meant for a younger artist.
Like we say here at Team Sparkle, “It’s easier to offer a Kinder project to a 5th grader than the other way around.”
Artists will find clever ways to make the project their own so take your cue from them and allow your artists to experiment and improvise.
Watch the Complete Video Tutorial
This Halloween Spark-tacular video tutorial is all about creating special Halloween memories with your artists by walking you through each project step-by-step.
Timestamps
Funny Face Pumpkin – 1:12
Monsters – 15:24
Asymmetrical Monster – 32:17
Which Halloween Project Should You Choose?
Funny Face Pumpkin (K-2nd Grade) Best for young learners who are building confidence with basic shapes and exploring facial expressions. Students create pumpkins with different emotions—happy, surprised, silly, or confused. This project teaches shape recognition, pattern-making, and how facial features create emotion. Time: 30-40 minutes
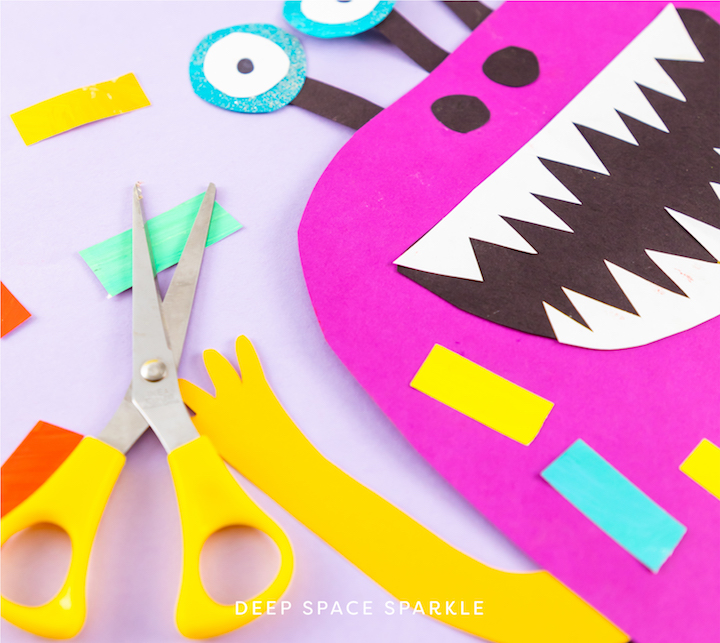
Paper Monsters (2nd-4th Grade)
Perfect for students ready to make creative decisions independently. With endless options for colors, shapes, and features, no two monsters look alike. This project builds confidence in artistic voice while teaching collage techniques and design variety. Time: 45-60 minutes
Asymmetrical Monsters (3rd-5th Grade) Designed for upper elementary students who can handle sophisticated concepts. Students discover that intentional asymmetry—different sized eyes, off-center bodies, varied arm lengths—creates visual interest and energy. This project gives perfectionists permission to embrace the unexpected. Time: 60 minutes
Getting Started: Before You Begin
For best results:
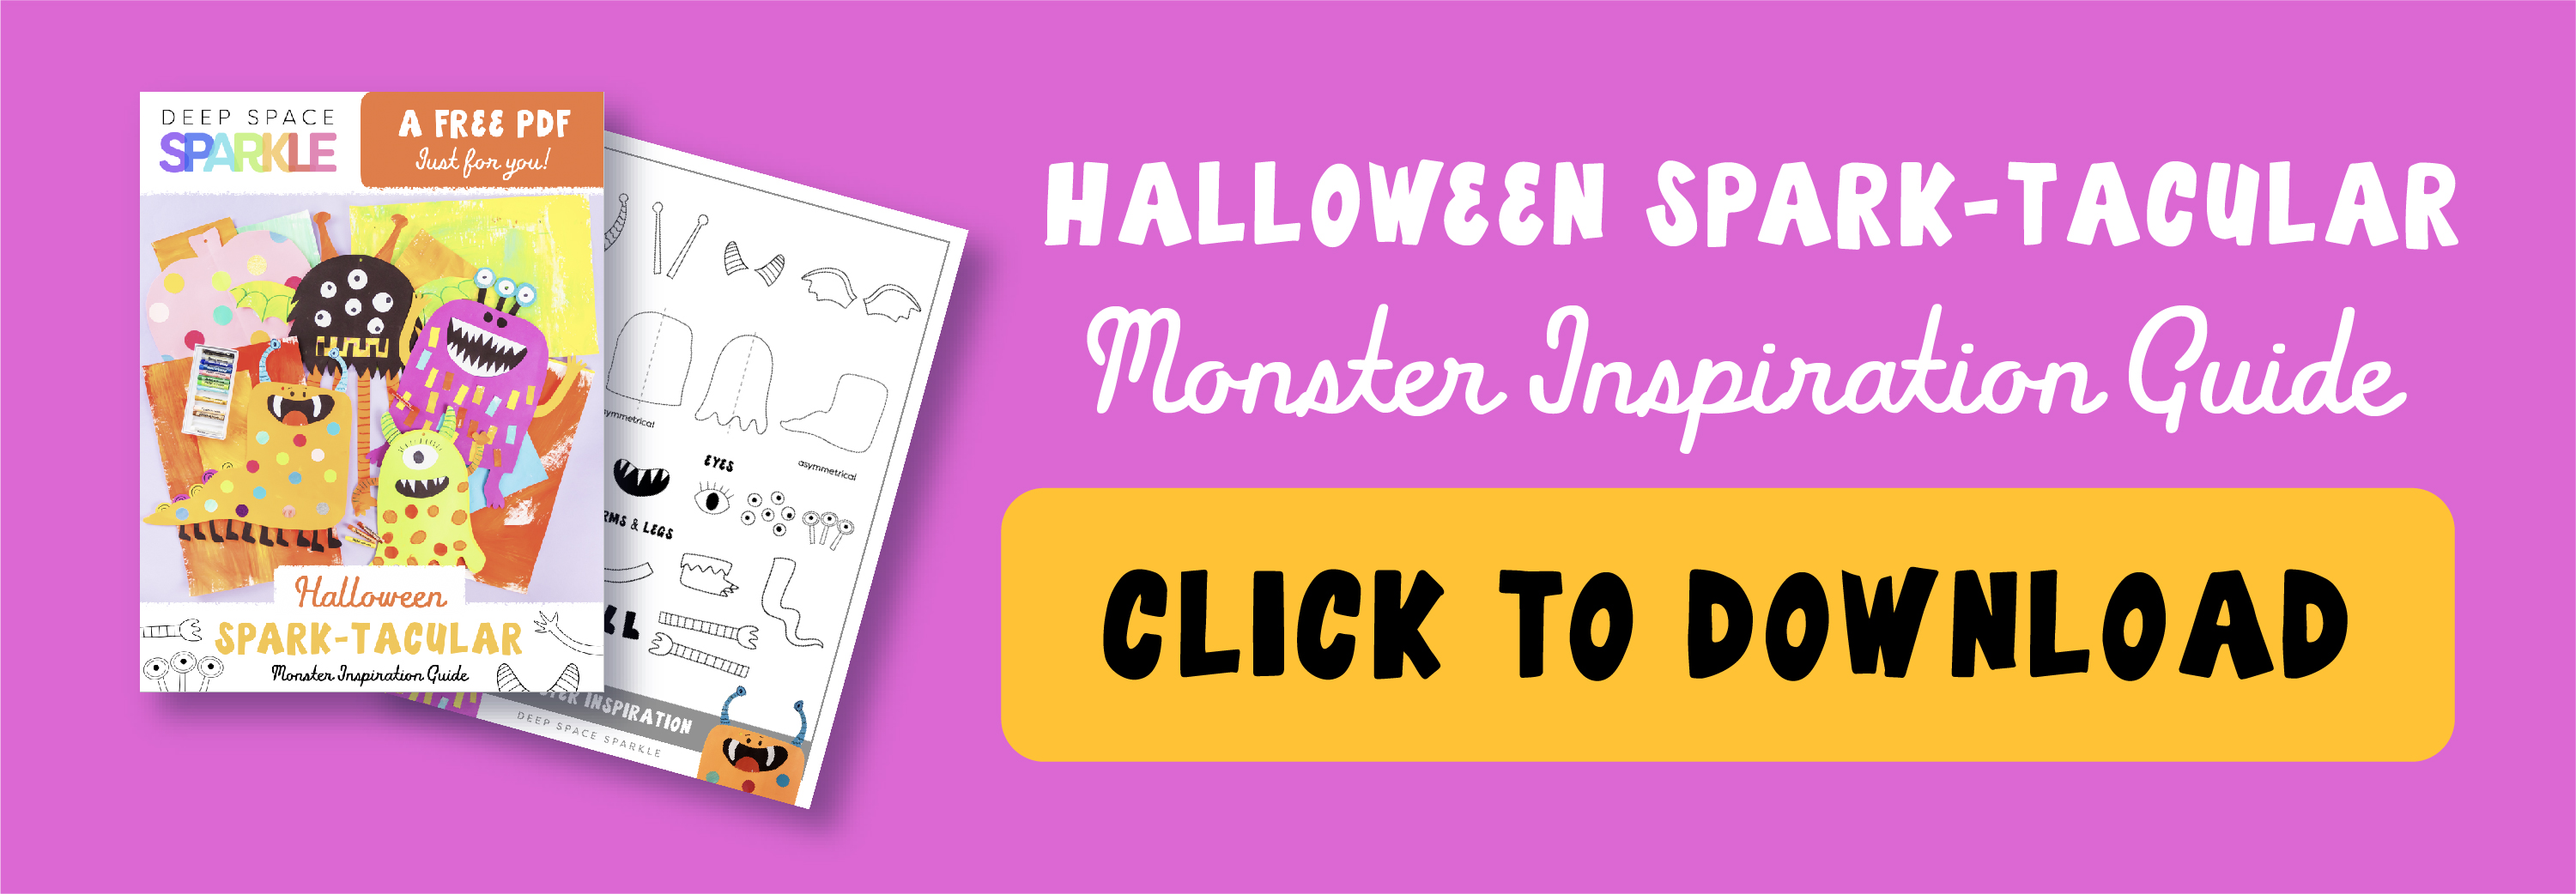
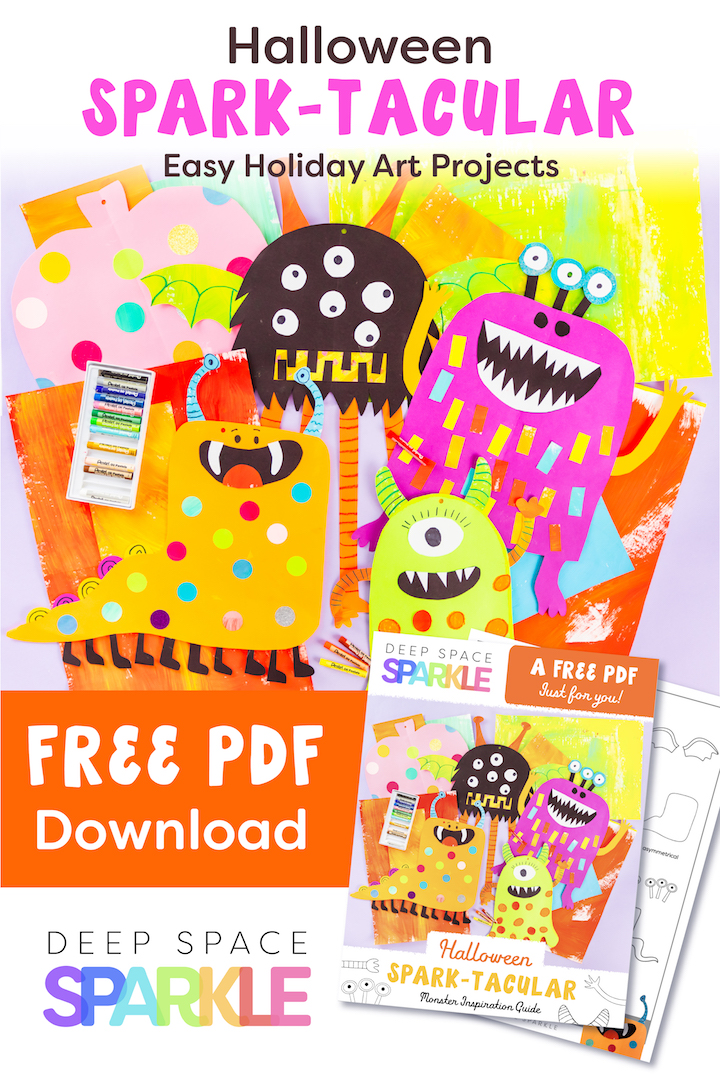
Download the Monster Inspiration Handout below – this visual reference shows students multiple options without dictating exactly what to create.
If using painted paper, prepare it in advance or have students create it in a previous session.
Set up a “scrap station” with small containers for different colored paper pieces.
Watch the video once through so you know the flower of each project.
Grab your Monster inspiration handout below and let’s get started!
WHAT YOU’LL NEED:
– 12″ x 18″ colored sulphite paper (including orange for pumpkins)
– 9″ x 3″ colored paper scraps, including painted paper for monster arms and legs
– Paper scraps of any kind (newsprint, craft paper, painted paper, glitter paper)
– Scissors
– Glue stick
– Markers
– Pastels or crayons
– *Optional: hole puncher & craft pipe cleaners (for hanging)
Before you play the video for your students, you’ll want to have your painted paper dried and ready. If you need help preparing your painted paper, check out our blog on How to Make Painted Paper.
This can be prepped in advanced by you or your students.
What if I don’t have painted paper? No worries! Colored sulphite paper works perfectly for all these projects. Painted paper adds visual texture but is completely optional.
Why These Halloween Projects Will Work in Your Art Room
These projects focus on the playful, imaginative aspects of Halloween rather than frightening imagery—perfect for schools requiring inclusive, age-appropriate celebrations. But they’re not just “cute crafts.”
Students genuinely learn:
- Shape and form (geometric vs. organic shapes in monster design)
- Emotional expression (how facial features convey different feelings)
- Pattern and repetition (creating visual interest through repeated elements)
- Symmetry vs. asymmetry (understanding balance and intentional imbalance)
- Creative decision-making (choosing colors, shapes, and features independently)
These projects meet children at their developmental stage. The guided drawing elements aren’t about creating “cookie-cutter art”—they’re about giving students foundational skills so they can make the projects uniquely their own.
Share Your Spark-tacular Results!
Your students will love creating these festive projects as Halloween approaches. Tag us @deepspacesparkle on Instagram so we can celebrate your classroom’s creativity!
Want more seasonal art lessons like this? Join the waitlist for The Sparklers’ Club, where you’ll get complete lesson plans, video tutorials, and printable resources for every season > Sign up here.
Have questions? Drop them in the comments below—I read and respond to every one.


Amazing. Do you have the video on how you made the trees?
Hey I did not have the stuff for this project but i made it happen with other materials.
It did take longer for me to do it my way but it was fun.
Today we got the right things to do this project.
It was EVEN MORE FUN with the right materials.
I think this was amazing and so does my brother!!!!!
:)))))))))
Thank you Patty these crafts are fantastic.
Do you have a paper (material, weight, good for paint) recommendation for painting on for the pumpkin? I am new to doing art with my kids & overwhelmed by all the choices. Thanks!
I’ve always used Tru-Ray by Pacon as my art paper of choice. It’s about 76-80 lb which is absolutely strong enough for most painting projects.
love it! Thank you!!!
Good Morning,
I can’t seem to click on the picture link to get to the monster guide pdf. Am I doing something wrong?
Hi Stephanie! Everything is working on our end. If you click the yellow download button you’ll see a pop up and can add your email address we will send the lesson directly to your inbox. Be sure to check your Spam or Junk folders to make sure it didn’t end up there. We have found that both the Chrome or Safari browsers work best so be sure to try using one of those. Enjoy.
None of the links for handouts are working for me. They didn’t work for September either. I’m using my school email and using Chrome as my browser, and I have made sure that pop-ups and redirects are allowed.
Hi Denise! Everything is working on our end. If you click the download button and add your email address we will send the lesson directly to your inbox. It’s possible that your school may have a firewall up preventing you from accessing these. You might want to check with the tech person at your school. In the meantime please reach out to support@deepspacesparkle.com and we can email you directly. Enjoy.
Gracias or compartir. Hermoso proyecto !
Thank you!
Thank you for great ideas.
I love these cute halloween projects!!