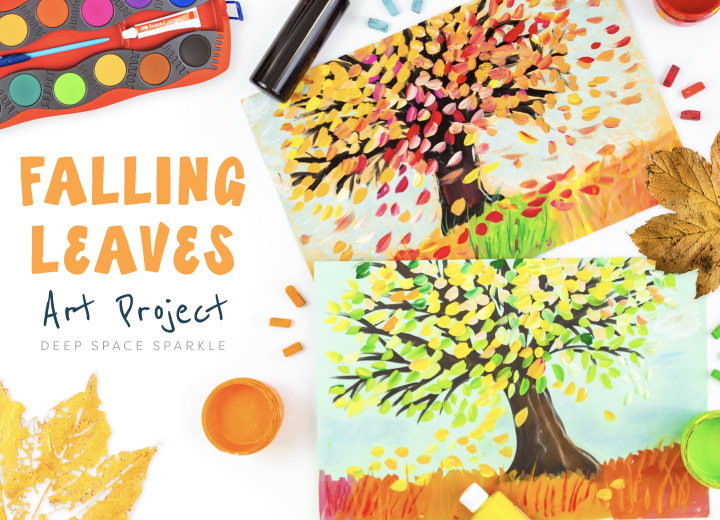


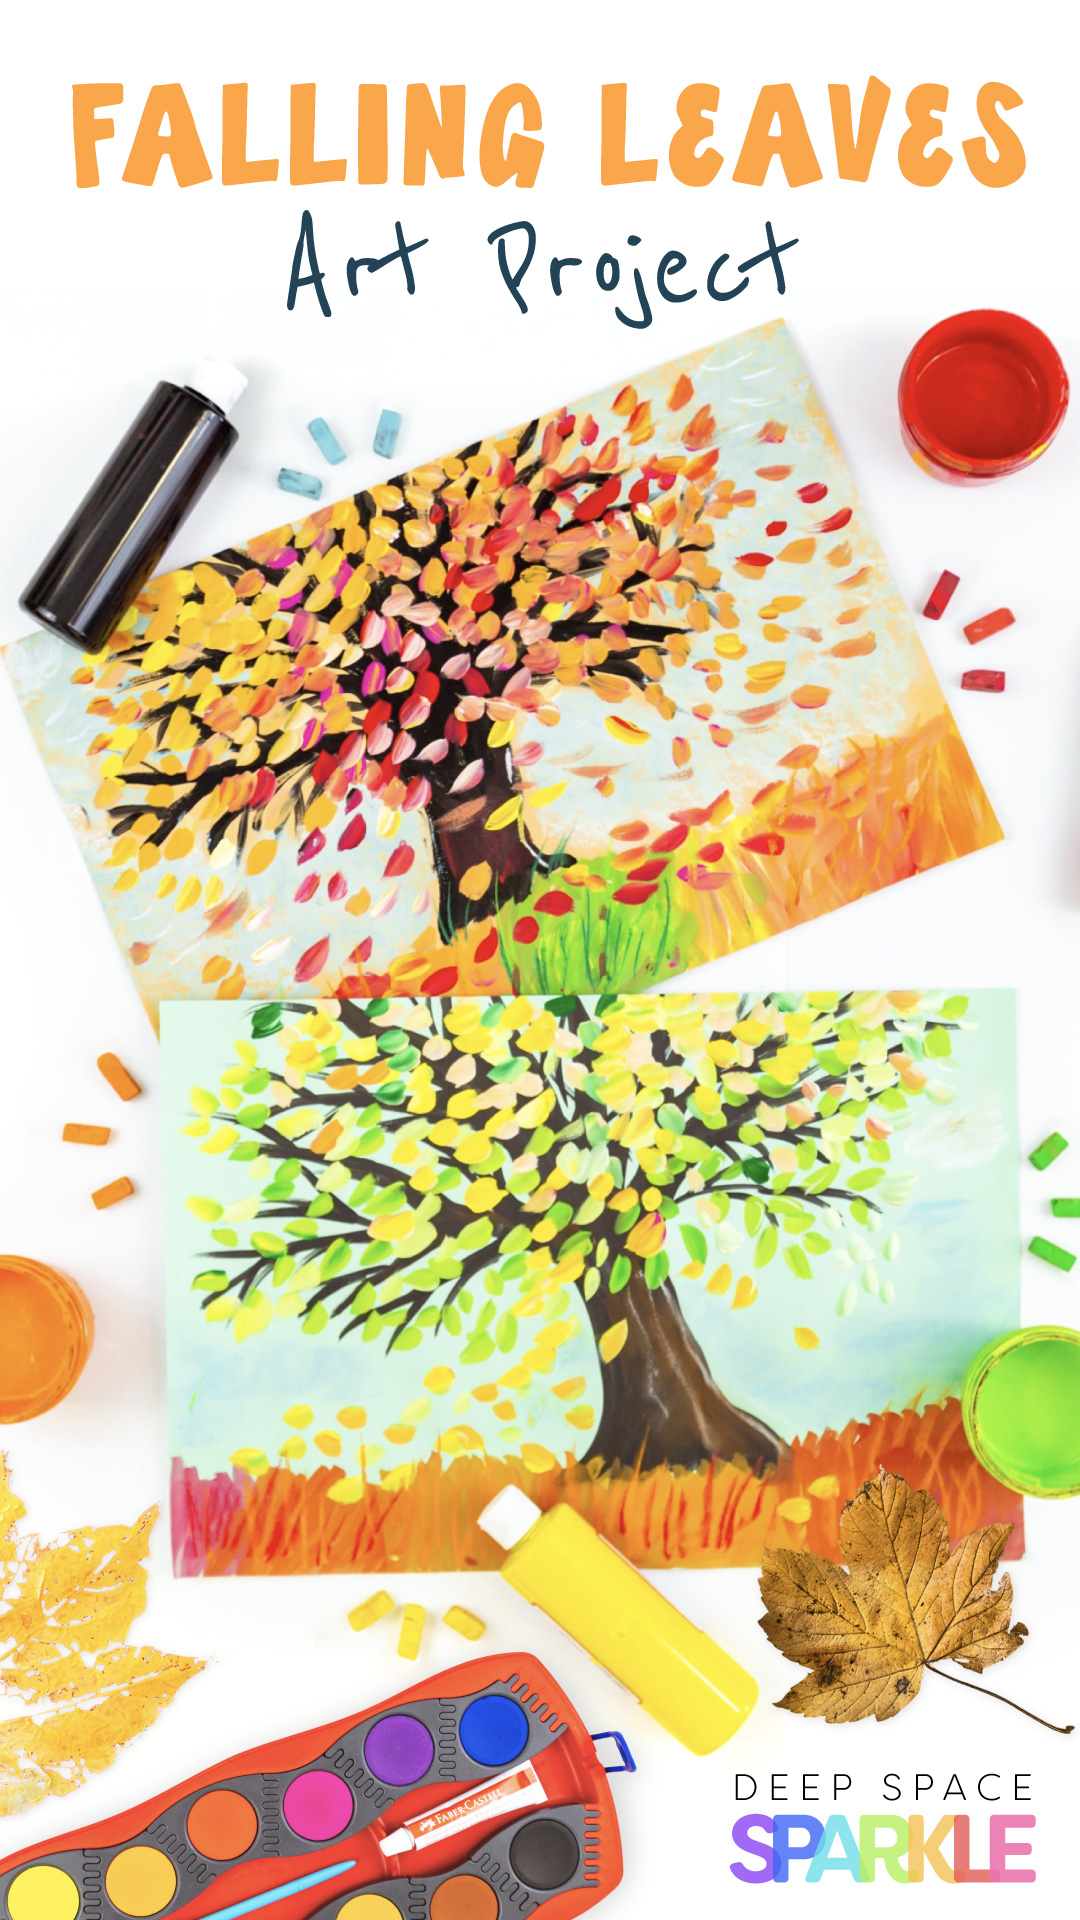
Are you searching for a fun fall-themed project that teaches children about the double-loading technique?
This project is a beautiful introduction to the double-loading painting technique – a method where two colors are loaded onto the brush at the same time to create magical, blended effects.
Perfect for classrooms, home school art lessons, or a cozy fall afternoon, or switch the paint colors to red and white for a lovely spring cherry blossom tree version!
Here’s a video that shows you the process for creating this inspiring Fall leaf painting:
This project helps children understand color blending and analogous color schemes, build fine motor skills and brush control, and experience the joy of unpredictable and colorful results.
What You’ll Need
– 12″ x 18″ light colored sulphite drawing paper (Tru-Ray by Pacon is great)
– Tempera cakes (I used Faber-Castell Connector Paints)
– Liquid tempera paints (black, white, green, yellow, orange, red, and fuchsia)
– Medium and small round brushes
– Chalk pastels
– Optional: Metallic liquid tempera paint (gold looks stunning!)
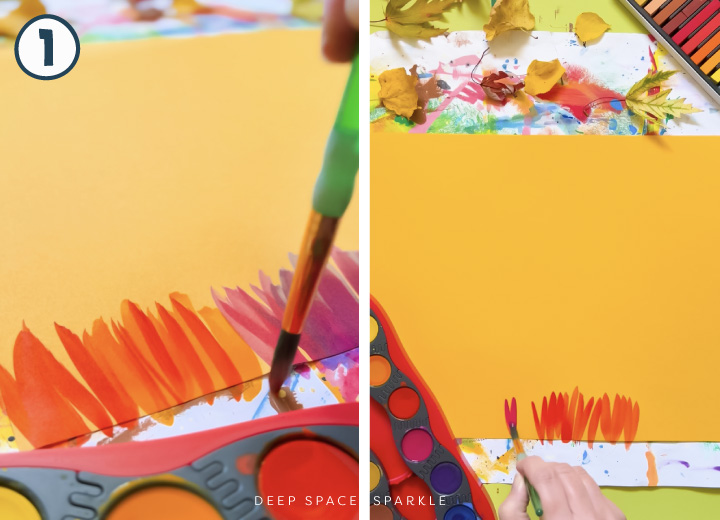
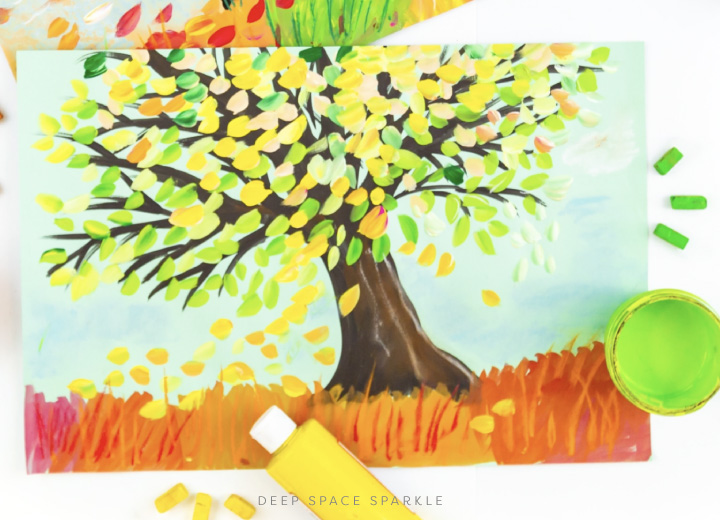
Painting the Grass
Start by painting a layer of grass over the bottom edge of the paper.
Tempera cakes are ideal because they dry quickly and are easy for kids to handle. I selected 3-4 warm colors (red, ochre, orange and pink) but the student can select their own analogous colors (colors beside each other on the color wheel)
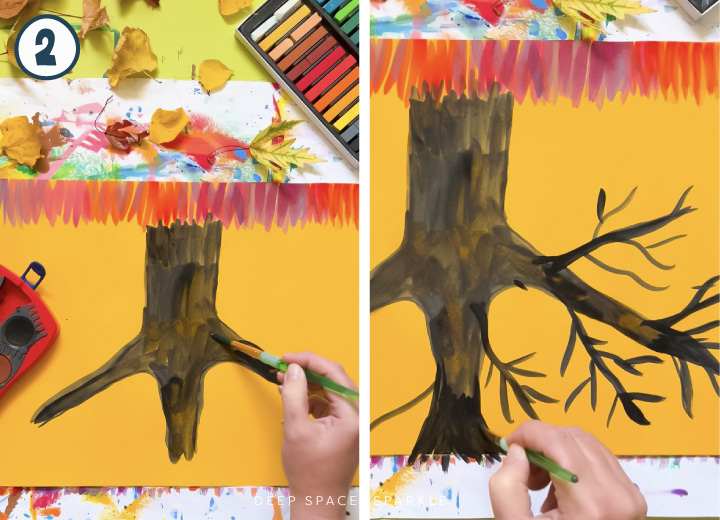
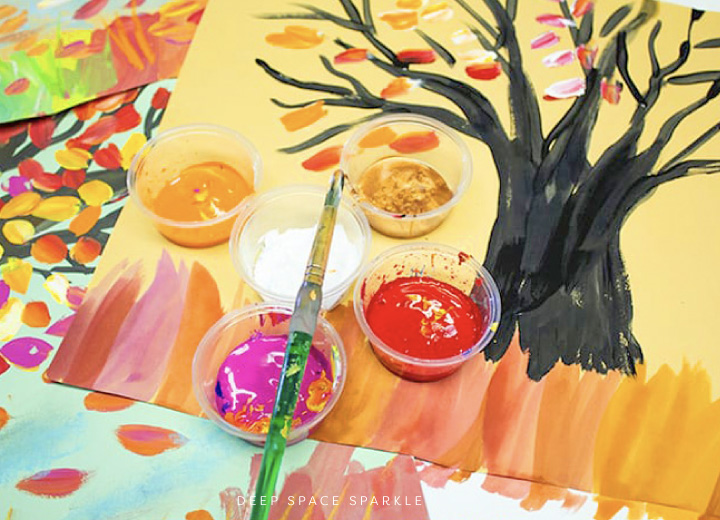
Painting the Tree
Use a medium round brush, paint the tree trunk about 2-3 inches high, then extend branches upward and outward.
Fill the trunk with black paint to create strong contrast.
Tip: Turning the paper upside down can make it easier to paint the twiggy limbs. Encourage kids to pull the brush towards them instead of pushing it away for better control.
To create realistic-looking branches, gently press the brush on the paper and lift at the end of each stroke – this gives a natural tapering effect.
If using black cake tempera, it will dry faster – perfect for moving right into the next step!
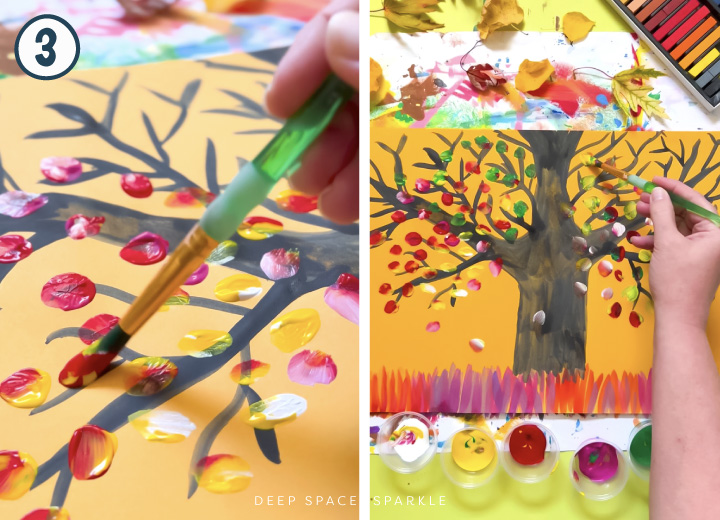
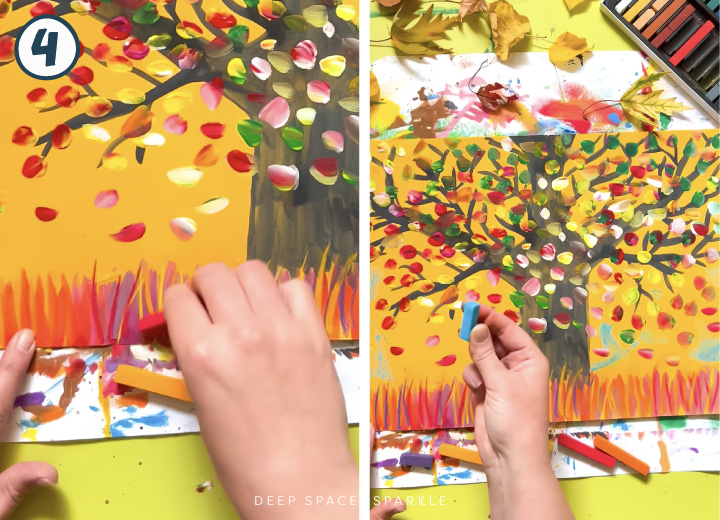
Paint the Leaves with the Double-Loading Technique
Dip your brush into the red paint, then immediate dip it in white or yellow.
You’ll see two colors on your brush – this is what makes the technique so magical!
Lightly dab the side of the brush against the paper to form leaves.
Start with a yellow/white combo for highlights, then move to orange and red for depth.
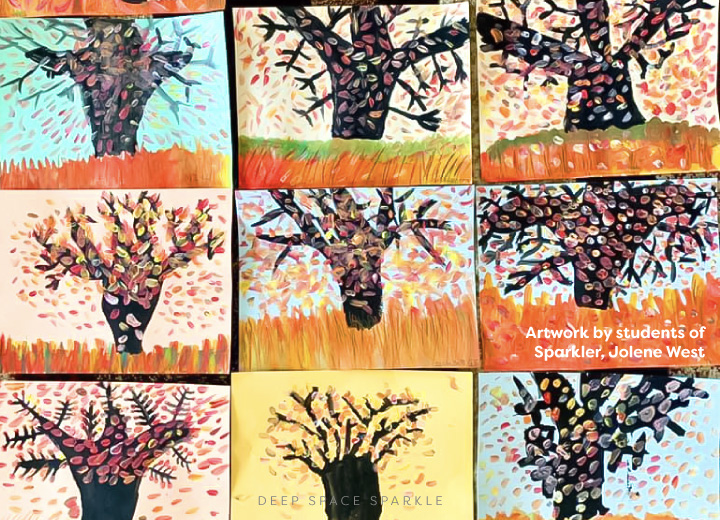
Encourage kids to cluster similar colors together and fill the branches with leaves (and even a few falling ones).
Each dab create a small surprise – no two leaves will ever look alike! If some leaves mix with the black trunk, that’s okay – it just adds shadow and texture.
Add Final Details
Once the paint is dry, use chalk pastels to add details to the grass and tree trunk.
Try white and brown for tree bark texture, and blend blue and white chalk for clouds or a soft sky background.
Tip: It’s easiest to add the sky before painting the leaves, but if you forget, you can always layer it in later.
Optional Variations
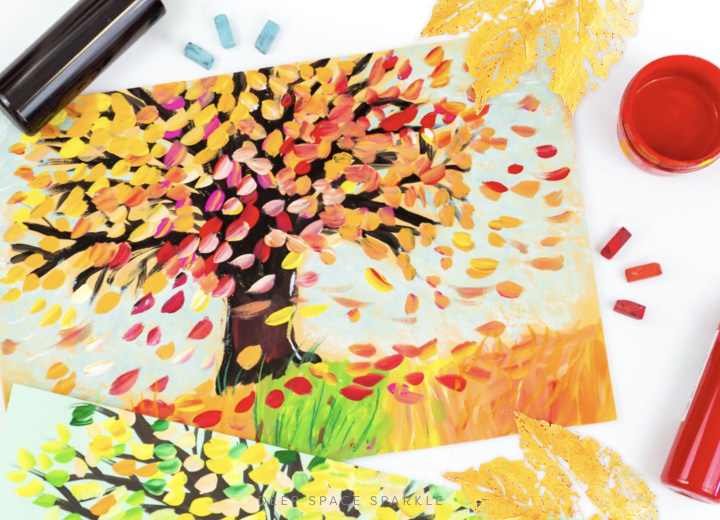
Fall Version: Use red, orange, and yellow tones for fiery autumn leaves.
Spring Version: Swap colors for pinks and whites to create a cherry blossom tree.
Metallic Magic: Add a touch of gold or metallic paint for shimmer and dimension.
This double-loading fall tree art project is simple, beautiful, and engaging for all ages. The mix of vibrant leaves, bold brushwork, and seasonal charm makes it a classroom favorite.
Whether you’re painting a fall forest or a blooming cherry tree, this technique helps every young artist discover the joy of expressive, colorful painting.
For more in-depth art project with aligned standards and assessments included, click here to join the Sparklers’ Club Waitlist and be notified when our next enrollment opens.


This is a great lesson. I’ve done it with the cherry blossoms with Kindergarten and I plan to do it with special needs kids.
Great project.
This is such a cute idea!
Nice!
Wonderful !!!
So beautiful work!
Congrats!!!!
Thanks for sharing!!
How inspiring to paint that! The kids will LOVE it.
Thanks,
Joy
Love it
Love this!!
I am so looking forward to having my 5th grade students do this. It is a bit more challenging using different layers and weights of paint. These are great instructions. Thank you!!!
How can we get a resource for this lesson?
Awesome
Absolutely beautiful:))
I love these simple and fun projects, when the grands and great-grands are here, it is easy to set them up for and engaging experience …it is fun to see the older grands using what they have learned to help the younger ones. The adults and teens can have some big folks time and the littles are perfectly happy to create and have fun.
I like this types of projects and it help with creative and also it make family bonds stronger and make greats ideas
This is sooooo creative
That is pretty awesome I’m going to try it with my students.
Love this!
Fall leaves
can I do this project as well with 6 7 and 8 grade ?
Hi Ilana, this is Bethany from Team Sparkle. I reached out to our Creative Team here at Deep Space Sparkle and here is their response. The project could work well for older students, but I would consider adapting it a bit to make it a little more challenging. For example, I might consider giving them images of bare-branched trees and allow them to paint the trees from observation (rather than guiding them through the drawing), and adding in some lighter and darker values on the tree after painted (highlights and shadows) would elevate the project a bit to make it more applicable to higher grade levels. I hope that helps! Enjoy.
it is a master pis.
Pretty!
I can’t wait to do this with my students.