


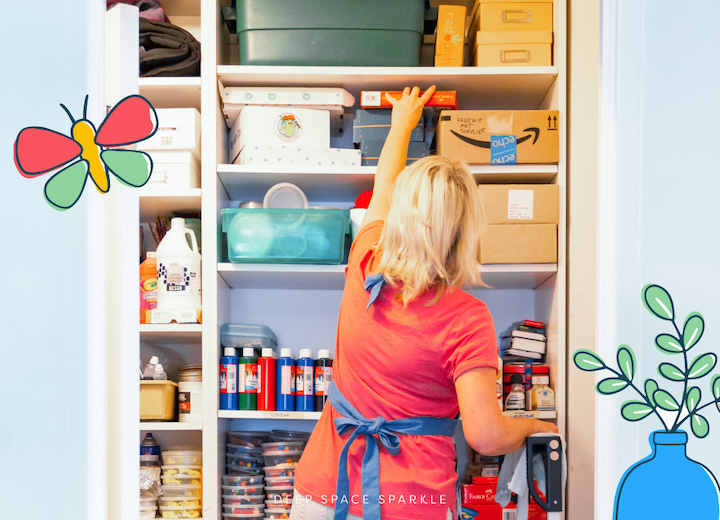
Is your art supply closet a mess?
Struggling to manage multiple boxes of paper scraps?
Starting at a well-loved art room in need of some serious organizational attention?
You’re not alone!
The start of a new year is the perfect time to rework your organizational systems and create smarter storage systems.
Managing art supplies, art posters, drying racks, recycled materials, supply storage, media equipment and prep areas can be a nightmare if not designed with how you work in mind.
Organizational systems are unique to every art teacher. What works for one may not work for another. But remember, your art room is yours to maintain and function well, so developing an organizational structure is the key to a successful start of any lesson.
Here are a few tips that will help you think about organization beyond plastic cubbies and drying racks.
Organizing your classroom is a huge feat and The Art Room Reset Guide covers this and so much more to set you up for a successful return to school after winter break!

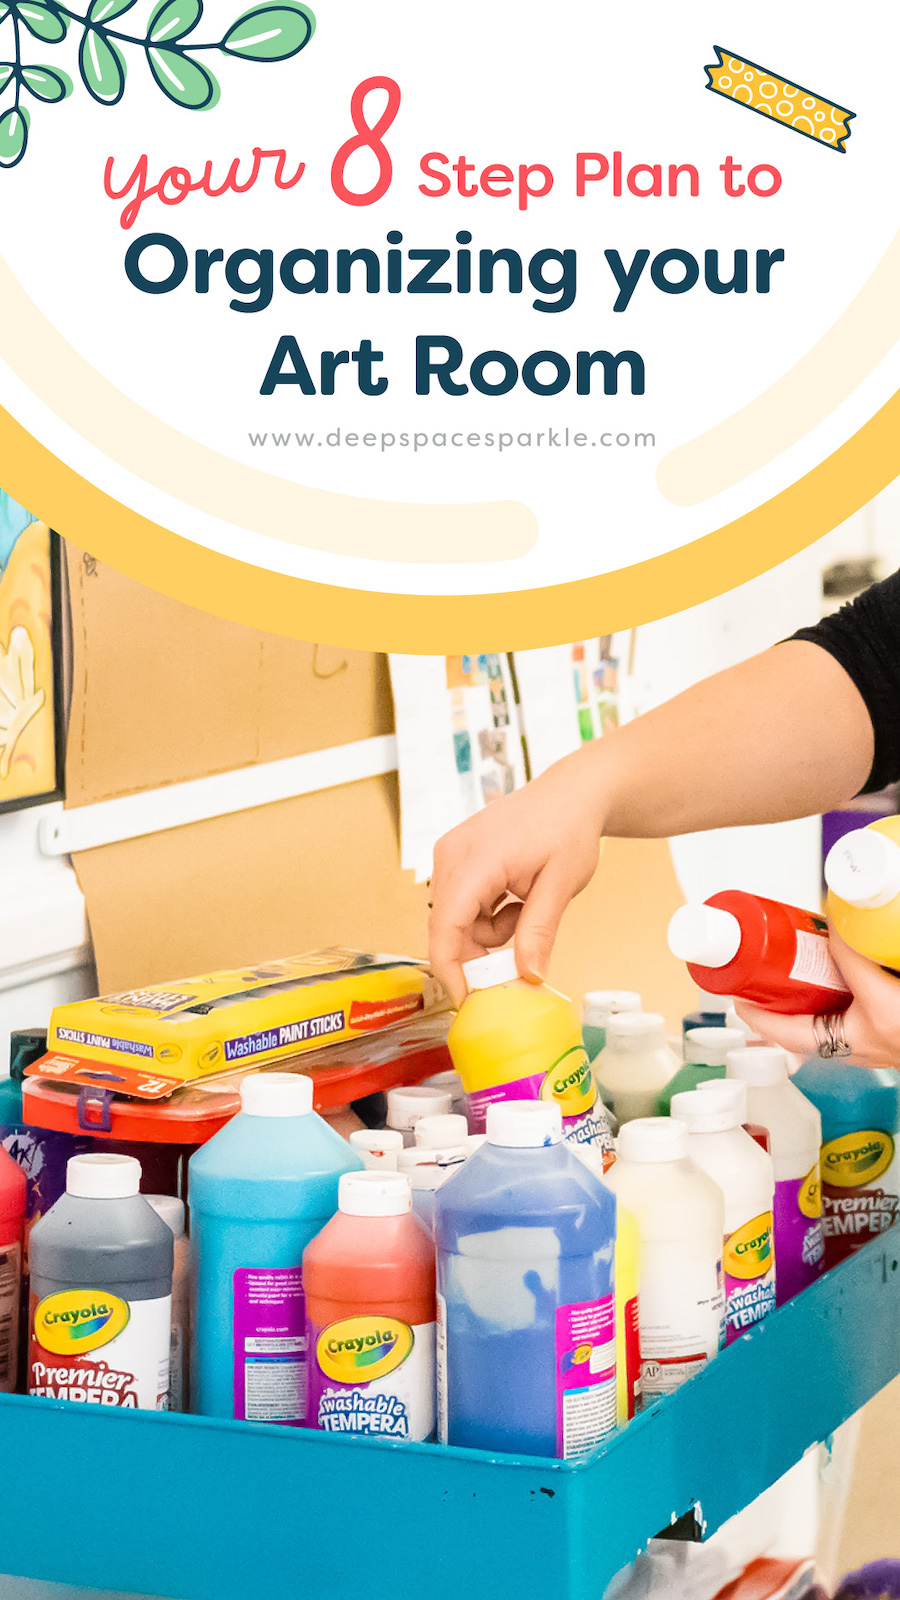
How to organize your art room in just 8 steps:
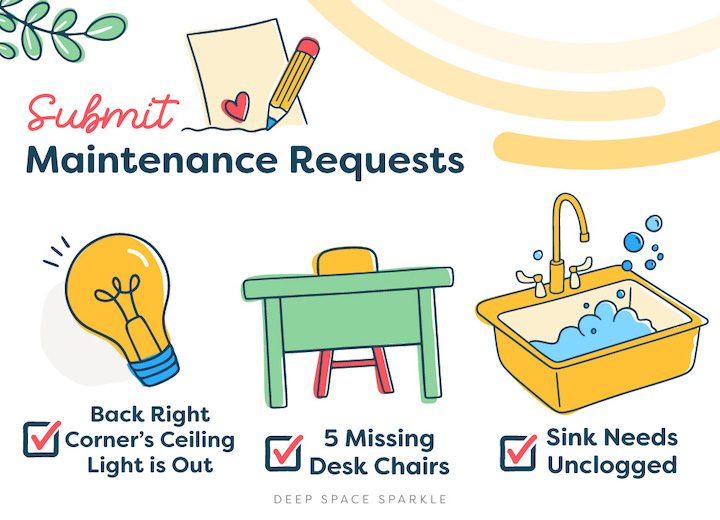
1. Place classroom maintenance requests as soon as you return so that your admin has time to fix, replace or purchase what you need.
Take note of any broken or missing furniture, clogged sinks, or other classroom areas that might be in need of repair and place maintenance requests as soon as you are able to.
Maintenance and repairs often take time, so it’s a good idea to submit them before beginning your classroom organization. This is a great time to reconnect with your the custodial staff. They will be so helpful in your journey as an art teacher so maintaining a healthy relationship with them is essential.
2. Arrange your classroom furniture in a way that facilitates the style of art you want to teach. Arranging your classroom furniture can help you visualize the flow of student traffic and inform your classroom procedures. Knowing how your students will move throughout the space will inform you as to where to place shelving to store materials, where drying racks should go, the best place for a classroom rug or carpet for story-time, and where student portfolios will live.
You might even want to sketch our a floor plan before moving things. PRO TIP: Be sure to ask for help with moving heavy furniture.
After your classroom is arranged, create new seating charts for your classes if needed.
3. Discard unusable classroom materials.
After the first half of the school year, you likely know which items you don’t need to keep.
If you’re starting at a new school mid year, you’ll find that inheriting a previously occupied art room often involves a fair share of materials organization. Remember that you don’t have to do this all at once.
What to save
In addition to any usable art materials that you’d like to keep, these items offer many uses:
– Old paintbrushes can be used to apply glue, spray paint over paper and create texture on clay and printmaking projects.
– Scrap paper, magazines, and newspaper can be used to cover surfaces, used in collages and papier mâché projects.
– Extra food storage for glue sticks, pastels and markers.
– Old student artwork that can be used as classroom visuals.
– Outdoor fabric or canvas can be used for clay projects.
What to donate, recycle, or dispose of:
It’s okay to let things go that don’t align with how you teach or who you teach. You can email staff about items that are up for grabs if you’d like to give them to other teachers. If you foresee having a large amount of unwanted items to discard, you may want to ask your custodian for an additional trash can and recycling bin, or for directions about where to place items for disposal.
– Safely remove any items with broken pieces that could pose safety issues.
– Old students work that cannot be used as examples, recycled, or returned to students.
– Molded paint or clay.
– Odds and ends and donated items that you do not have current storage or a clear use for (fabric and wallpaper samples, anyone?).
– If you have a kiln, this is also a good time to check maintenance records and ensure safety.
4. Organize and sort your materials
Think through your projects in the coming months and decide which items you’d like to store in a closet or other long term storage area and which materials you’ll be using frequently. Store away any sharp tools that you do not want accessible by students.
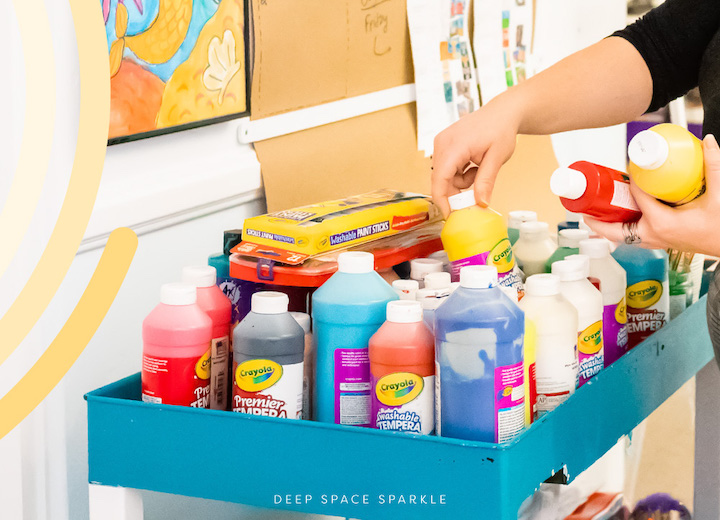
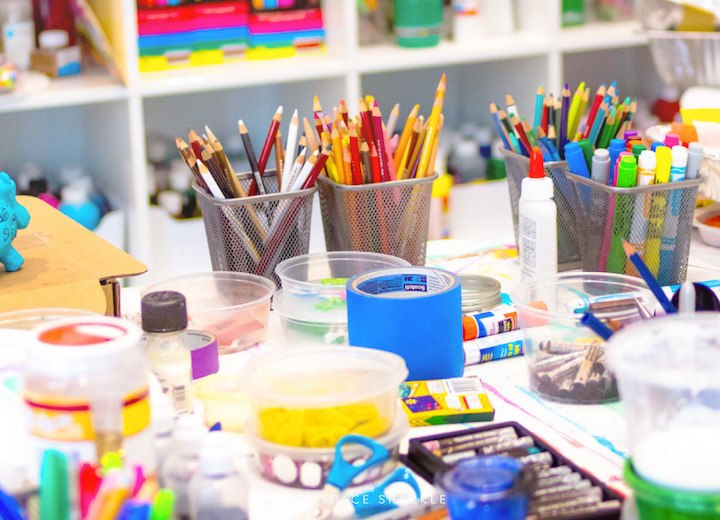
Put frequently used materials at eye level or in easy to reach areas. Scissors, pencils, drawing supplies, paint and paintbrushes, and paper are frequently used materials.
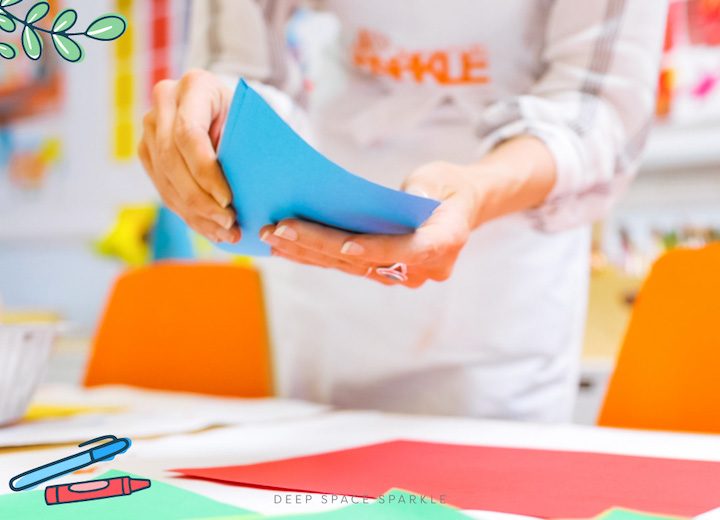
Sort paper into different types (watercolor, drawing, mixed media, etc.) and organize colored paper. Storing flat is best so you don’t warp the paper so if you can, invest in a shelving unit designed for paper.
Use table caddies for materials that you’d like to keep on the table. The dollar store or other discount stores are great places to purchase these. They can also be color coded with spray paint or tape.
5. Purchase new materials
Invest in supplies that will be used year after year, such as scissors and paint brushes.
Consider ordering replacement watercolor pans to add into palettes to avoid purchasing entire new sets. Blue and yellow have always been the two colors I ran out of most. You can do the same for certain marker colors if you find that you’re missing certain colors, often red and black are the first to run out.
6. Organize your space with student cleanup and artwork storage in mind
A great tip for staying organized is to reteach students to clean up starting with the very first day of art class back from winter break. You don’t need to spend an entire class period going over procedures, you can have students learn them through practice from day one.
Reference your clean up procedures to create an artwork storage system that works for your classroom. Be sure to label and/or color code drying racks or tables designated for their class so that students can put away work independently.
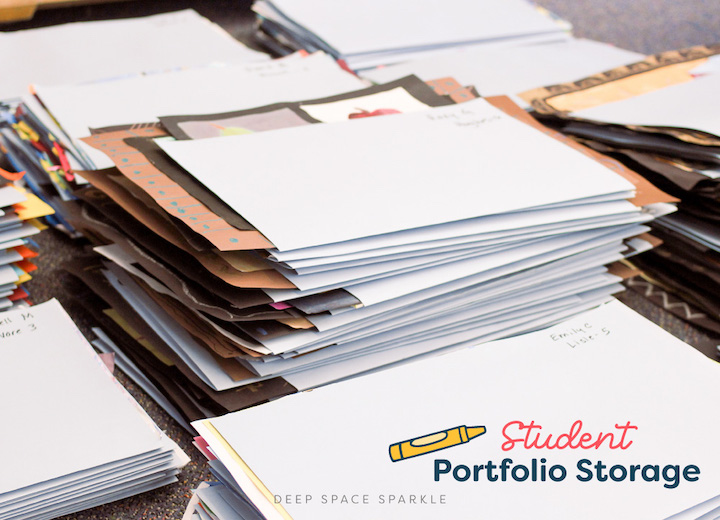
Dry artwork can be placed in student portfolios made from sulphite paper, large manila folders, or folded poster board and wet paintings can be carried by students to a drying rack.
Use a projected timer to help students visualize cleanup time. 5-7 minutes is a great time to aim for.
Ensure that paper towels and soap are accessible at your sink area. For young students consider using antibacterial hand wipes or baby wipes for students to clean their hands and tables with.
7. Refresh your teachers desk or personal area and demonstration space
Decide on your method of record keeping and organize your digital spaces as well.
Photographed students’ work and lesson examples are useful to have on hand and simple to keep organized.
Check that any tech equipment such as your document camera are all ready to go. Put colorful washi tape on charges, remotes on anything that belongs in your art room. This prevents mixing up personal items with school items. Personalize your art teacher area with a comfortable chair, warm lighting, photos, or motivational quotes.
8. Prepare for class transitions
Preload carts or tables with prepped materials needed for each class to help with transitions between classes.
Many teachers use dots or lines to mark standing spaces for students as they line up to exit the classroom. You can make these out of washi tape or laminated circles cut from construction paper.
For art on a cart, consider paint alternatives like paint sticks which can make for less mess, no water clean-up and an easier transition between classes.
Teach lessons with common materials across grades to help minimize transition of materials.
Organizing your classroom is a huge feat and the Art Room Reset Guide covers this and so much more to set you up for a successful return to school after winter break!
The guide provides actionable steps to manage your art room like a veteran teacher with ease, confidence, and a game place for everything.
Here are some things that you’ll find in our Art Room Reset Guide:
Tips to help with positive mindset
Behavior management strategies
Tips for organizing your classroom
Guide to frequently used materials
We are so glad that you’re here and can’t wait to support you in making this year your best one yet.
In addition to your Art Room Reset Guide, we also have a membership program, The Sparklers Club, with lesson plans, teaching resources, and a community of educators just waiting to support you.
Sign up HERE to join the waitlist for The Sparklers’ Club to be notified about our next enrollment.
What’s your biggest organizational challenge?
Too many things leftover from a previous art teacher?
Not enough storage space?
Share your challenges below and any tried and true strategies that you have for keeping your classroom orderly.
We’re here to help!
– Patty and the DSS Creative Team


Thank you for this article. I have a question. This year for our ART program we ordered sets of watercolors. Super vibrate … BUT the paints and projects (even when dry) have a ‘gummy’ feel (and stacking projects-I’ve learned doesn’t work because they stick together.) ANY TIPS or SUGGESTIONS. THANKS in advance.
Hi JC. That does sound frustrating. A couple of things that often help with this issue: First, try being very intentional about teaching students to use plenty of water with their paint. It’s also important to remind them not to dig into the paint wells once the paint becomes wet and gummy. When that happens, students tend to scoop thick, goopy paint onto the paper, which almost always dries sticky. In most cases, too much concentrated paint on the paper is what causes the stickiness with these watercolors.
Another idea is to use more “moppy” or fuller paintbrushes when possible. These hold more water and make it harder for students to dig into the paint compared to thinner brushes. This wouldn’t work for every project, but it can be especially helpful for younger students. I hope that helps!