



This fall pumpkin art project for kindergarten combines painting, color mixing and collage to create a glowing nightime scene.
Students will transform a simple pumpkin drawing into a colorful seasonal artwork while practicing cutting, pasting and composition skills.
Gather the supplies below to get started on these beautiful, glowing pumpkin!
What You’ll Need:
– 12″ x 18″ white sulphite paper
– 12″ x 18″ black sulphite paper
– Black oil pastel
– Liquid tempera paint (red, yellow & blue)
– Medium round paintbrush
– Water containers
– Chalk pastels
– Scissors
– Glue
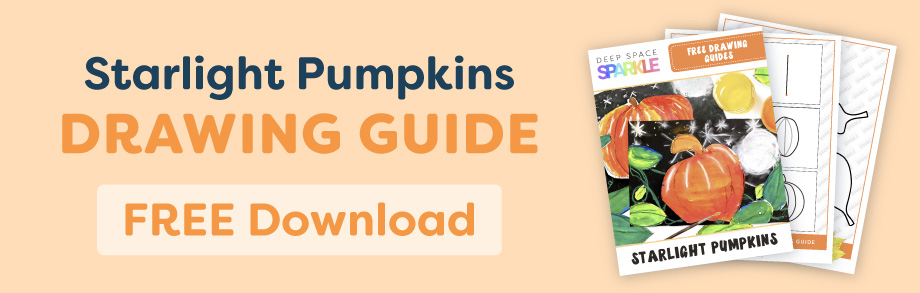
Download our free pumpkin drawing guides below. Add your name and email, and it’ll be sent straight to you!
How to Create the Starlight Pumpkins
Using a black oil pastel and a white sheet of 12″ x 18″ sulphite paper, children looked at a pumpkin and observed the shape, segments and lines of a pumpkin.
They started by drawing an oval in the middle of the paper and then added big belly lines on both sides of the oval. Then they add a stem at the top, and shaped it so the pumpkin doesn’t look like a rectangle.

Finally, a few leaves were scattered along the perimeter of the paper with the understanding that they would be cut out later along with the pumpkin.
Using a tray of the liquid tempera paint colors (red, yellow & blue) the children painted the center of their pumpkin yellow.
Without cleaning their brush, they scooped up some red paint and applied the paint over the yellow. They mixed the paint together to create orange.
How do you mix paint colors to create different shades of orange?
Begin with yellow paint, then gradually mix in red to create different shades of orange, red-orange and yellow-orange.

They repeated the steps until the pumpkin was filled with various shades of orange, red and yellow.
They cleaned their brush and painted a leaf yellow, then applied the same technique by dipping their paintbrush in the blue paint and mixing on top of the yellow leaf to create a green leaf.
They did not paint their stems, but if you have time, the children can mix all the paints together to create brown. I didn’t have time for this step.
The next class, the children added highlights to their pumpkins.
Use brown and green chalk to finish coloring any left-over leaves and stems.
Using a white chalk pastel, they added small crescent shaped lines along one side of the pumpkin. Oh, how they loved this step!

Using the same white chalk, place a black piece of paper on the tables. Show how to create stars and a glowing moon.
We used our fingers to make the moon smudgy and soft. Glue the pumpkin to the black background paper.

Cut out the leaves and glue beside and over the pumpkin. Use a green chalk pastel to create vines.
There are always a few little ones who don’t quite follow these steps exactly…but who cares, right? There are many standards in this lesson that they can be rewarded for!
Here are some examples of how my Kindergarten students did, creating their Starlight Pumpkins:

A Complete Year of Seasonal Art Lessons
Bringing the seasons and holidays into your art room shouldn’t mean putting the rest of your curriculum on hold.
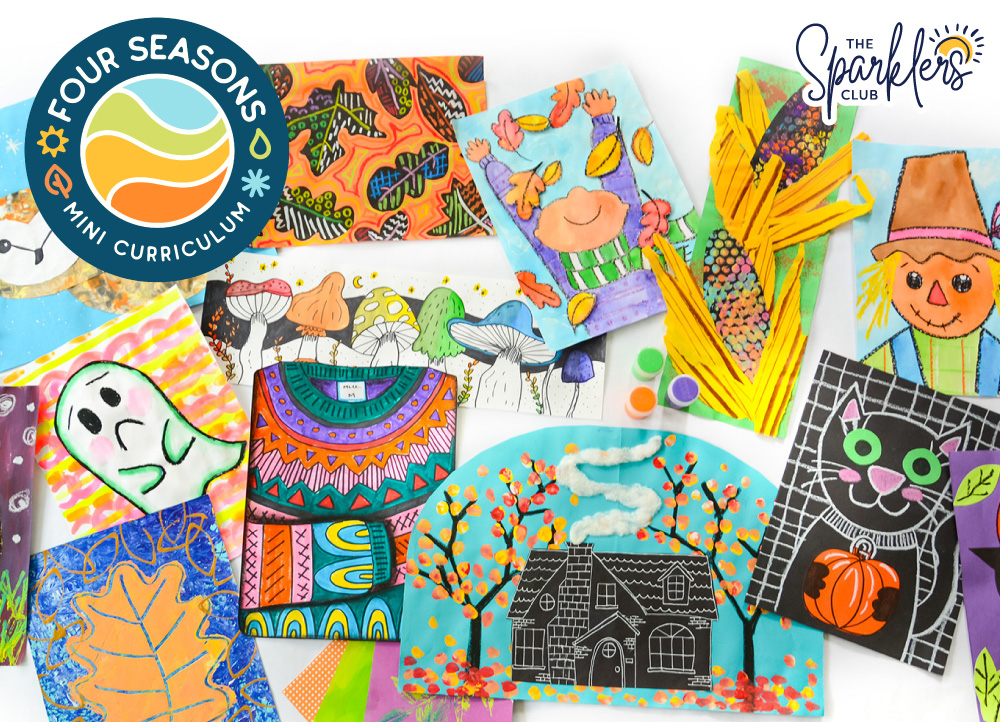
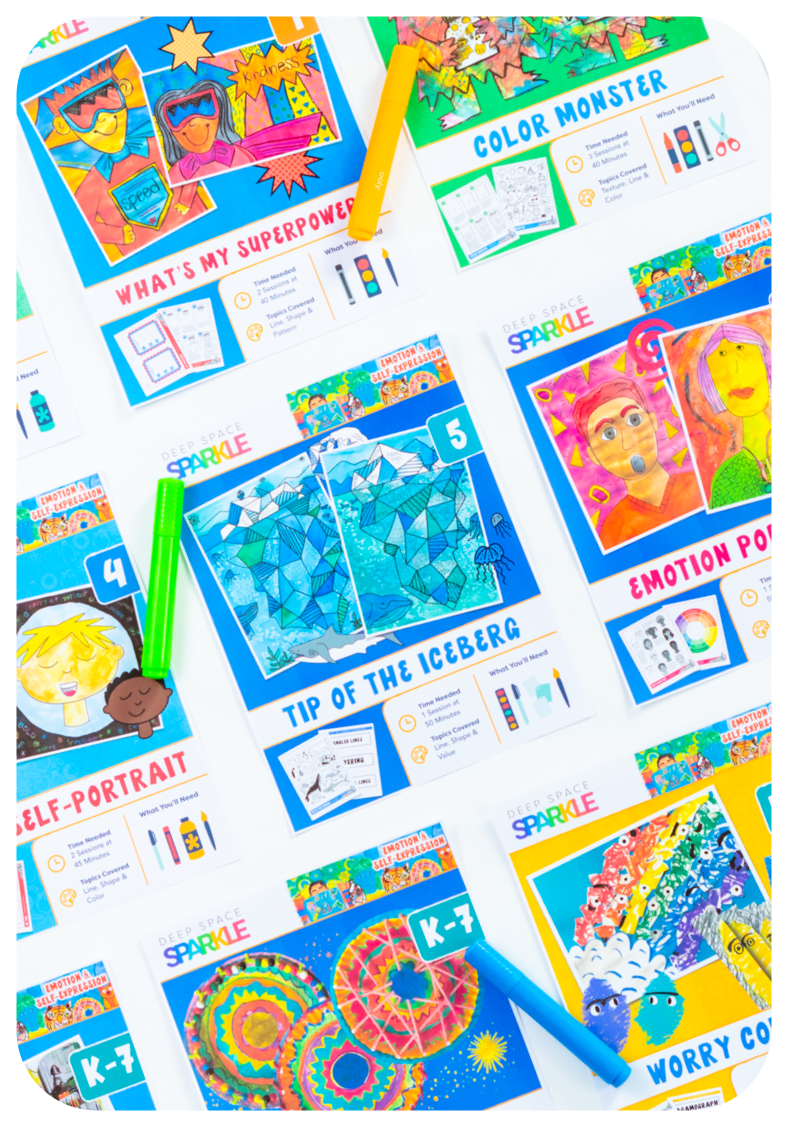
Inside The Sparklers’ Club, the Four Seasons Mini Curriculum gives you 64 technique-rich, ready-to-teach seasonal lessons spanning PreK–7 that are designed to complement the art program you already have.
So when fall leaves, pumpkins, winter celebrations and other seasonal moments roll around, you have engaging lessons ready to go without sacrificing the skills and techniques you want your students building throughout the year.
→ Join The Sparklers’ Club waitlist to receive an invitation when enrollment opens.
For some more pumpkin art lessons, try out these projects here:
How to Draw an Easy Guided Pumpkin
Pin Me!



Thank you
Could I have the pdf to do this activity with my class? I love it!
thanks
Yay!
thanks
Have done this for many years… always look fab!
I love this lesson for my first graders! It allows them to create art with multiple mediums, learn about primary colors and create a piece of art that is unique to them. All students are successful in creating such a beautiful piece of art for fall.
I can’t download.
Hi Sarah! I’m sorry you are having trouble downloading. If you click the download button and add your email address we will send the lesson directly to your inbox. Be sure to check your Spam or Junk folders to make sure it didn’t end up there. We have found that the Firefox browser doesn’t work as well on our site but both Chrome & Safari browsers work so be sure to try using one of those. Enjoy.
Thanks
I can’t wait to try this with my kinders!!! So beautiful!!
star lit pumpkin download please.
Hi Amy! If you click the download button and add your email address we will send the lesson directly to your inbox. Be sure to check your Spam or Junk folders to make sure it didn’t end up there. We have found that the Firefox browser doesn’t work as well on our site but both Chrome & Safari browsers work so be sure to try using one of those. Enjoy.
Love that this is geared for Kindergarten level to experience success!
Thank you
Vahva! Teeme toimetuleku õppekava õpilastega.
Love to try these out.
I think it looks like a fun project to do!
che bello!
HI!
Do you set the chalk at the end of this project? Have you ever tried dipping the chalk in liquid starch? I don’t have chalk pastels right now unfortunately, just crayola drawing chalk.
Hi Cora! Heather from the Creative Team here at DSS. It’s up to you if you’d like to set the chalk – personally I never did because there is a risk of the chalk getting spotty with any type of spray (hairspray or acrylic spray). Another option is to layer newsprint or recycled paper between the projects when they’re in a pile or fold a large piece of recycled paper around artwork like a folder when sending them home if you’re worried about them smudging.
Crayola Drawing chalk would work perfectly for this project – that’s what I typically had in my classroom too and the colors are bright and blendable for any chalk pastel lesson.
Liquid starch dipped chalk is a great experiment to try as well!
Amazing
We will be trying this in a couple of weeks.
Pumpkin
Love it
Looks very do-able. Thanks
I just found sparkles n I love it 🥰.. thank you for being Out there ! 🙏🥰
Very nice.
Looks amazing
Great!
I find all of the kindergarten projects to be incredibly hard for early kindergarten. I have 25 students and not even a quarter can use scissors yet. Could use some advice on how to proceed when they’re pretty much still pre-k kids? I think the pandemic didn’t really help!
You are definitely not alone. Many children coming into Kindergarten have very little exposure to classrooms since the pandemic. This is making it extremely hard for teachers who are used to kids having gone to pre-school. But I will say that children at this age can and will learn quite quickly.
So, first of all, don’t worry. Having 25 Kinders is extremely challenging so my best advice is to start with the basics.
You want to establish art room expectations. Keep it very simple: this is where you sit, when my voice is “on”, yours is “off”, etc.
here’s a blog post that will get you started: https://www.deepspacesparkle.com/prepping-for-your-first-art-class-with-kinders-yikes/
Then, pick projects that really don’t have an end project…opt for Process Art instead. Learning how to hold the brush, dip into paint, making marks, stamping, playing with pastels…these are all very important skill developments that they can do and are also quite fun.
If you are a Sparkler (The Sparklers Club membership) , make sure to take a look at this month’s Process Art Bundle. It’s a perfect way to help your little kinders grow their art skills and get used to being in an art room!
Is there a simplified PDF file to download for this step by step, I’ve gotten some in the past that make it much easer to teach the lesson. I love these and will be doing it for my art lesson this week!
Very good!
I will be teaching 6th-grade art starting in January. What do I need to do the enroll and the cost.
Hi Cheryl! The Sparklers’ Club is an affordable and flexible pay as you go monthly membership—perfect for anyone who teaches art to students aged K-7. To join the Sparklers’ Club waitlist and learn more about The Sparklers’ Club click here: https://deepspacesparkle.lpages.co/the-sparklers-club-. If you have any questions about the membership you can email support@deepspacesparkle.com.
super
Thank you!
Beautiful art
i love holloween
I keep trying to download this. I have the account open and it keeps asking me to request it be sent as a PDF.
Hi there! If you are interested in this lesson you can just click the download button and add your email address. We will send it out to you right away. Enjoy
cute!
These look awesome! Kids will love them!!
How long does it take to paint the pumpkins and leaves? Assuming the painting is Day 1 and cutting, pasting, and gluing is day 2.
Thank you for this AWESOME pumpkin step by step instructions! You’re the Best!
Great colour mixing application
Nice project
Thanks, I love your ideas and thexstep by step instructions are really helpful for time poor teachers!
I’ll be doing the pumpkin activity for fun with my class.
That pumpkins looks super.
Love the examples and how they turned out. This is a great one for Kindergarten
Very nice
Very helpful!
Great Project
Always one of the best projects out there for elementary art students.
so cool
I did these with my 3rd graders and they loved it all…especially blending the colors to create their preferred shades. Thank you so much for all of your beautiful projects for kids!
I cannot download the pumpkin drawing templates.
Hi Holly,
Try clicking on the button “Access Freebie Pack” and please provide your email when prompted.
The PDF will be available by download through your email.
Melanie from Team Sparkle
Those are incredible!! Your kids did an absolutely amazing job!
Thank you!
These are great! I’m planning to do these with my k-2 art students this year.
Loved the variety of pumpkins!
I like the sectioned way of drawing pumpkins and the opportunities it gives the kids for color mixing!
Going to use this for a 1st grade art smart class!
I’m planning to use this with my 3/4/5th graders tomorrow and I am hoping there’s enough detail (on the 2nd class) that it will still be engaging to them. I know this is geared toward kinders but I think it will translate. Maybe I’ll add a few other options, ie. multiple pumpkins, cats or leave it to them to invent additions. At this crazy hour in the morning I have to trust it will all work out!!
I think they’ll love it 🙂
Fabulous!!
I like your teaching method. Thank you.
This is always one of my favorite art projects to do each year!
Fabulous lesson. My k-2 class were so focussed you could have heard a pin drop. Love your web site. Thank you.
Cute project Trying it today Good way to teach mixing colors. We have an outreach program, but only allows 15 minutes time.
they are great!!
I love this idea. I think your site has the best art lessons!! Thanks for sharing!!
My go to every year! My favorite lesson! Thanks Patty!
Thank you so much for this wonderful and fun project! I do it every fall in Grade 2. They always look amazing!
I run an “Aspiring Artist” program at the Library where I work…totally taking this and adapting it for some older kids (7-11)! I like to find projects for them that are challenging yet rewarding! Can’t wait to see how this goes! Thanks so much!
I did this with my second grade class and they were beautiful!!!! Sadly, a less artistic colleague attempted same and they were not so pretty…:( They main problem seemed to be with the lines on the pumpkins. Hers tended to curve inward too soon…..
But as for me, I am getting so much from your site -lots of compliments! Thanks!
This is a wonderful project. I did them with 1st through 3rd grade and they all loved it. It covers so many art elements like line, shape, form, color, and we even discussed value as we mixed the colors on the paper. That “Wow it turned orange (or green)!” teaches secondary colors the best way. Thank you for all these great art lessons.
Just wondering-Did you have students paint and cut in the same class period?
No. I don’t think I mentioned this is the directions. I usually wait until a painting is dry before they attempt to cut it out. Far easier this way. Before making the background (or after) have the kids cut the pumpkins out.
My Kindergartner’s’ did a great job with the drawing and painting portion. I have 30 minute blocks, so they did the drawing in one block, painted the pumpkins in the next, and leaves in the third block. As for the cutting and gluing, this portion was difficult for them to complete in 1 block. I tried breaking it into 2 blocks and many students still had difficulty completing the project. I have 27 students in most classes. Some classes I have an aid and even with a second set of hands It was a challenge to help all students finish. We did the pastel stars and moon in the final block. The students loved smearing the chalk to make the moon glow. If I were to do this lesson again, I would start with black paper and eliminate the cutting.
Hey there! I love this project and just did it was my kids! I have featured you on my blog! 🙂
http://laugh-eat-learn.blogspot.com/2013/10/fall-favorites.html
– Alexis
Thank you so much for sharing this art lesson Patty! My girl had fun with this and learned a lot from it! I blogged about it and referenced you, check it out here: http://www.rockabyebutterfly.com/2013/10/pumpkin-in-night-art-lesson.html
Saw your post…awesome!!!! Love your blog. Thanks for linking.
Thanks so much for this. I teach adults with learning disabilities in uk. Each class has to be planned to meet a really wide range of needs. Thus is so inherently simple in terms of task and at the same time the more able ones will be able to take it further ; exploring the colour mixing further, real observational drawing etc.perfect, thank you !
You are so awesome to share these great ideas. As a former teacher – now substitute, I really appreciate your ideas and detailed plans!! Thank you!!
Patty, these are beautiful! I needed some exciting new lessons and knew I could count on your site! thank you!!!
Thank you for all you do
Tank you for all you do.
I am a first grade teacher and made these with my class this past fall, they turned out great! Very vibrant!
My boys loved this craft! We did it on Halloween day but it continues to be displayed!!!
I am amazed at what you get kids to do! I’m so inspired! Thank you! I just moved down to Kindergarten and can’t wait to try this lesson with them. I wish I’d seen it weeks earlier, but it’s not too late to do a pumpkin, maybe for thanksgiving!
Yes, pumpkins don’t necessarily mean Halloween…Thanksgiving is a great tie-in!
Thank you SO much for posting this! I did this with my kindergarten class as my first big art “project” and they look wonderful! The students are so very proud of themselves, they were positively beaming as I held them up for the class to see.
Your site is wonderful, thank you again for all the fantastic ideas 🙂
I have taught middle school core subjects for 9 years, this is my first year teaching K through 12 art along with 3 middle school core classes. I am so blessed by your help via Deep Space Sparkle. My 1 – 2 class did a modified Starlight Pumpkin painting (I don’t) have many supplies. I went really well and we had so much fun. Thank you many times over.
Hi Patty — I am SO happy I found your blog. At my daughters’ school, parents are required to take turns volunteering on Wednesday afternoons. Parents run the class and “share our passions” with the kids in an interactive educational fashion. Not too hard … except I am really not a teacher! Today, I went to the grade 1/2 split class of my youngest daughter and we did this starlight pumpkin art project as a class. It was great! They loved it. And their work was fabulous! I am so impressed with the kids, with myself, and with your blog! Thank you SO much.
So glad to hear this! Hope you try more lessons with your daughter.
Absolutely gorgeous! Hard to believe these are kinders!
Patty,
Just searched for art projects on google to teach my class, this project looks amazing and oddly familiar, then I looked at your bio and realized that it’s because I had seen them at Brandon School! You’ll be happy to know that your project will be going international as I will be teaching it this week at my school in London!
Cheers,
Jessie
Jessie!
How fun to hear from you!!!! How’s London? I can only imagine how much fun you are having. Live it up, girl! The lunchroom at Brandon is quiet without you.
I love these! Even the colorful one. 😉
I’d love it if you’d stop over to B-Inspired Mama and enter this project into the Perfectly Pumpkin Contest!
I can’t wait to try these with my Kinders 🙂 Thank you so much for all of the wonderful ideas! This is my go-to website for art lessons! They always turn out so beautiful 🙂
I love this website! I feel like I am actually teaching artist techniques: mixing colors, looking at a real object and trying to draw it, noticing highlights in objects. Thanks, for all the projects!
Hi Patty,
I made the Starlight Pumpkins with my grade 1/2 class yesterday. I told them we were doing magic art and they loved it!!! When the blue leaves turn green (instantly) when you put the yellow on top they were so excited. They were so focussed and supported one another in the most amazing way. We are so fortunate to have a laminator at my school and the lamination added to the finishing glow.
Thanks so much for sharing!
Thank you so much for this amazing lesson! I can’t wait to do it on Monday. It is the perfect follow up to the lesson we did last week on mixing colours. So excited!!!
I absolutely love these and can’t wait to do this project with my first graders! Do you water down your tempera paint at all, or do you use it straight out of the bottle?
what kind of paint did you use? beautiful project!
Tempera
thank you! We will be making these in art class this week 🙂 Will post pics and link back to you.
Love it! Was the paint regular tempera?
Yes. Liquid tempera.
My kindergarteners are going to make these week after next. I cannot wait to do more wonderful deepspakesparkle art!
Have fun!
It was great…they loved it and they look adorable hanging in the hallway. I wish I had more time for art, but it’s not a frequent thing with all we have to do.
I LOVE these! So beautiful! thank you or another piece of inspiration!!!
Thank you! My daughter (nearly 5 years old) and I did this project today with great success. She had great fun blending the paint colours, though she was a little less than impressed with all the cutting. Ah, kids. 🙂
In fact, thank you for all the wonderful post you’ve done. We’ve done several and have pinned many more for future projects.
Yes, cutting takes work! I remember sitting in my oldest son’s kinder back-to-school night session and the teacher said that cutting was a skill they would be working on. I couldn’t believe that cutting would be so important. Now, I understand!
I LOVE these! Saw the post on Thursday after school and couldn’t wait to try it out with 1st grade! Thanks for a great post! 🙂
How did they turn out? Did you have any yellow or blue pumpkins like I did? Ha!
I did the lesson on Friday and again today on Wednesday with my first grades. After I saw that you got some blues and greens I only gave them red and yellow paint so they would only get oranges! 🙂 I am going to have them cut their pumpkins out in the next class and glue them to black paper and use gold for their vines and accents instead of white. I don’t know how I am going to have them do the leaves. I may give them painted paper scraps to cut them from… my Friday class will do that step this week. I will post the results with a link to your lesson and let you know when it is up! Thanks again for the great idea! The kids had the best time drawing and painting them! Everyone has commented how cute they are so far! I tell them I can’t take the credit, that it was your idea and I am just building on it! 🙂
Oh my gosh!! I saw this post this morning and immediately changed my art plan for the day. I teach kids with emotional disorders who hate trying new things. They loved these and they came out SO beautiful!!!
Thank you!
So good to hear! I wonder what it was they they liked about it so much….was it the mixing?
Patty: I’m not sure what it was they liked but they all loved it. I think part of it was breaking down how to draw the pumpkin using an oval and then the bubbles on the side. Once they saw that it wasn’t hard to do, they were all in! We used the same idea of mixing the paint right on the paper to make farm landscapes this week. Those turned out very cute also. 🙂 Thanks for all the great ideas. My students have a hard time in the regular ed art class for several reasons so it’s nice to have real art lessons to do with them in the classroom.
Simply Gorgeous!!
I love having little ones mix their colors right on the paper. These are terrific!!
I can totally see trying this out with my first graders. (We don’t have an art teacher.) Thanks!
I did for years when I taught Kindergarten. They are stunning on black and navy blue construction paper. Great for back to school night or a bboardi will be your art teacher any time!
Beautiful – I love how the finished pumpkins are all completely different 🙂 Second from the top right is just gorgeous!!
Thanks Elizabeth…some kids just blow me away.
That’s a fun idea! I love Fall art projects.