While searching for a literature tie-in for these adorable apples, I found Nikki McClure’s exquisite book Apple. The story takes you on a visual journey of the cycle of an apple; from apple picking to composting and re-birth. The children had fun anticipating what would become of the bright red apple.
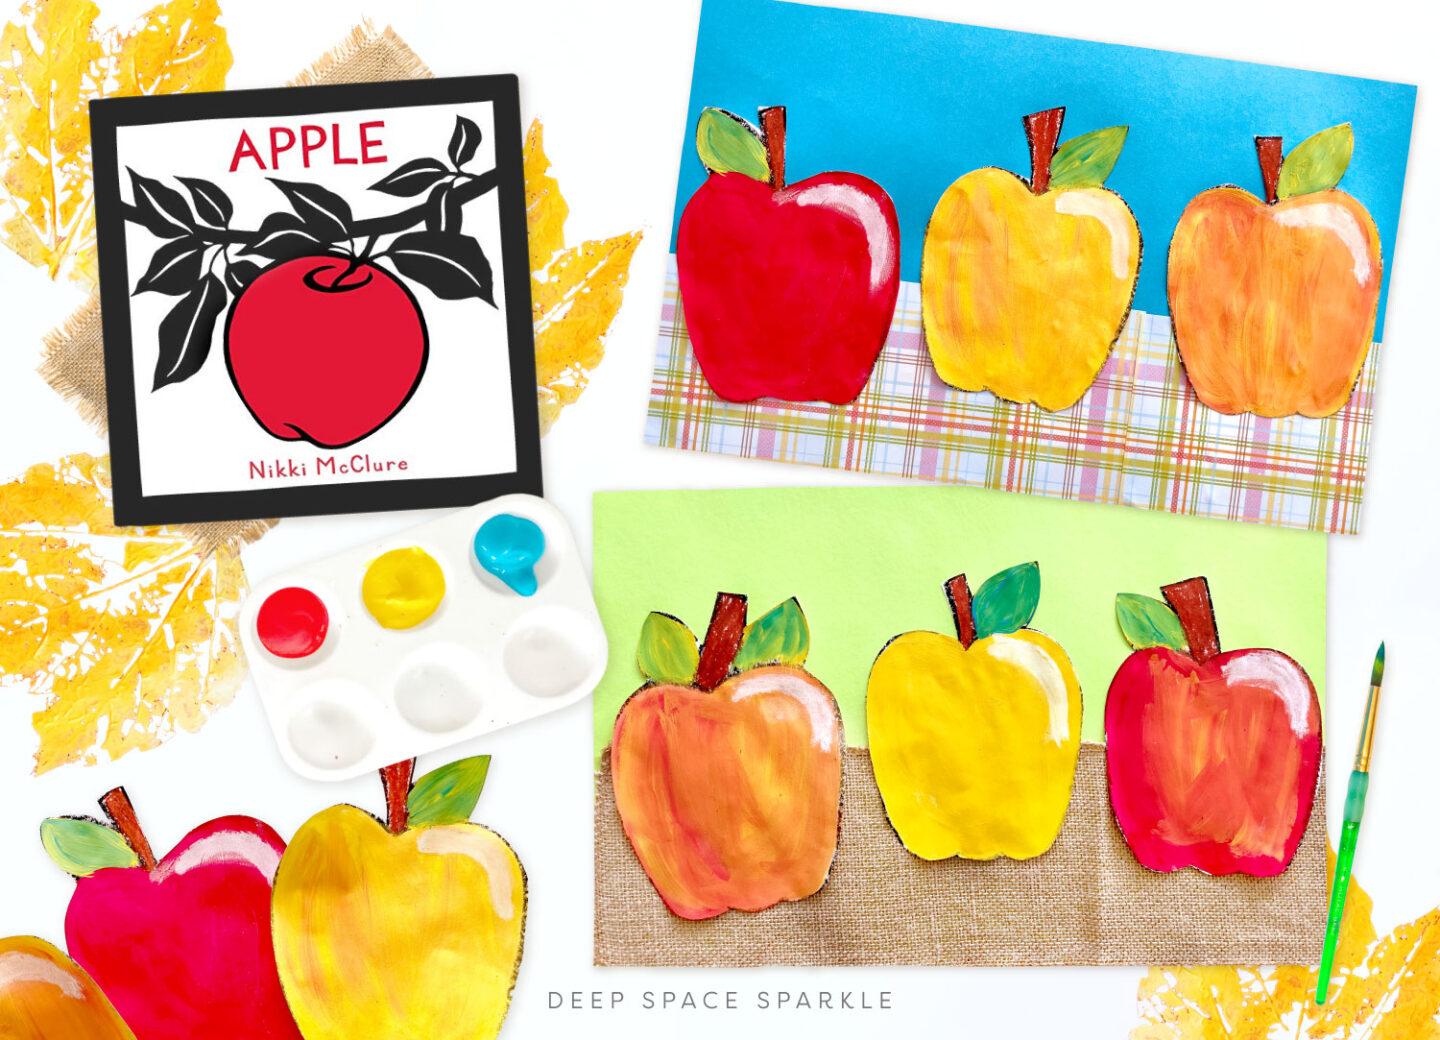
Here is my book review for Apple.
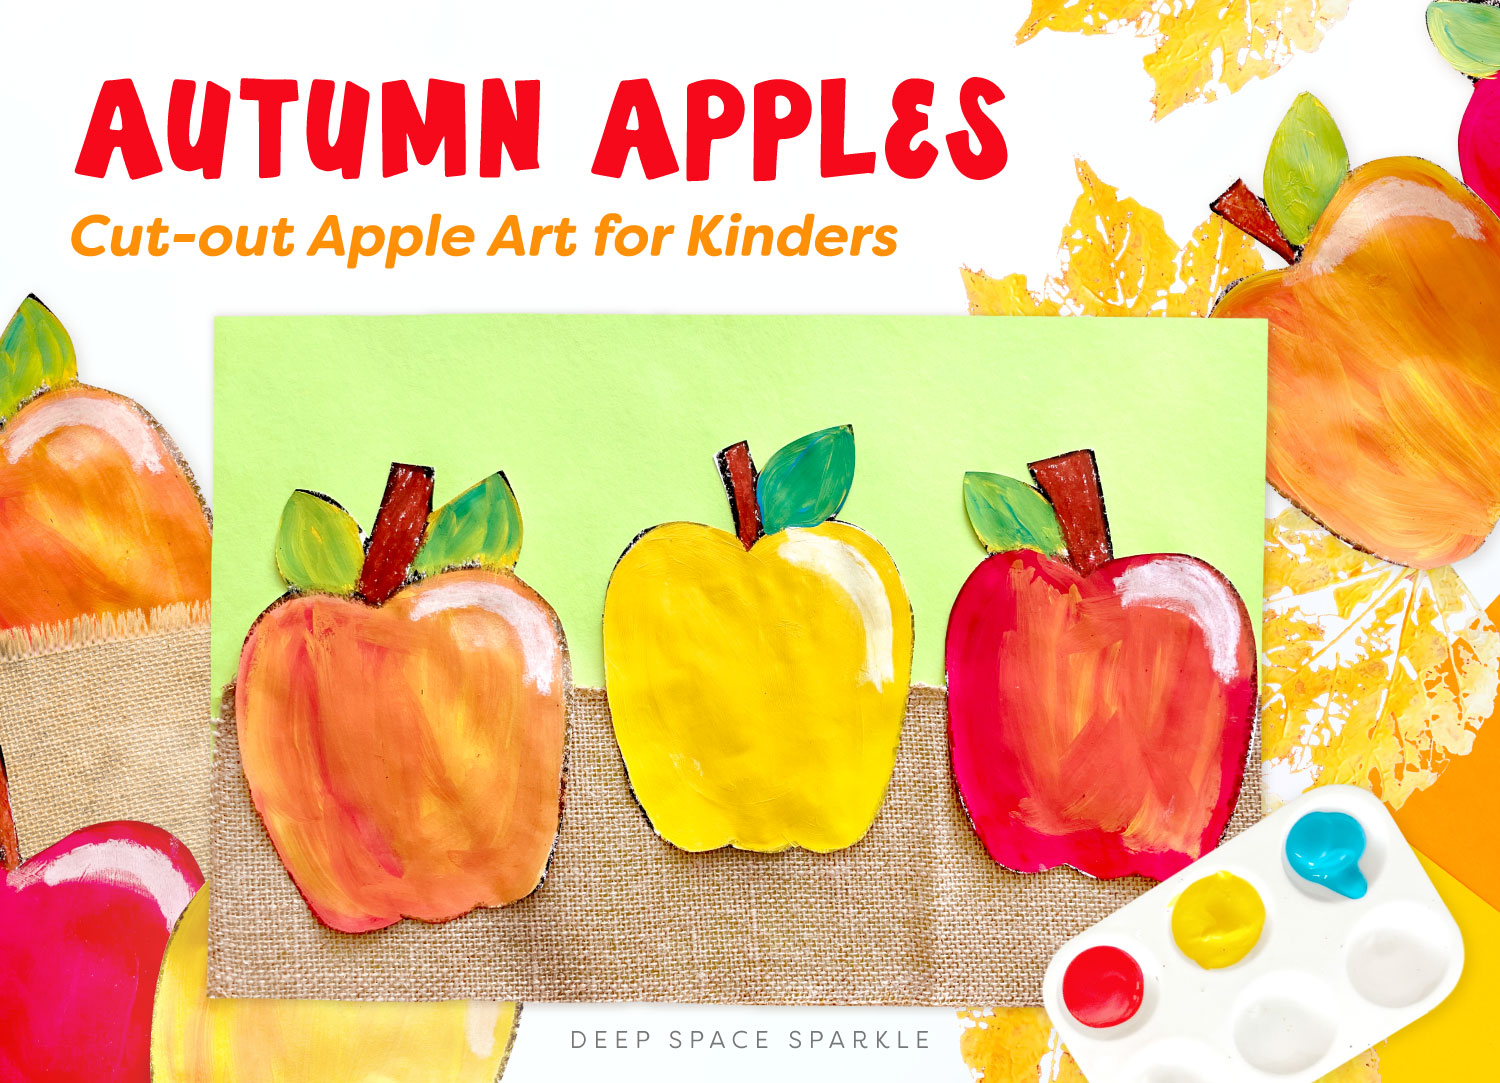
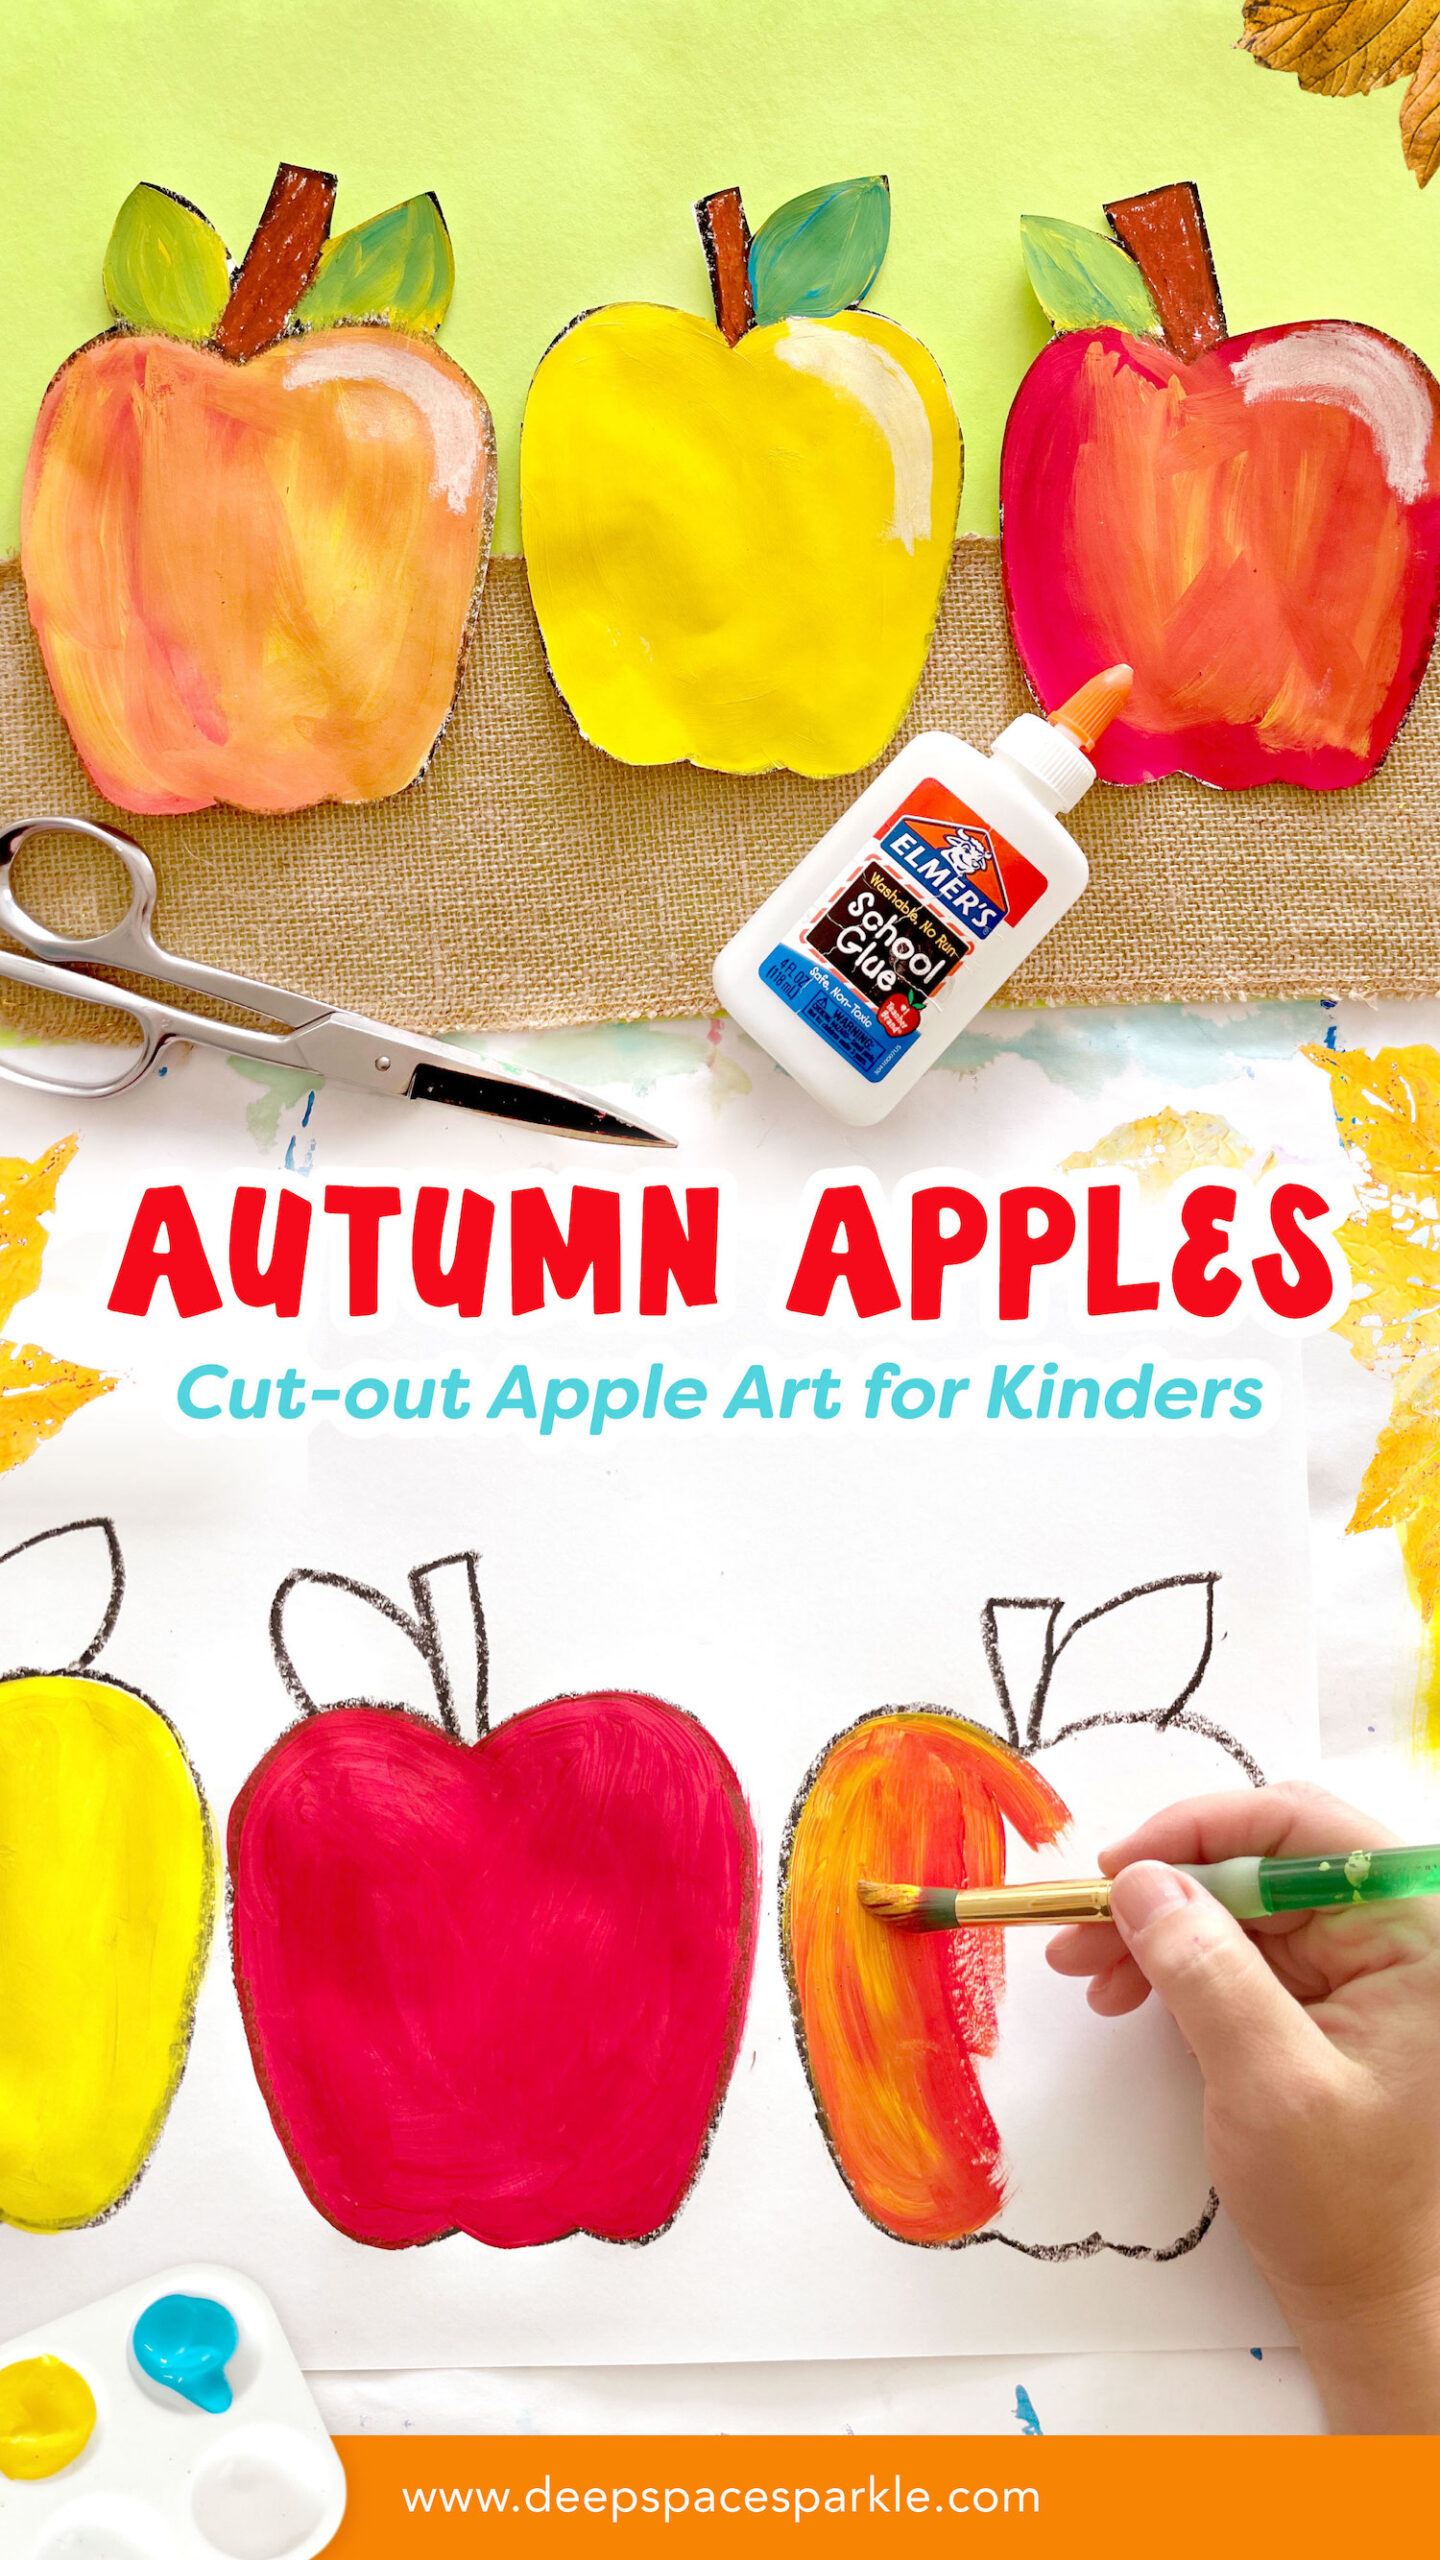
I read this book to my group of Kinders and they were absolutely enraptured! The Kindergarten teacher and I marveled at the simplicity and effectiveness of the vocabulary and images. Afterwards, we created a very simple apple art project that featured five art techniques:
1. Tracing (holding an oil pastel)
2. Cutting and pasting
3. Painting with primary colors to achieve secondary colors
4. Adding value
5. Composition
The October Freebie pack is chock full of Fall themed lessons, drawing guides, technique tips and video tutorials. Download this handy drawing guide before you get started:

SUPPLIES YOU’LL NEED:
– 12″ x 18″ colored sulphite paper (background)
– 12″ x 18″ white sulphite paper
– Black and brown oil pastel
– White chalk pastel
– Cardboard apple template (you can draw through observation, too)
– Palette of red, yellow and blue liquid tempera paints
– Scissors and glue
– Burlap or colored craft paper for the “tablecloth”
THE PROJECT
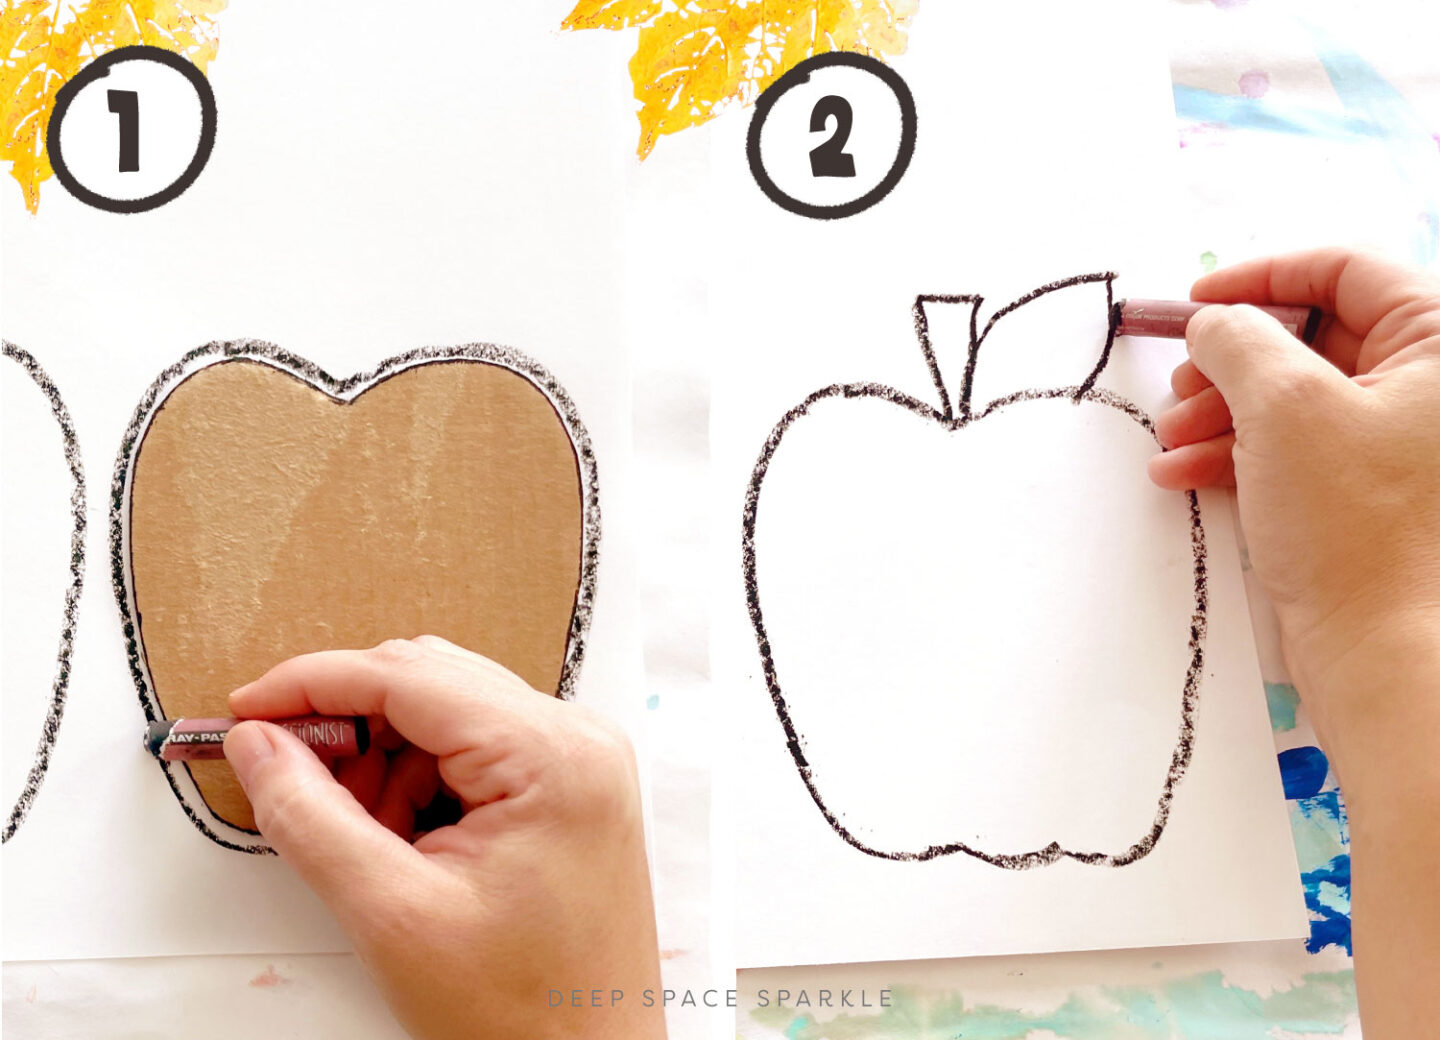
Have the children start by drawing three apples on their paper using a black oil pastel.
Then after they are finished, have them draw the stems and leaves.
I used templates for this lesson as I have young kinders (4 and 5), but if you were doing this lesson with slightly older children, it might be more interesting if the children drew the apples using observation techniques.
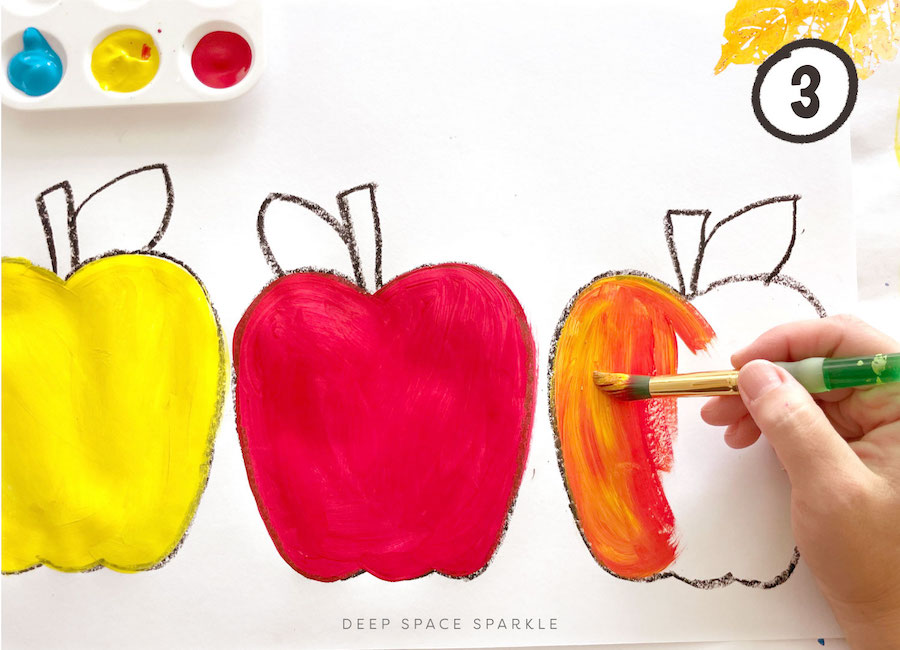
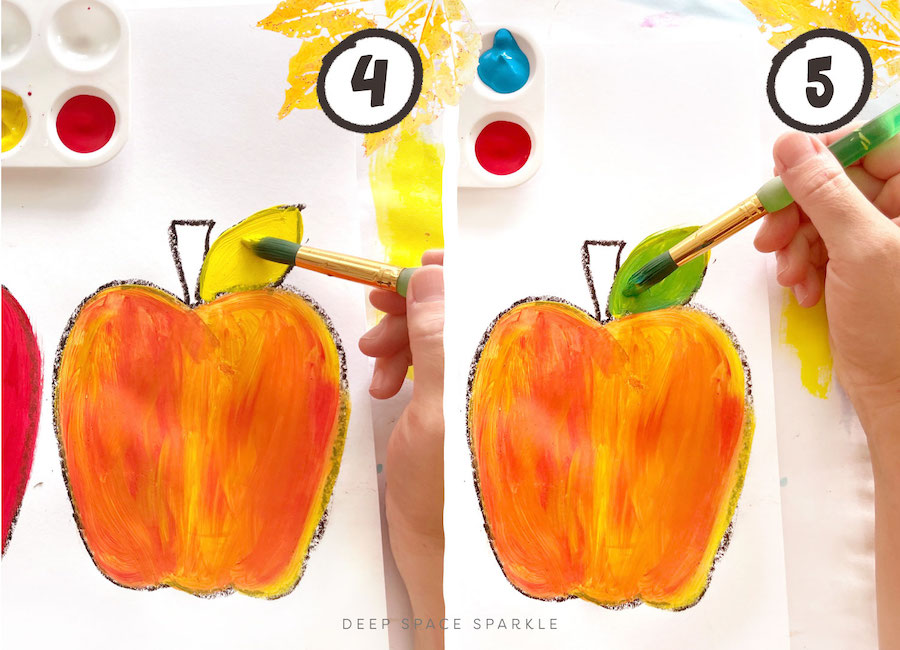
Now comes the fun part… painting! I placed primary colored tempera paint in a muffin-style palette and had the children paint one apple yellow. They used very little water and cleaned their brushes by sweeping the bristles over the placemat.
Next, they dipped their paintbrush into the red paint and painted the second apple red.
Now, without cleaning the brush, dip paint the paint brush in yellow paint again and paint the third apple. The children will notice right away that the yellow and red on their brush creates orange. If they need more paint, they can add more yellow or red directly to the apple.
After cleaning their brush, they painted the leaves yellow, then dipped their paint brush into blue paint and painted directly over the yellow leaves. Don’t worry about the stems for now.
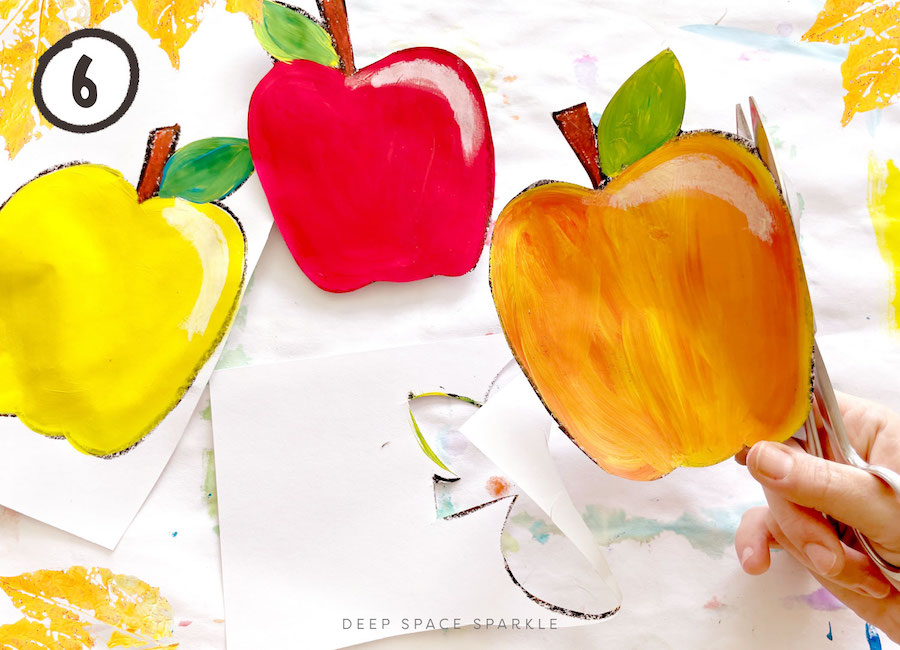
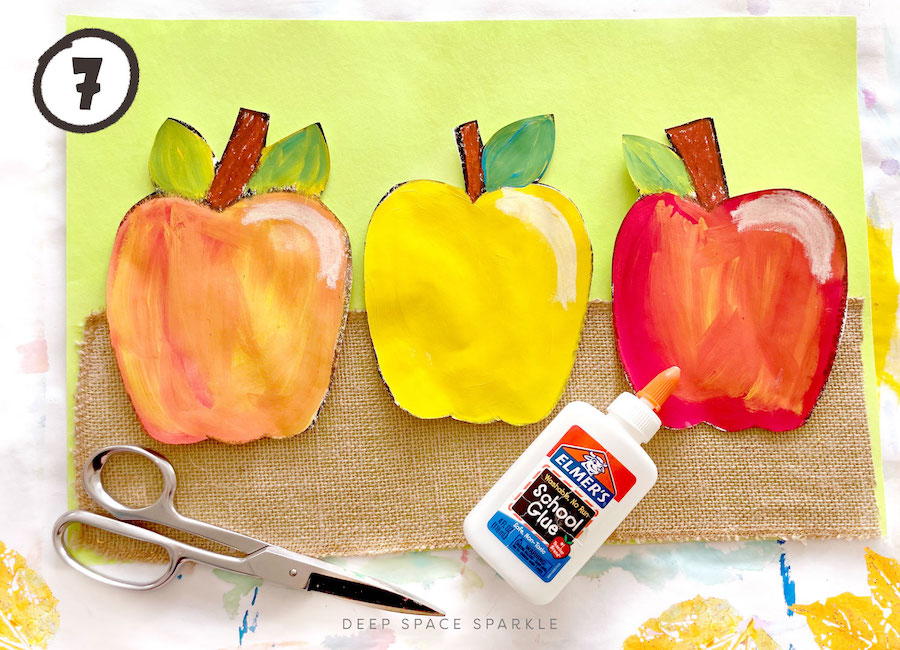
In the next class or once the apples are dry, cut out around the apples and set aside. Place some pre-cut burlap and some colored background paper on a table in the back of your art room.
As the children finish cutting their apples, they can select a background paper and a piece of burlap.
Glue burlap onto the paper first, and then arrange apples onto the burlap.
Once everything is glued to the background paper, the children can add the finishing touches: coloring the stems with brown oil pastels and adding chalk highlights.
I showed the kids how to add a crescent moon shape to the top of their apples to create a shiny spot. They loved this!
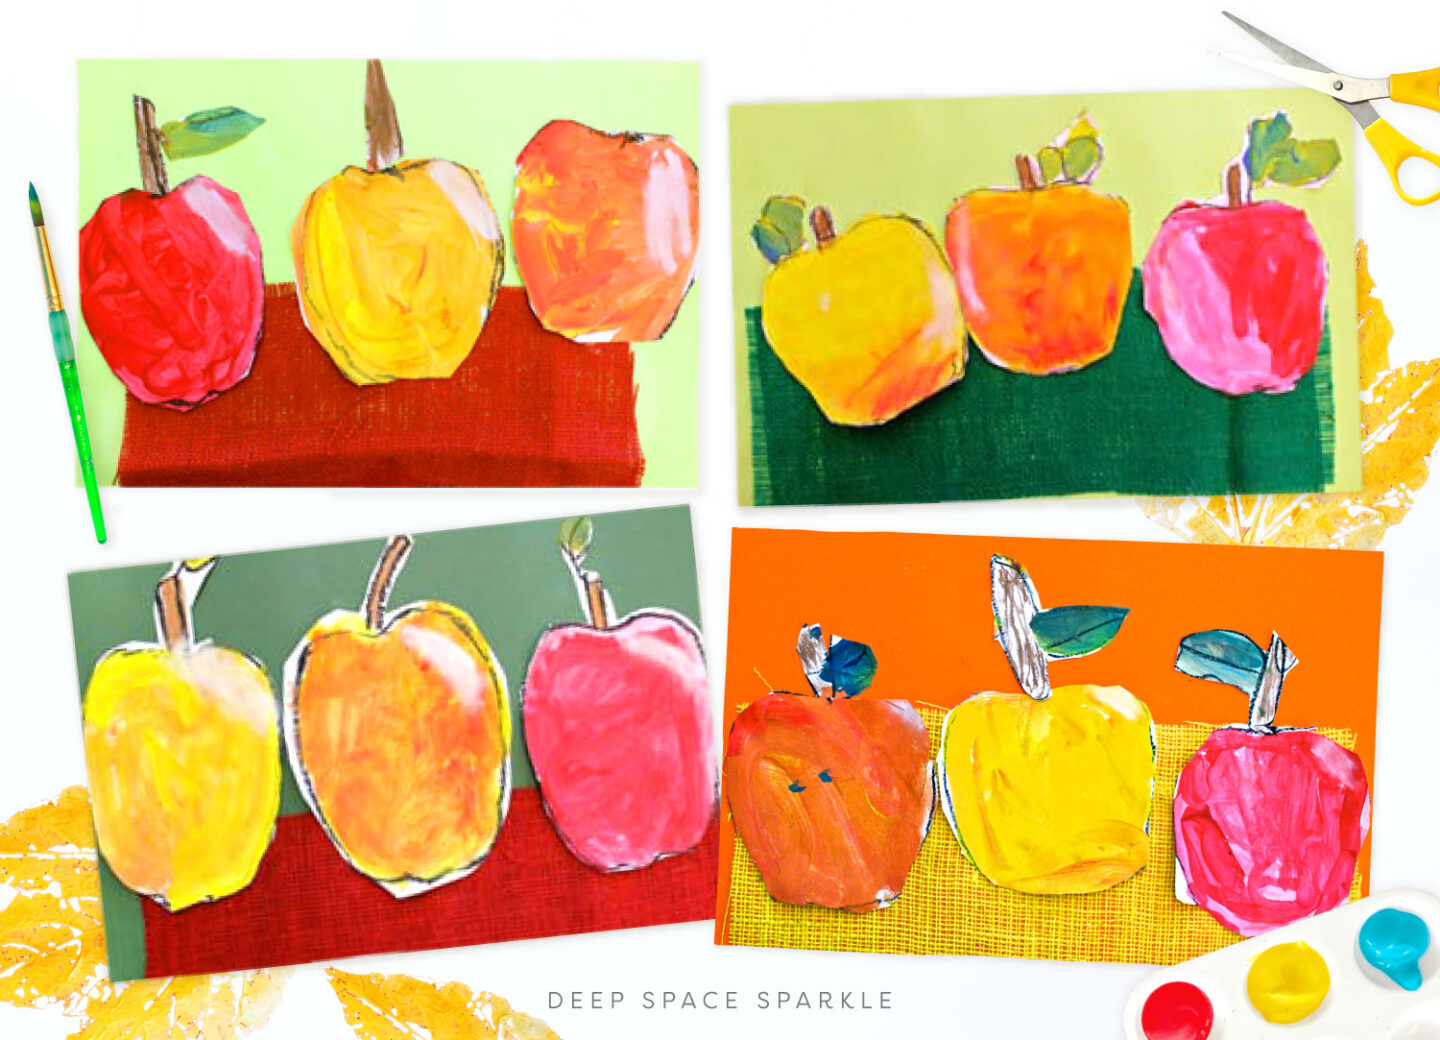
My students apple art… didn’t they do a lovely job?
Interested in starting your year refreshed, prepared and ready to go?
Download our back to School Guide |Resources to help kickstart your art program
It’s a 3-part strategy on how to use the Elements of Arts when planning your art curriculum including ordering supplies, a grade level checklist for the scope and sequence of K-7 Elements of Art and What I’ll Learn in Art Class posters.
Follow Us
A lovely project for littlies – so colorful, and it covers lots of skill areas. I really like the texture of the burlap.
I did this lesson with my co-op preschool kids and the” lightbulb” turned on! New knowledge about primary colors and mixing primary colors was gained and I found it very fun! Very doable with modeling and specific instruction.
Thanks yet again for a simple yet effective idea… Harvest Festival display sorted! My new class of year ones in Northumberland, England have yet to meet with Deep Space Sparkle fun and I’m so looking forward to repeating the lessons I tried out last year.
My K and 1st grader had such a fun time with this art project! Thank you so much for sharing!
Lovely! Was looking for a project for Back to School night here in San Diego!
What fabulous art projects!! THANK YOU for being so generous with your amazing talent!!!
Hi,
I liked your idea re apple lesson. It’s great to share and send in ideas. Here’s what I did: I used the ‘apple’ theme for Fall topic. I didn’t find burlap but I got some harsh linen material very similar to burlap. It was pale yellow. I cut it in squares. Primary kids can do that by themselves, but I teach kids with special needs who do not have fine motor skills. Then I used the apple for the kids to feel – the smooth texture on the outside, and the grainy inside with the little pods inside. They also felt the material which was rough. Then we painted half an apple green, and the other half red using tempera paint. We then pressed these half apples onto the cut out squares. We added the seeds with black and a little twig on top, and you can add a leaf if you want to. We then sewed together the cloths and hung it on our notice board at school as a fall banner! Hope you like my idea.
Son
We created these beautiful apples in my K class yesterday. It took two periods and they are stunning! within 5 minutes of them being displayed on a hallway bulletin board, a couple other teacher’s came to rave about them! Thanks so much for the inspiration from a very non-artsy teacher!
Can you tell me the author of the book you used. I can’t seem to find it just using the title 🙂
Just added the link to the book 🙂 (The author is Nikki McLure)
Beautiful! I love the skills practice with such varied and bright results. Thank you for giving the sequence so they can experience the color-mixing right on the paper. I will give this a try with my after-school kinders.
Me encanta!! Gracias!! Saludos desde México!!
This is a lovely project! I like the way to teach the kids!
I love this website.
Cannot wait to do this!!! So cute!
do you have a condensed page of each project? I would like t print them out but 6 pages is too many . thanks
Hi Jenifer! We don’t have them divided into individual pages, but when you go to print just select which page or pages you want to print and that should eliminate printing the extra pages. Enjoy.
Perfect project for this fall! Thanks!
awesome