


If you’re looking for an easy approach to teaching kids art, there’s no better system than using the elements and principles of art.
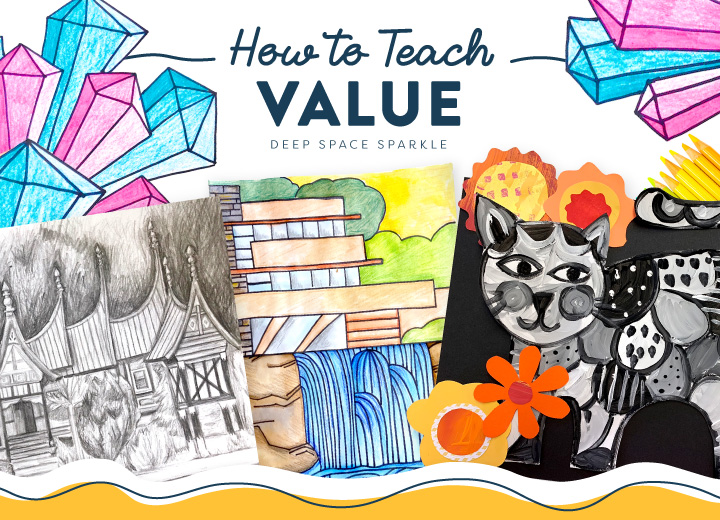
This is the fifth tutorial in our series Connecting with the Elements – How to Teach the Elements & Principles of Art. This week I’m talking about VALUE.
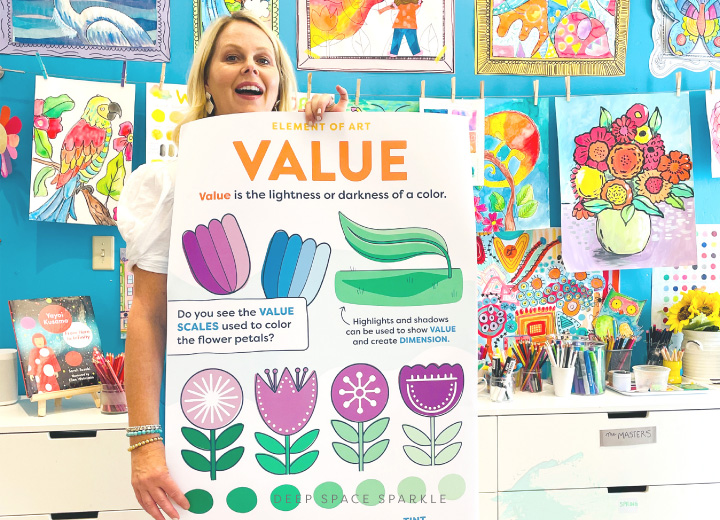
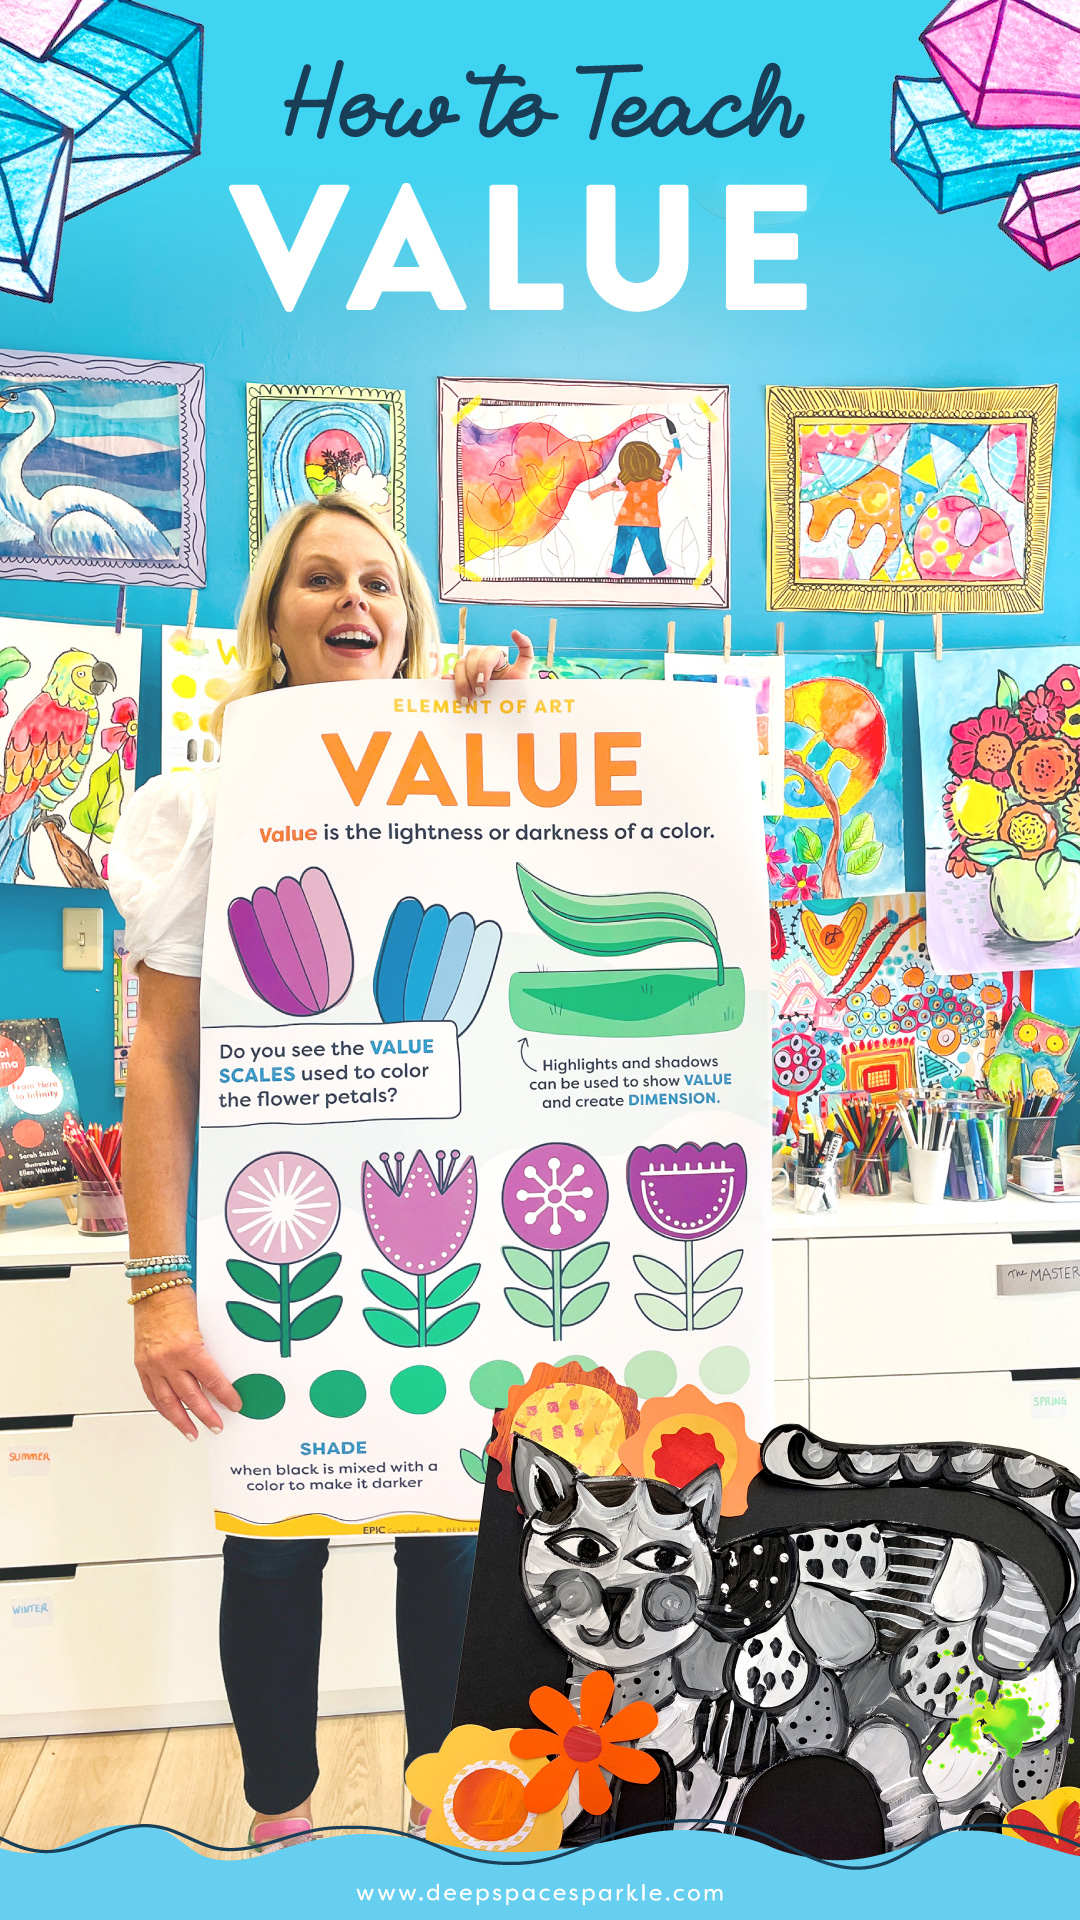
What is Value and why is it important?
Value is the lightness or darkness in a color. When you add white to a color, like red, you’ll get a TINT.
The pink that children make when white is added to red is purely magical.
When you add black to a color, it is called SHADE.
When children mix a bit of black to red, a deep burgundy will appear. This paint mixing is purely magical and intense with learning opportunities.
There is no easier way to show children the fun of mixing black and white than by creating this simple cat project.
Here’s what you’ll need:
– 12″ x 18″ white sulphite or all-purpose drawing paper
– Black, white and/or gold oil pastel or crayon
– Small amount of liquid tempera paint (craft acrylic paint works fine)
– Small amount of white liquid tempera paint
– Optional; orange and yellow painted paper or colored paper
– Optional; metallic tempera paints
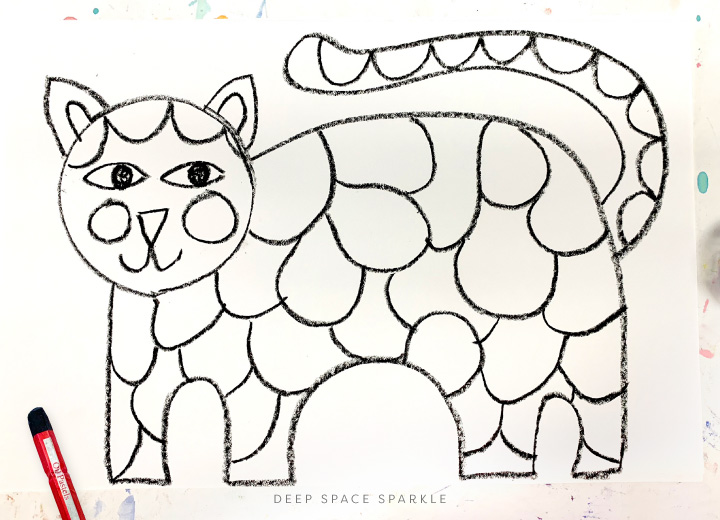
Either use a directed drawing or allow children to create their own cat.
If you have small children (younger than 7), consider using a pint size food container lid to trace the cat’s head near the top corner of the paper.
Drawing the Cat
Trace the circle top for the head.
Add a cat’s face but don’t add any whiskers yet.
Add triangles for ears.
Starting at the right side of the head, draw a slightly curved line to the other edge of the paper and curve down to almost the bottom.
Draw a straight horizontal line all the way to the other side of the paper.
Go back to the head and draw one line towards the bottom of the paper, joining with the straight horizontal line.
Now add the leg definition by drawing two upside down letter “U’s”
Add a long tail in whatever space you have available.
We kept the drawing super simple and large. I wanted the kids to have plenty of space to add their paint later on.
Using the black oil pastel, divide the cat drawing into shapes using lines, shapes and patterns.

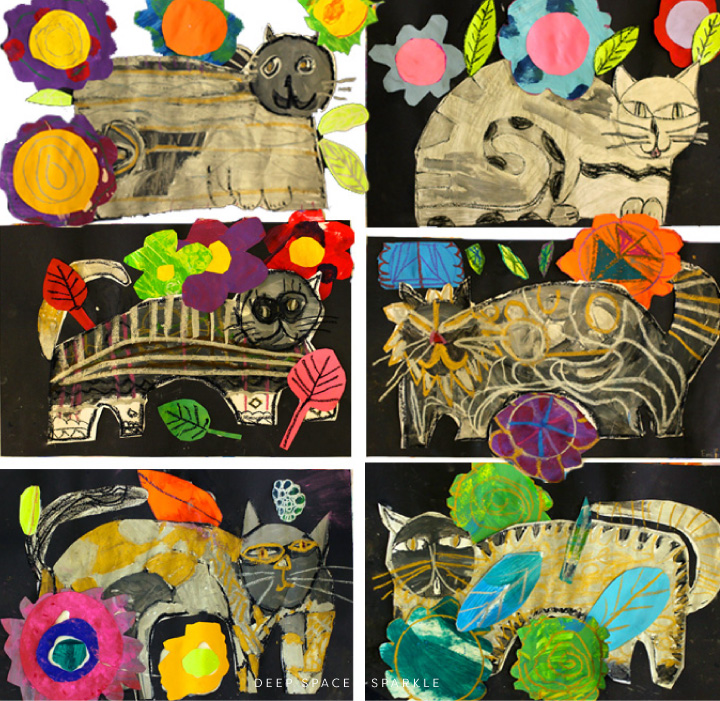
Value Painting + a little gold
To create grey scale, place some black and white liquid tempera paint in a muffing-style tray.
Kids can mixed bits of white with black to create varying shades of grey.
If you are anything like me, you might need a little glam. If this is the case, throw in some gold metallic paint and allow the kids to add it where they want.
Collage
When dry, cut out cat and glue onto black 12″ x 18″ paper. Using gold, white and black oil pastels, trace over all the lines you want to highlight. This is the time to add whiskers.
Painted Paper Flowers
Using painted paper scraps, add colorful flower details to glue on and around the cat. Don’t forget the leaves.
Here’s another post that duplicates the same instructions but has a different outcome.
Interested in starting your year refreshed, prepared and ready to go?
Download our back to School Guide | Resources to help kickstart your art program

It’s a 3-part strategy on how to use the Elements of Arts when planning your art curriculum including ordering supplies, a grade level checklist for the scope and sequence of K-7 Elements of Art and What I’ll Learn in Art Class posters.
To learn how to teach the Elements of Art to elementary school students, here are a few posts that will get you started:
How to Teach Contrast & Emphasis
Are you a Sparkler?
Head over to the private Sparklers’ Club website and click on the EPIC Curriculum.


Hi Patty! I wonder if you could have some more podcasts on trouble children. As an artist who teaches art workshops to kids, I have experienced kids that are just not that into it. Also I would love to hear more on people like me who are artists, not teachers, who teach. I thoroughly enjoyed Britt Curley and would love to hear more from her. Thank you!
I have lots ….and you are a teacher…so there are many like you:
Here are some:
https://www.deepspacesparkle.com/art-made-easy-009-from-art-educator-to-art-entrepreneur/
https://www.deepspacesparkle.com/art-made-easy-014-how-to-draw-with-kids-create-a-rockin-youtube-show/
https://www.deepspacesparkle.com/sparkler-spotlight-small-studio-advice-ame-040/
https://www.deepspacesparkle.com/success-secrets-of-a-process-based-art-studio-art-made-easy-039/
Enjoy!
A lesson great for many ages!
Hi,
Just wondering if when teaching value, do you have to use black? For example, could we do the cat in red and then have parts of it red and parts of it tinted pink? Is that still teaching value?!! (Hope I’m using the terminology correctly!!!)
Thank you!
Yes! Value is actually taking a hue (color) and adding black OR white. Adding black is called a SHADE. Adding white is called TINT. What you are describing is creating a tint…which is teaching value 🙂
I just wanted to know how to draw not how to draw a cat. Follow me on tiktok @mariamstar1 and instagram @mariamstar1_
Hi!!! very interesting website!!! really like your approach and all the projects are great!
Awesome!
i love this
this is helpfull
Looks great
Not sure where the ‘how to’ is with the download of ‘value pattern cat’.
I’d like to use this lesson for value.
This is great! I love the focus on the elements of art!
Hi, I am a primary teacher and love what you are doing!!! I don’t want to miss out anything and would love to join the club. So that I can teach your wonderful ideas in Germany.
Great!
This is a great lesson idea